The Data at Rest section of the Administration page allows you to schedule scan of files that are stored on network accessible file shares. To schedule a file share to be scanned by MetaDefender NDR, you must first add a time slot to the data at rest scheduler.
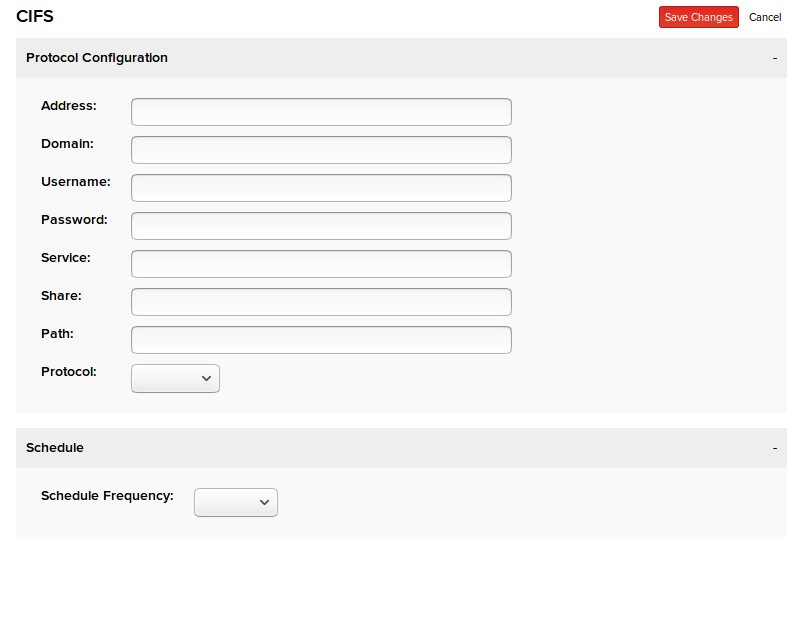
Address - The IP address of the device where the directory to be scanned is located.
Domain - The Windows authentication domain.
Username - The username of the account on which the files are stored.
Password - The password of the account on which the files are stored.
Service - Device name.
Share - Directory that can be accessed by Microsoft SMB Protocol clients.
Path - The exact path to the directory within the file share which contains the files to be scanned by InQuest.
Protocol - SMB Protocol version. The currently supported SMB versions are:
- SMB1
- SMB2
- SMB3
- SMB3.1.1
Schedule Frequency - Scans can be scheduled to be run daily, weekly, or monthly at whichever time of your choosing.
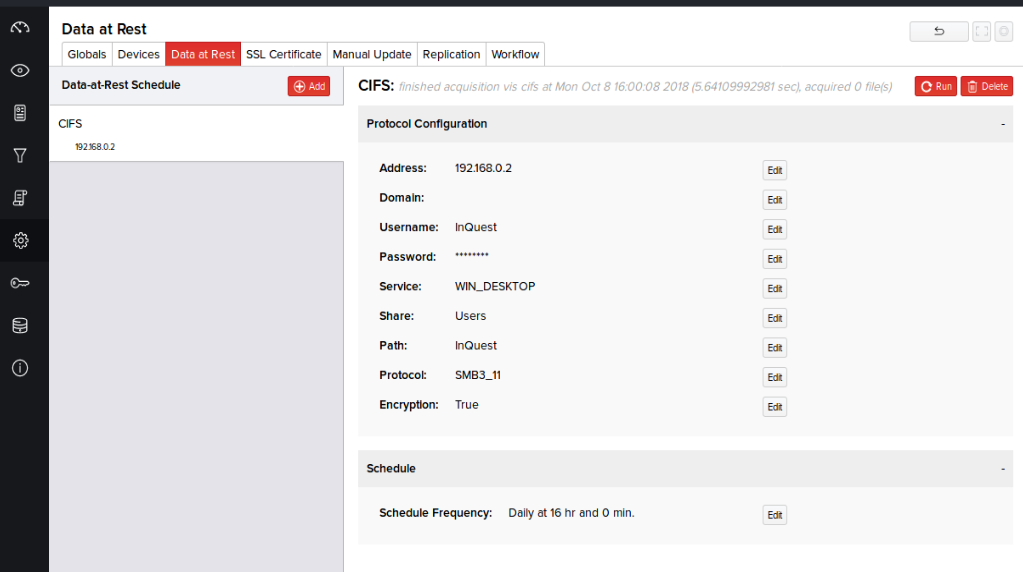
After clicking the "Save Changes" button, the data at rest entry will appear under the "Data-at-Rest Schedule" section on the left of the page. Multiple file shares may be added to the Data-at-Rest Schedule, but only a single scan will be run at a time. In the case that more than one scan is scheduled at the same time, the second scan will not run until after the initial scan has been completed.
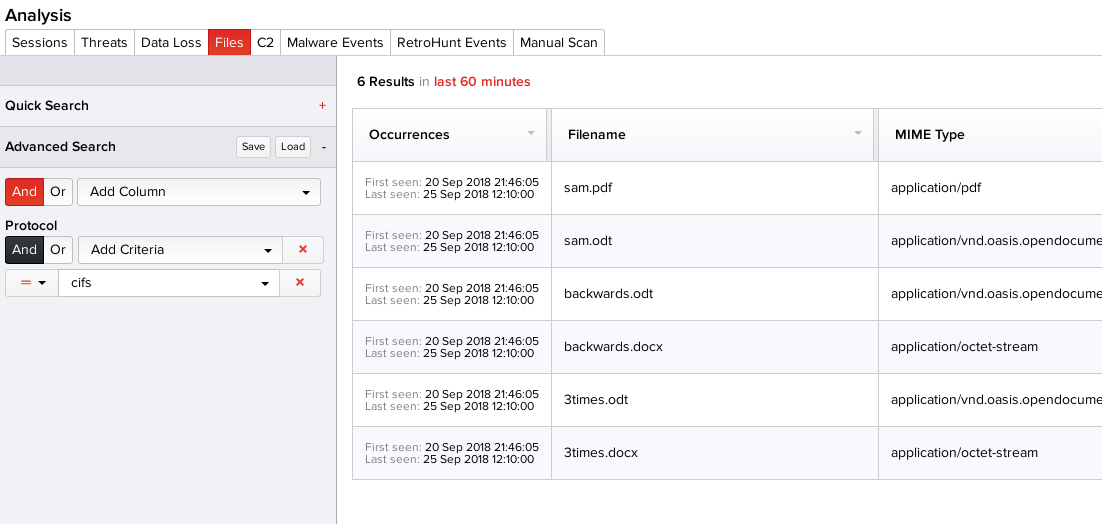
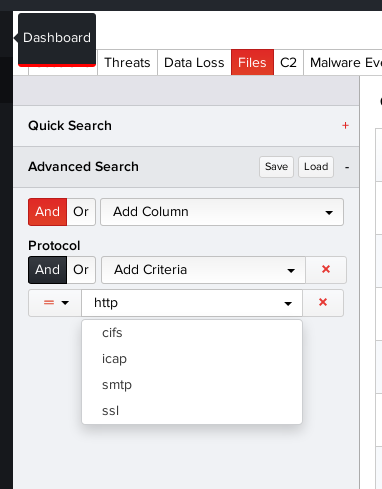
Any files analyzed by a Data-at-Rest scan are discoverable by search using the Files tab of the Analysis page. To search for these files, select Protocol from the advanced search and then select "cifs" from the list of protocols in the drop-down menu.
Search results of any files with the "cifs" protocol will be displayed in the results section of the Files page.