Monitoring outbound connections to specific IP addresses and hosts can be specified by clicking Policy > C2. There are two tabs, one for adding IP addresses and the other for DNS hostnames.
IP Addresses
To begin monitoring outbound connections to IP addresses, click the IP tab, click Add Record, type the IP address, description for the C2 IP address, and browse and add the .csv file by clicking the area on the user interface, or just drag-and-drop the file, then click Add to commit the entries.
The format for bulk import within a CSV is: IOC, description
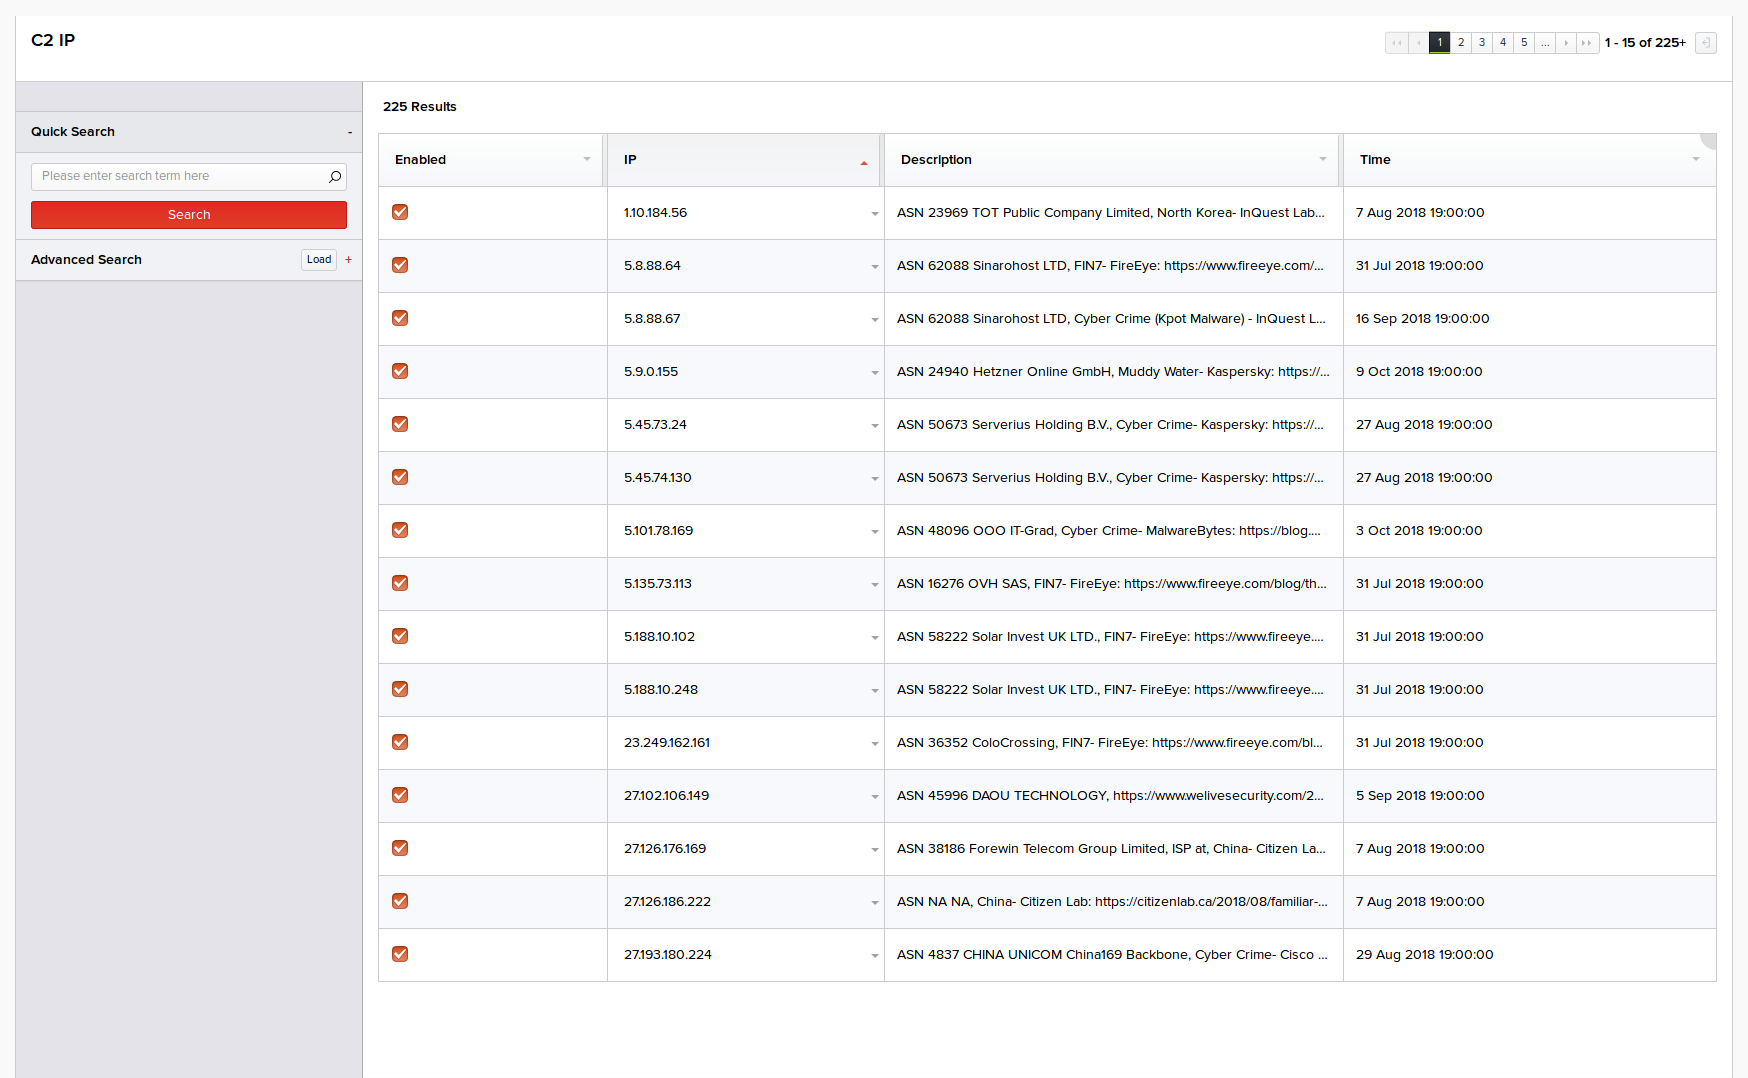
127.0.0.1, no place like home.10.0.0.1, RFC1918 private IP address.172.16.0.1, RFC1918 private IP address.192.168.1.1, RFC1918 private IP address.The complete list of IP addresses being monitored are displayed as shown in the following illustration. Basic details of these existing C2 IP addresses appear on the right pane and include the IP address, brief description, date and time when they were added, and the options to delete or monitor them. Click the Monitor button corresponding to an IP address to jump directly to the C2 analysis viewer and begin monitoring the outbound connections to that IP address.
To remove an IP that was added to the list of C2 addresses, click Delete, under the Actions column, then click Delete again.
You can use the Quick Search or the Advanced Search feature to search and locate specific IP addresses and monitor them. For more information on using these features, refer the Session Analysis section.
DNS Hostnames
In addition to monitoring for outbound IP traffic, DNS name resolution can also be monitored. When attempts are made to resolve known C2 domains, it is often indicative of an infection. The DNS tab provides similar options to the IP tab with the exception of the whitelist option. The whitelist option can be used when a top-level domain is being monitored, and not one or more sub-domains. Whitelisting may also increase performance if you suspect a high number of requests for *.site.com If this is the case, add site.com to the whitelist, and anything to it or its subdomains will be ignored.
To begin monitoring the DNS hosts, click the DNS tab, click Add Record, type the hostname, description for the C2 host, and browse and add the .csv file by clicking the area on the user interface, or just drag-and-drop the file, then click Add to commit the entries.
The format for bulk import within a CSV is: IOC, description
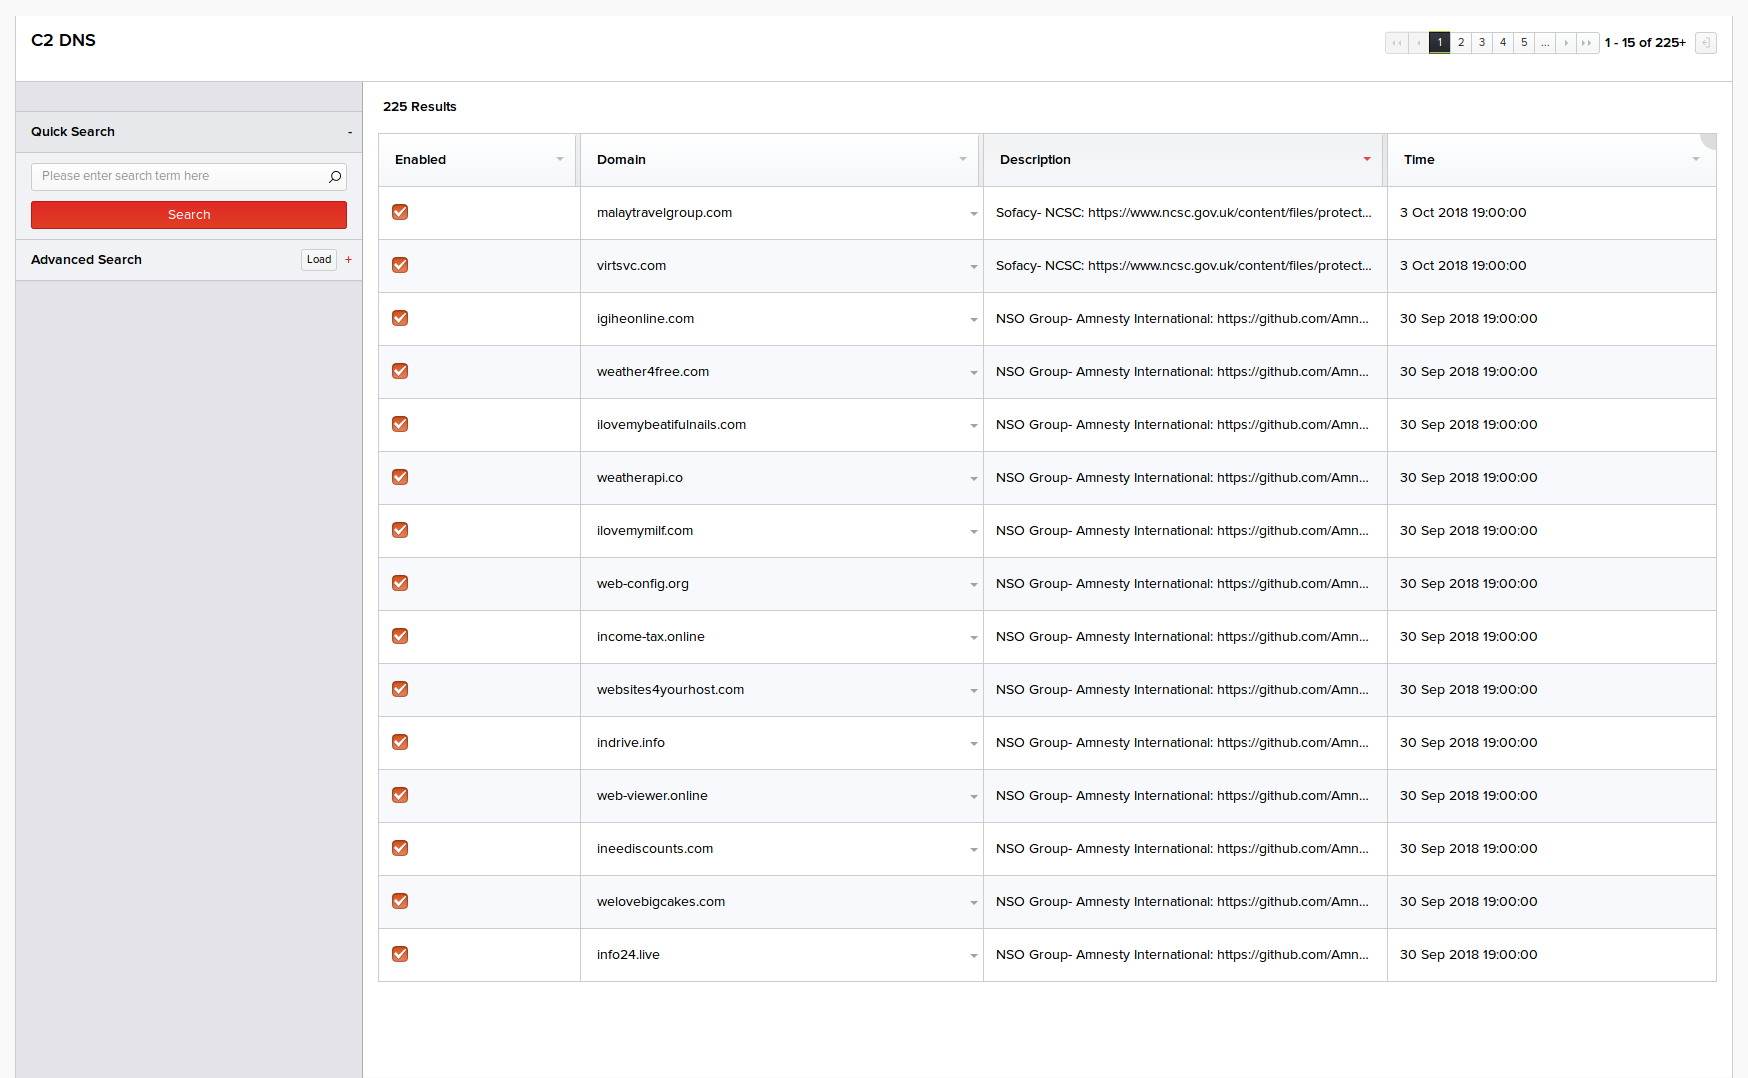
example.com, IANA reserved domain.example.org, IANA reserved domain.example.net, IANA reserved domain.The complete list of hosts being monitored are displayed as shown in the following illustration. Basic details of these existing C2 IP addresses appear on the right pane and include the domain name, brief description, date and time when they were added, and the options to delete or monitor them. Click the Monitor button corresponding to a host to jump directly to the C2 analysis viewer and begin monitoring the outbound connections to that host.
To remove a host that was added to the list of C2 hosts, click Delete, under the Actions column, then click Delete again.
You can use the Quick Search or the Advanced Search feature to search and locate specific hosts and monitor them. For more information on using these features, refer the Session Analysis section.