A security dongle must be inserted in the BLUE and RED servers to change configuration.
Prerequisites
Before you configure any transfer parameters:
- Ensure MetaDefender Optical Diode BLUE and Optical Diode RED network addresses are configured.
- Ensure the current license and personality are uploaded.
- Configure Kiosk instance to work with a Managed File Transfer instance. Notice that instead of Managed File Transfer URL you should indicate MetaDefender Optical Diode BLUE IP address, https://docs.opswat.com/mdkiosk/configuration/configuring-with-metadefender-vault
- You may need to generate API keys in Managed File Transfer to integrate with Optical Diode and Kiosk, to do so consult https://docs.opswat.com/mdvault/configuration/api-keys
This should be configured in both sides BLUE and RED. Each of the sides have their own management UI.
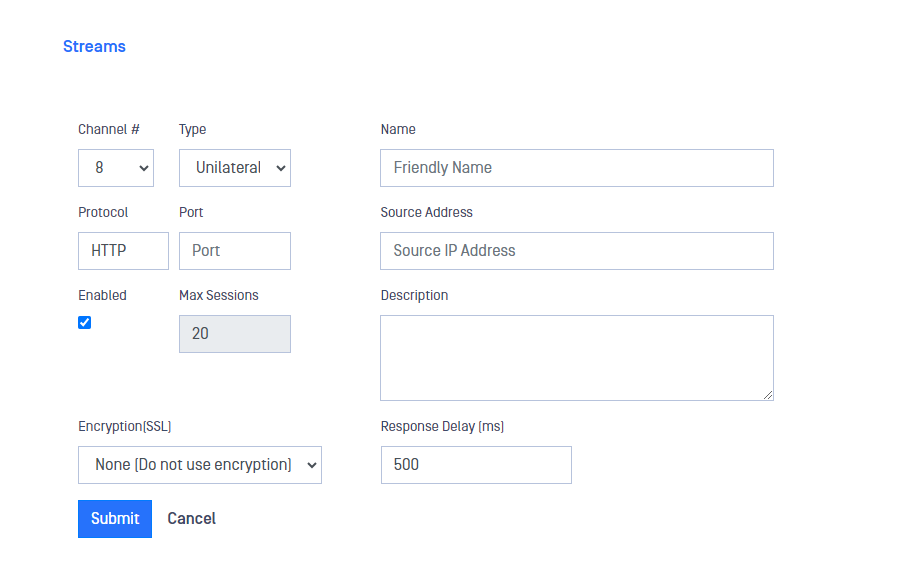
BLUE Configuration
Go to the management UI and insert user and password to login.
Click the Streams link and then click on the Action button to deploy the Action menu, then select Add HTTP.
Complete the following:
- Channel: Assign a channel number.
The Channel Number must be the same on both BLUE and RED sides.
- Type: Type of stream being tracked. Unilateral or Bilateral
- Name: Name of the stream
- Protocol: For a Managed File Transfer Stream, HTTP is preselected.
- Source port: Port number of the source IP.
- Source addresses: IP address(es) in the BLUE zone where the stream will originate. If you are entering more than one address, separate the addresses with a semicolon.
- Enabled: checkbox to enable/disable the stream.
- Max Sessions: Maximum number of sessions for the stream
- Encryption (SSL): select an option in the dropdown list if you want to encrypt the stream.
- Description: user-friendly description.

After filling in the fields, click on the Submit button to save configuration.
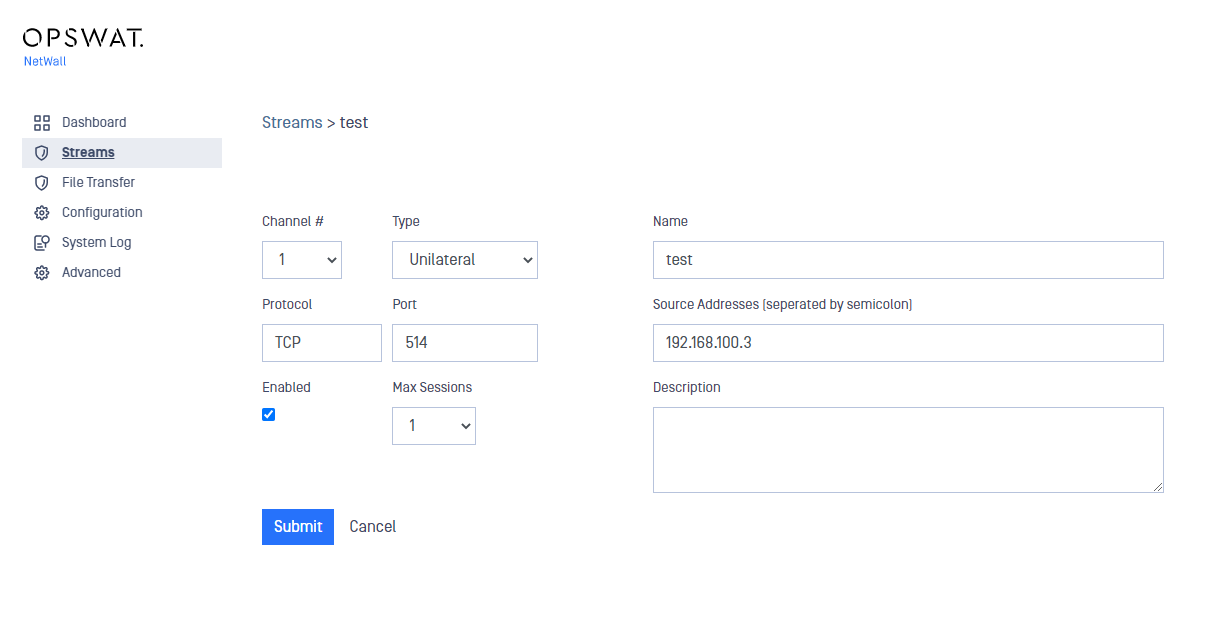
RED Configuration
Go to the management UI and insert user and password to login.
Click the Streams link and then click on the Action button to deploy the Action menu, then select Add HTTP.
Complete the following:
- Channel: Assign a channel number.
The Channel Number must be the same on both BLUE and RED sides.
- Type: Type of stream being tracked. Unilateral or Bilateral
- Name: Name of the stream
- Protocol: For a Managed File Transfer Stream, HTTP is preselected.
- Destination port: Port number of the destination IP.
- Destination address: IP address in the RED zone where the stream will terminate. You can enter only one address.
- Enabled: checkbox to enable/disable the stream.
- Description: user-friendly description.
After filling in the fields, click on the Submit button to save configuration.
Modify a stream
In the Streams section, click on the stream you want to modify and the Edit Stream menu will be displayed. Modify the Stream and Submit changes.