
Backup & Restore is a feature in My OPSWAT Central Management that lets you automatically back up the full system image of Windows endpoints across your organization.
You create backup jobs, choose which devices to protect, decide where the backups are stored, and set a schedule for them to run automatically. The system sends the commands to each device, tracks progress, and reports results directly in the console.
Restore is not available in the current release. This guide covers the backup workflow only. Restore will be supported in a future version.
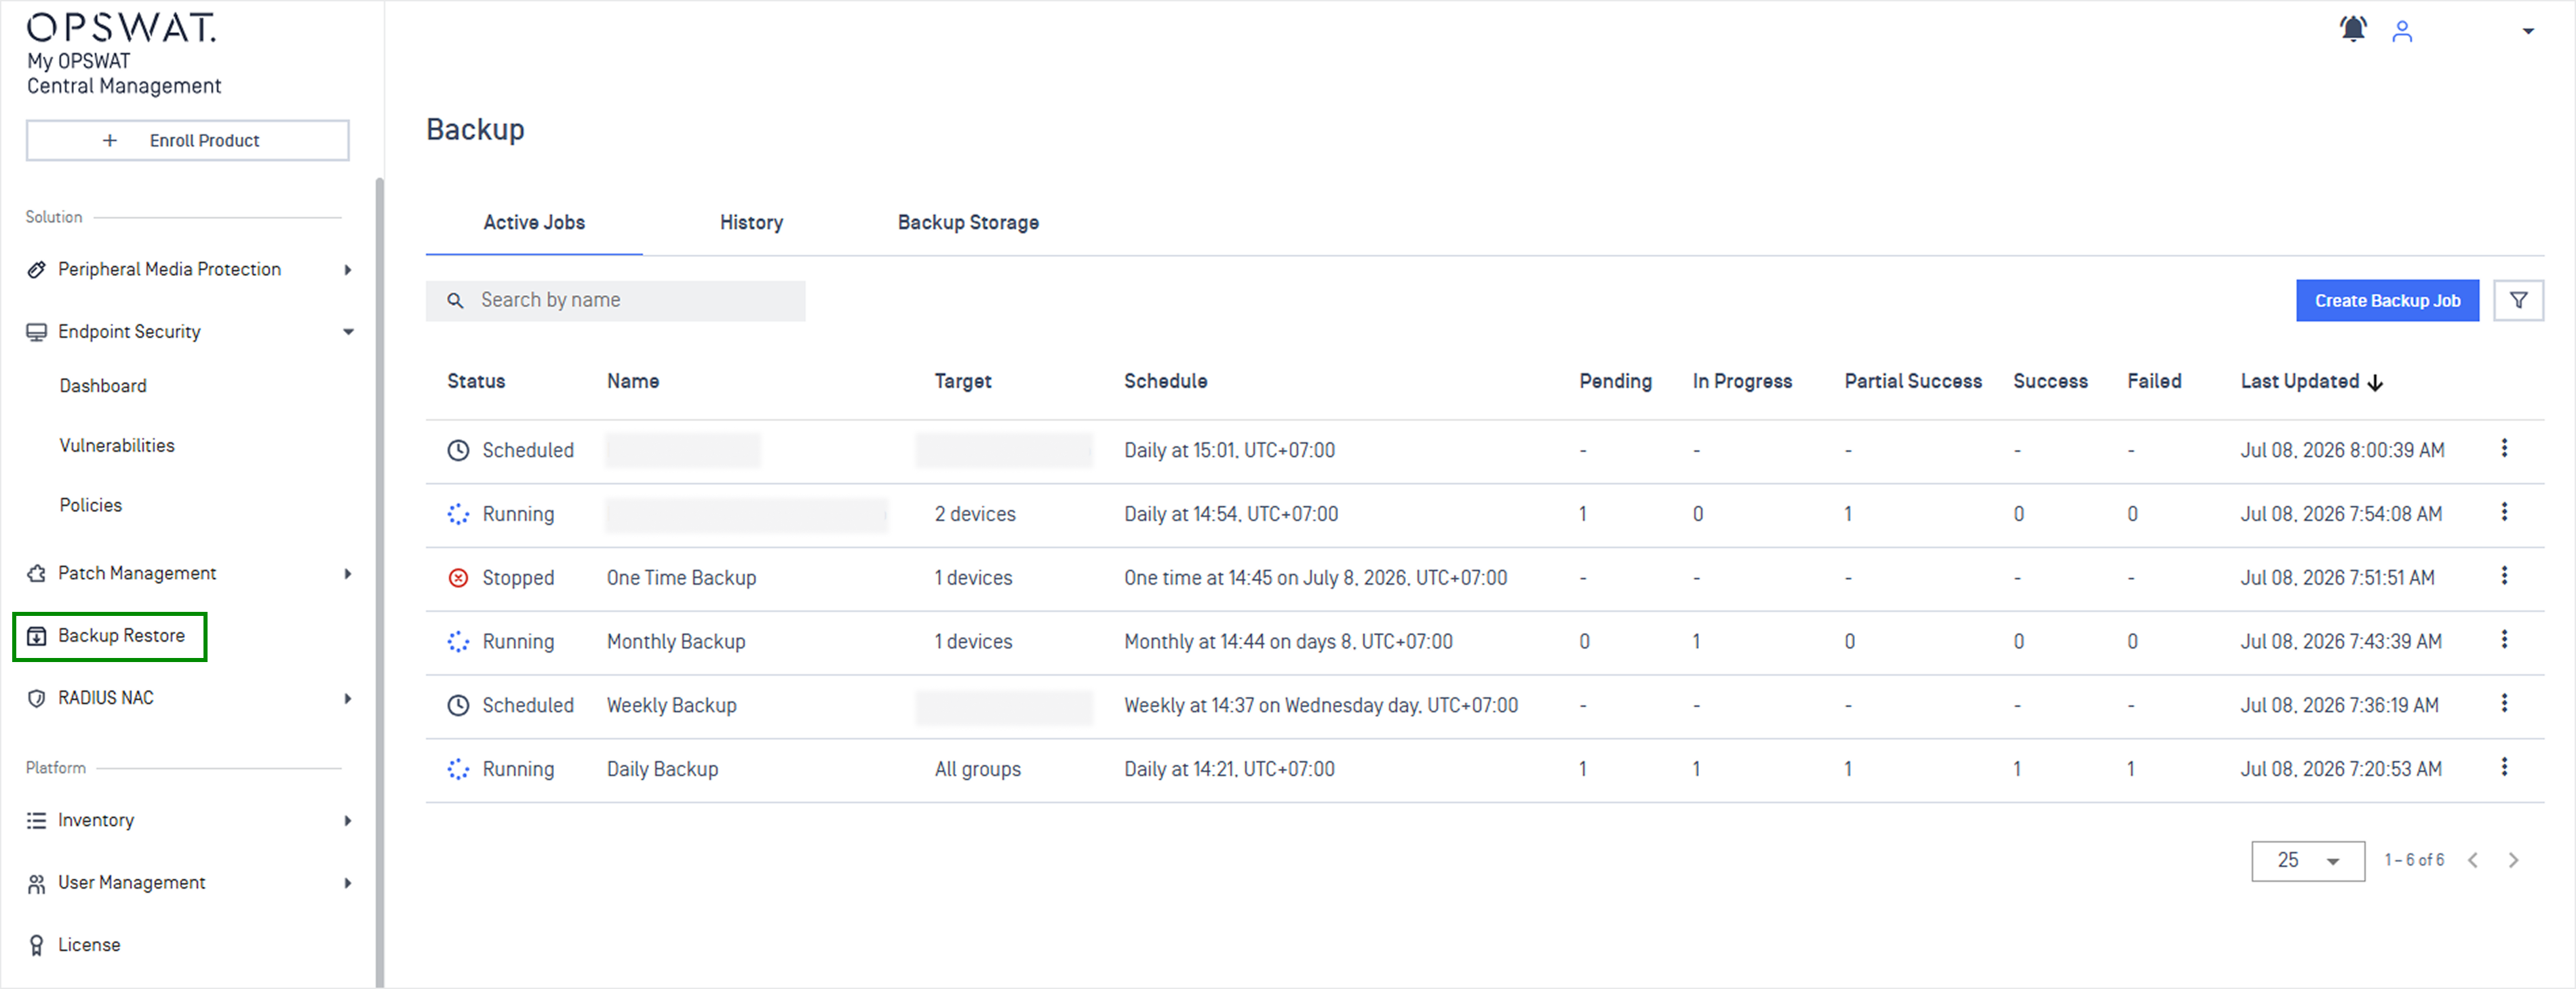
You open the feature from the left-hand menu under Endpoint Security → Backup Restore.
Before You Begin
Keep the following in mind before creating a backup job:
This feature requires the MA-BKR license (SKU MA-BKR). It is not available unless your account is licensed for MA-BKR.
Backup is available on Windows devices running MetaDefender Endpoint version 7.6.2607.xxx and later. Non-Windows devices and devices on older versions are automatically excluded from any target you select.
You need at least one reachable storage destination (for example a shared folder path such as \\\\server\\share). An unreachable or misconfigured destination is rejected when you create the job.
Each run stores a complete image (see Backup scope and mode below), so make sure the destination has enough free space.
Main Screen
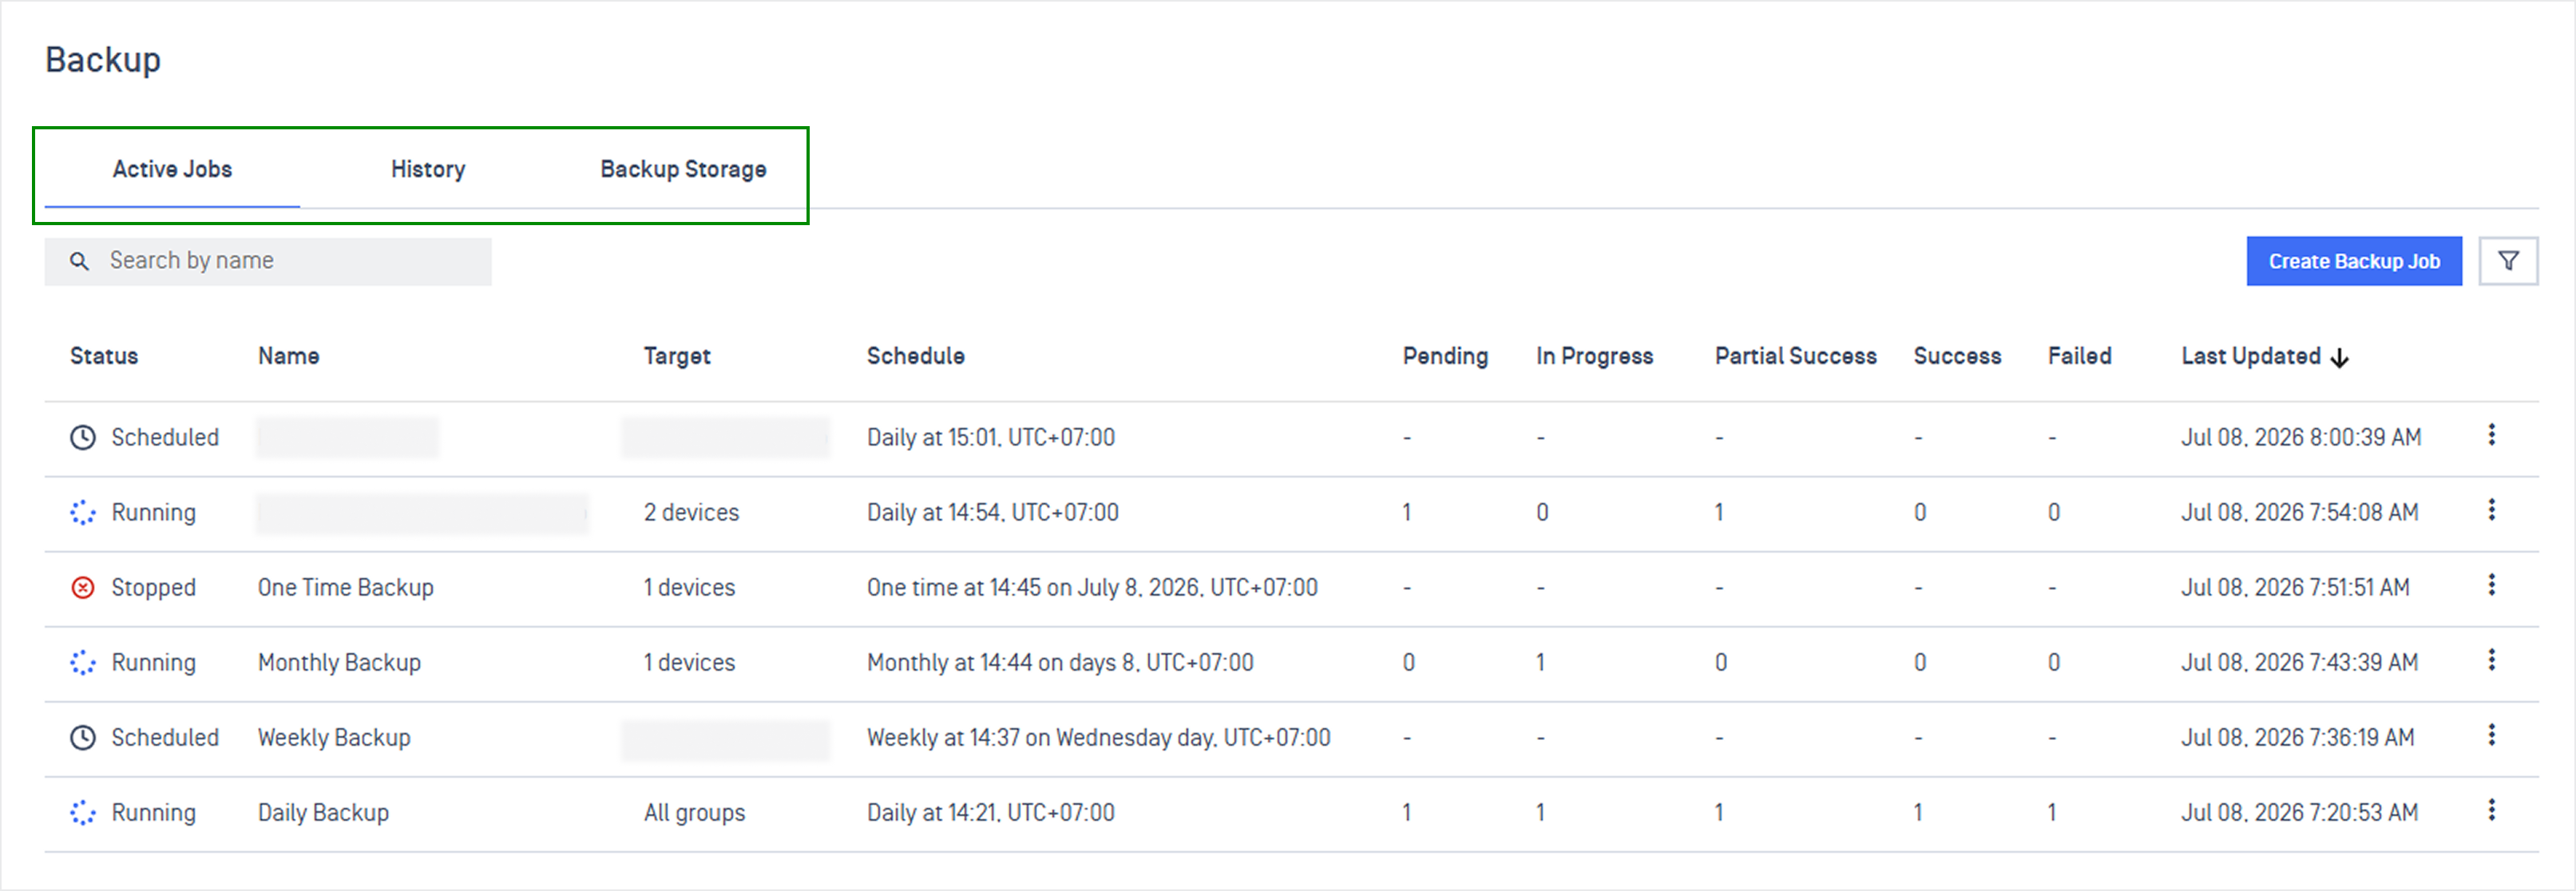
The Backup screen has three tabs.
Active Jobs lists every backup job that is currently set up, with its status, target, schedule, and a per-status device count.
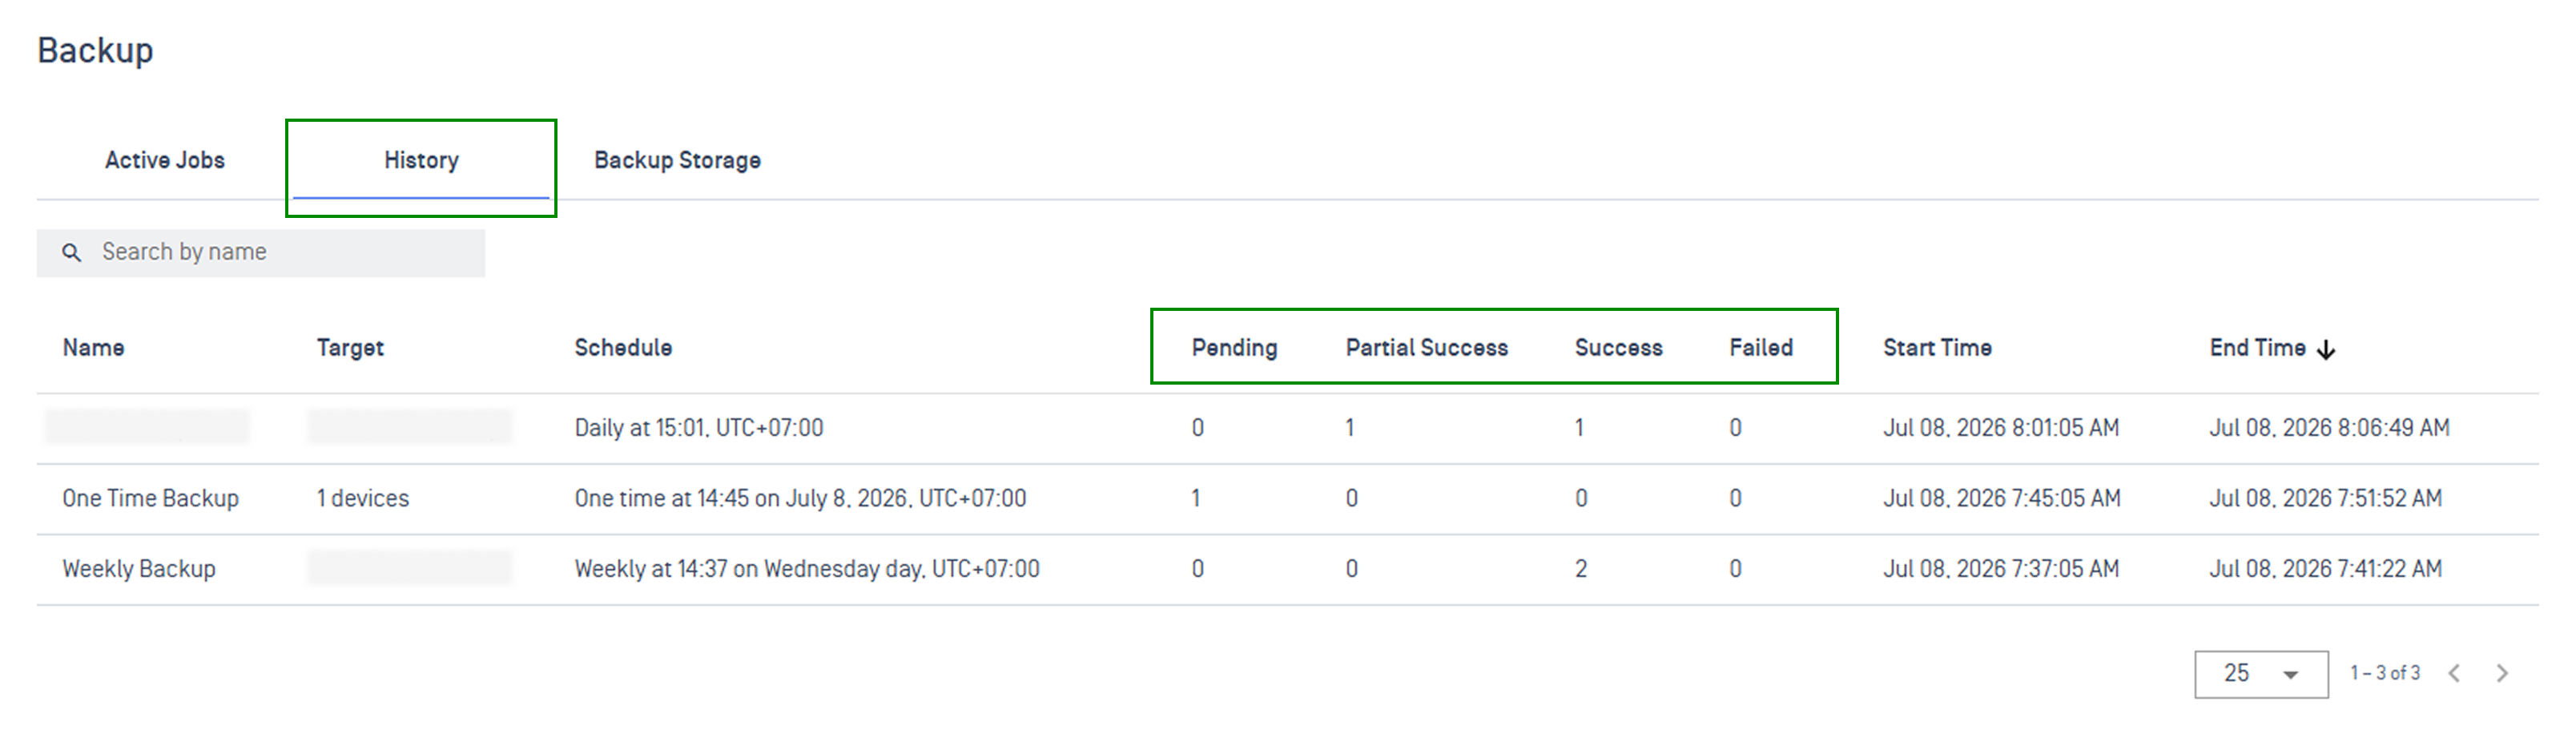
History keeps a record of past runs so you can review their results.
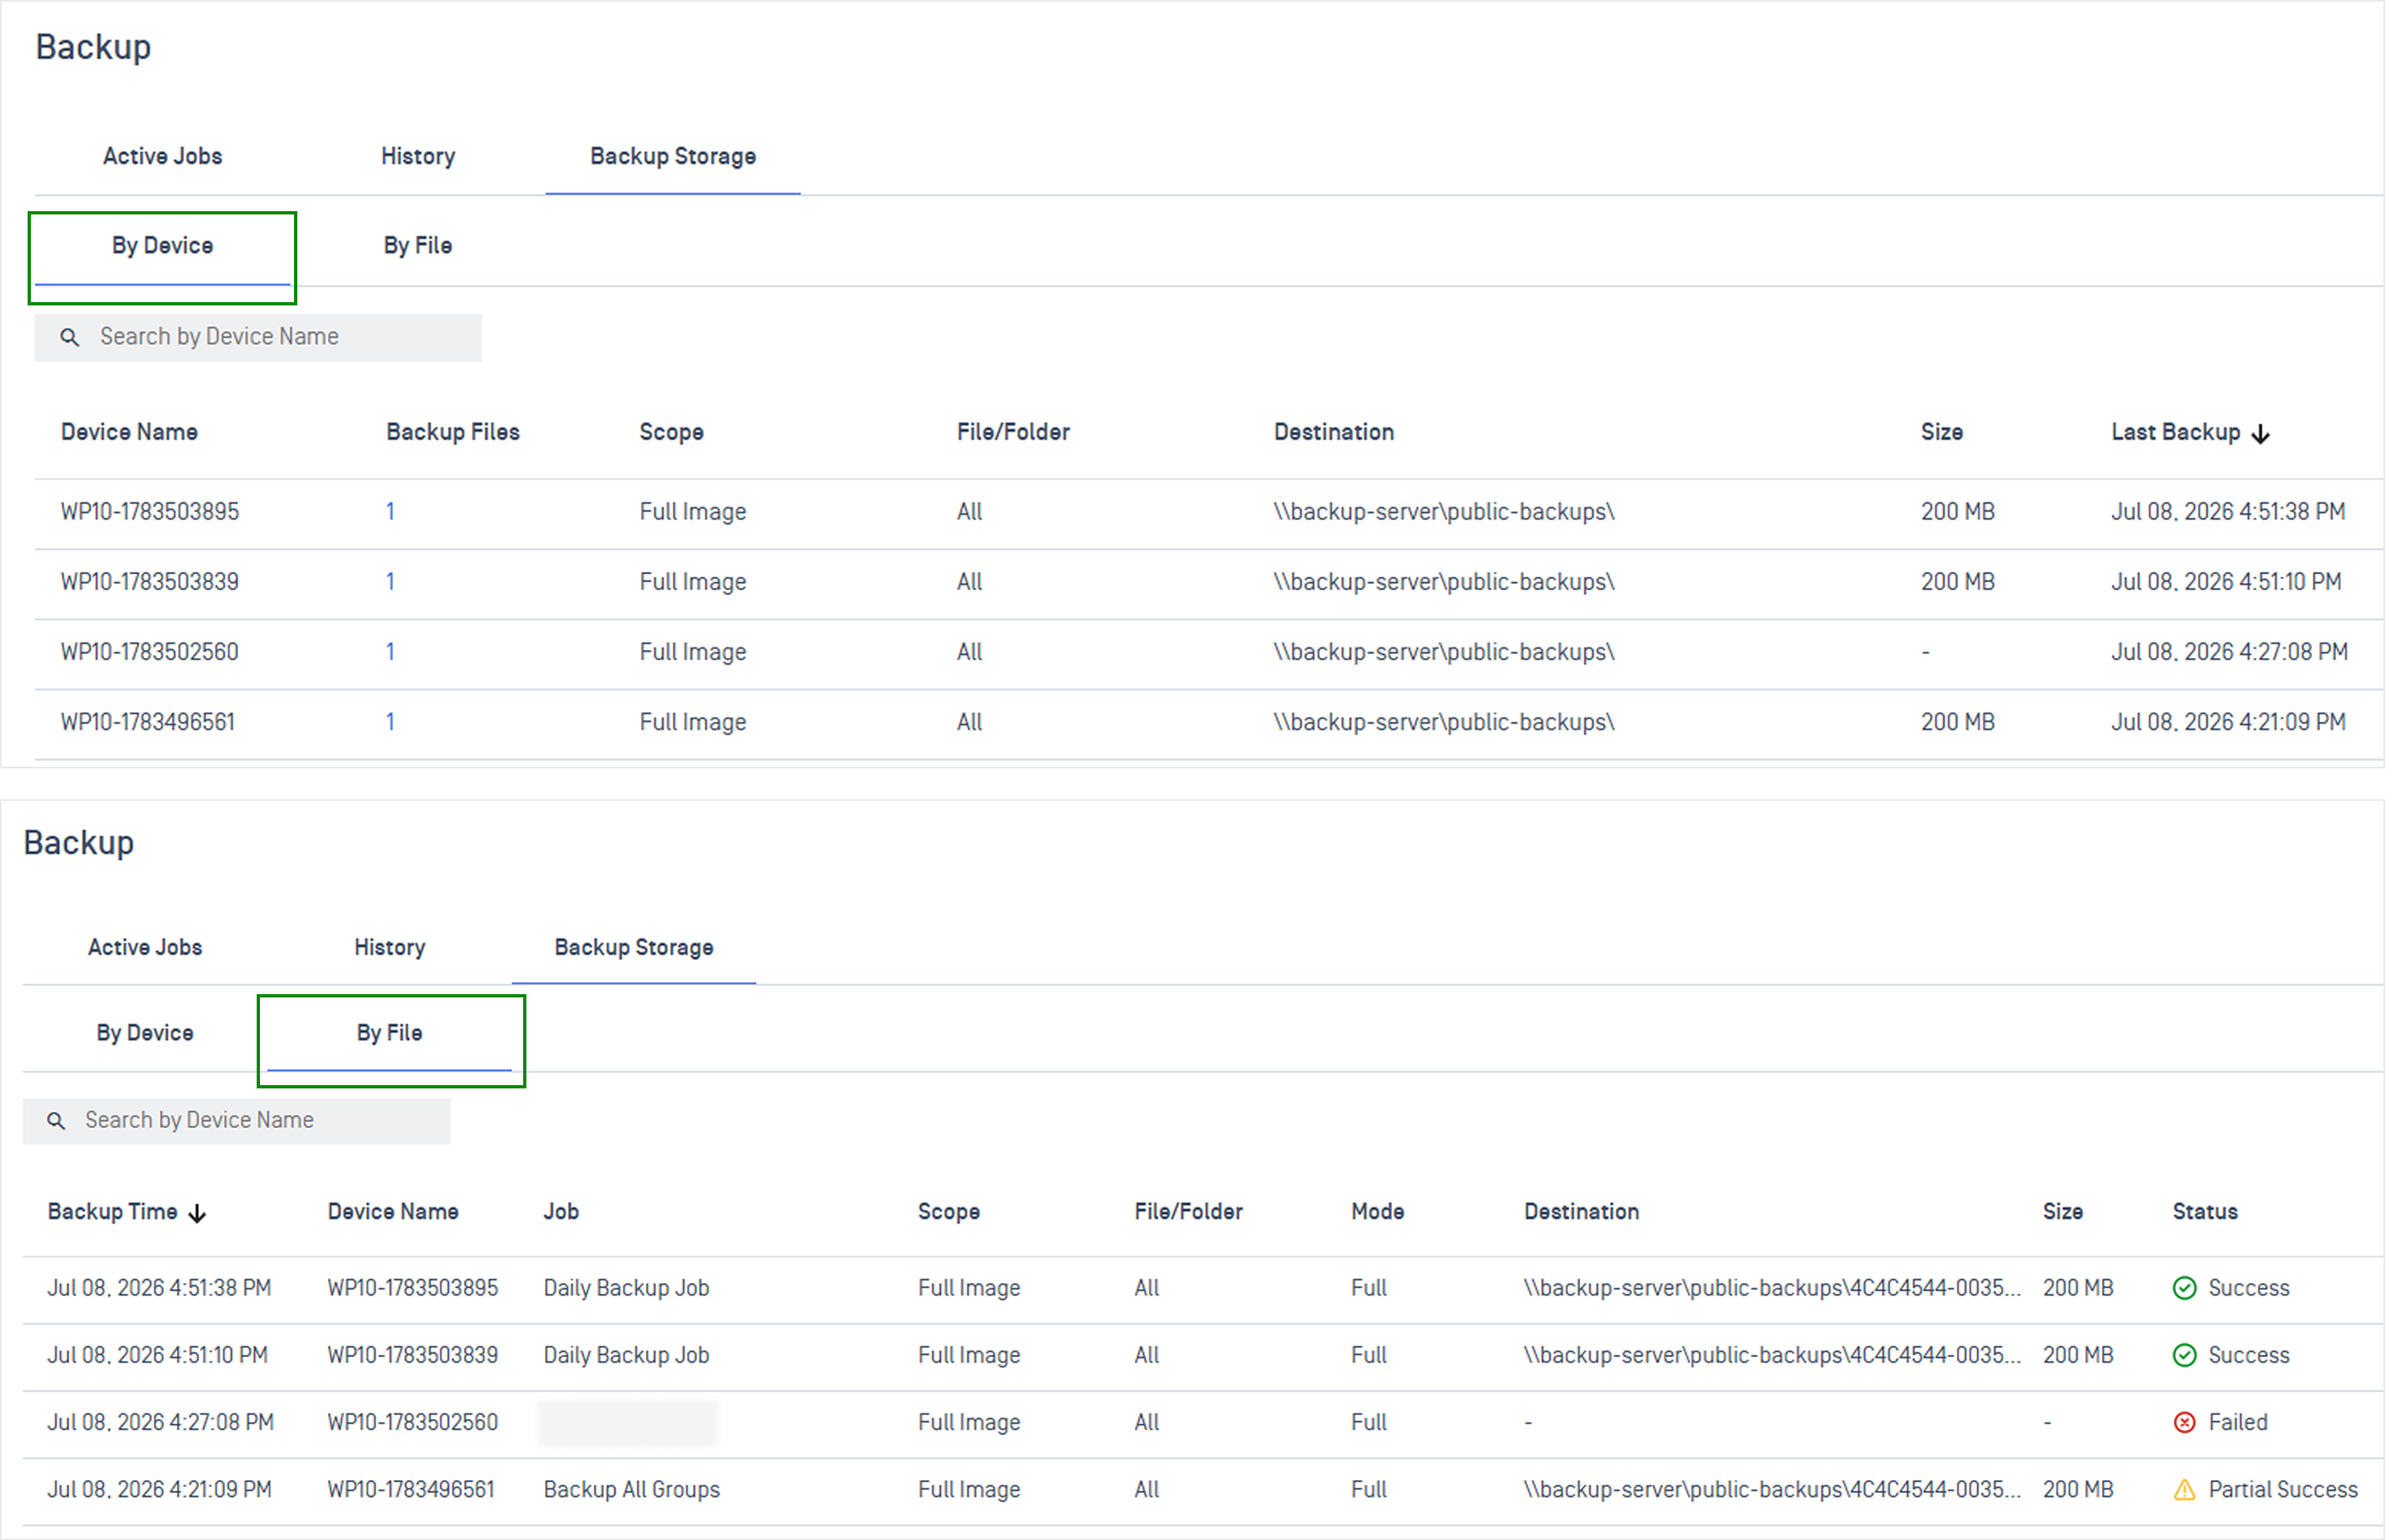
Backup Storage lets you browse the backups that have been stored, organized by device or by file.
Active Jobs
Each job row shows device counts by status: Pending, In Progress, Partial Success, Success, and Failed. This gives you a quick view of how the latest run is going across all targeted devices.
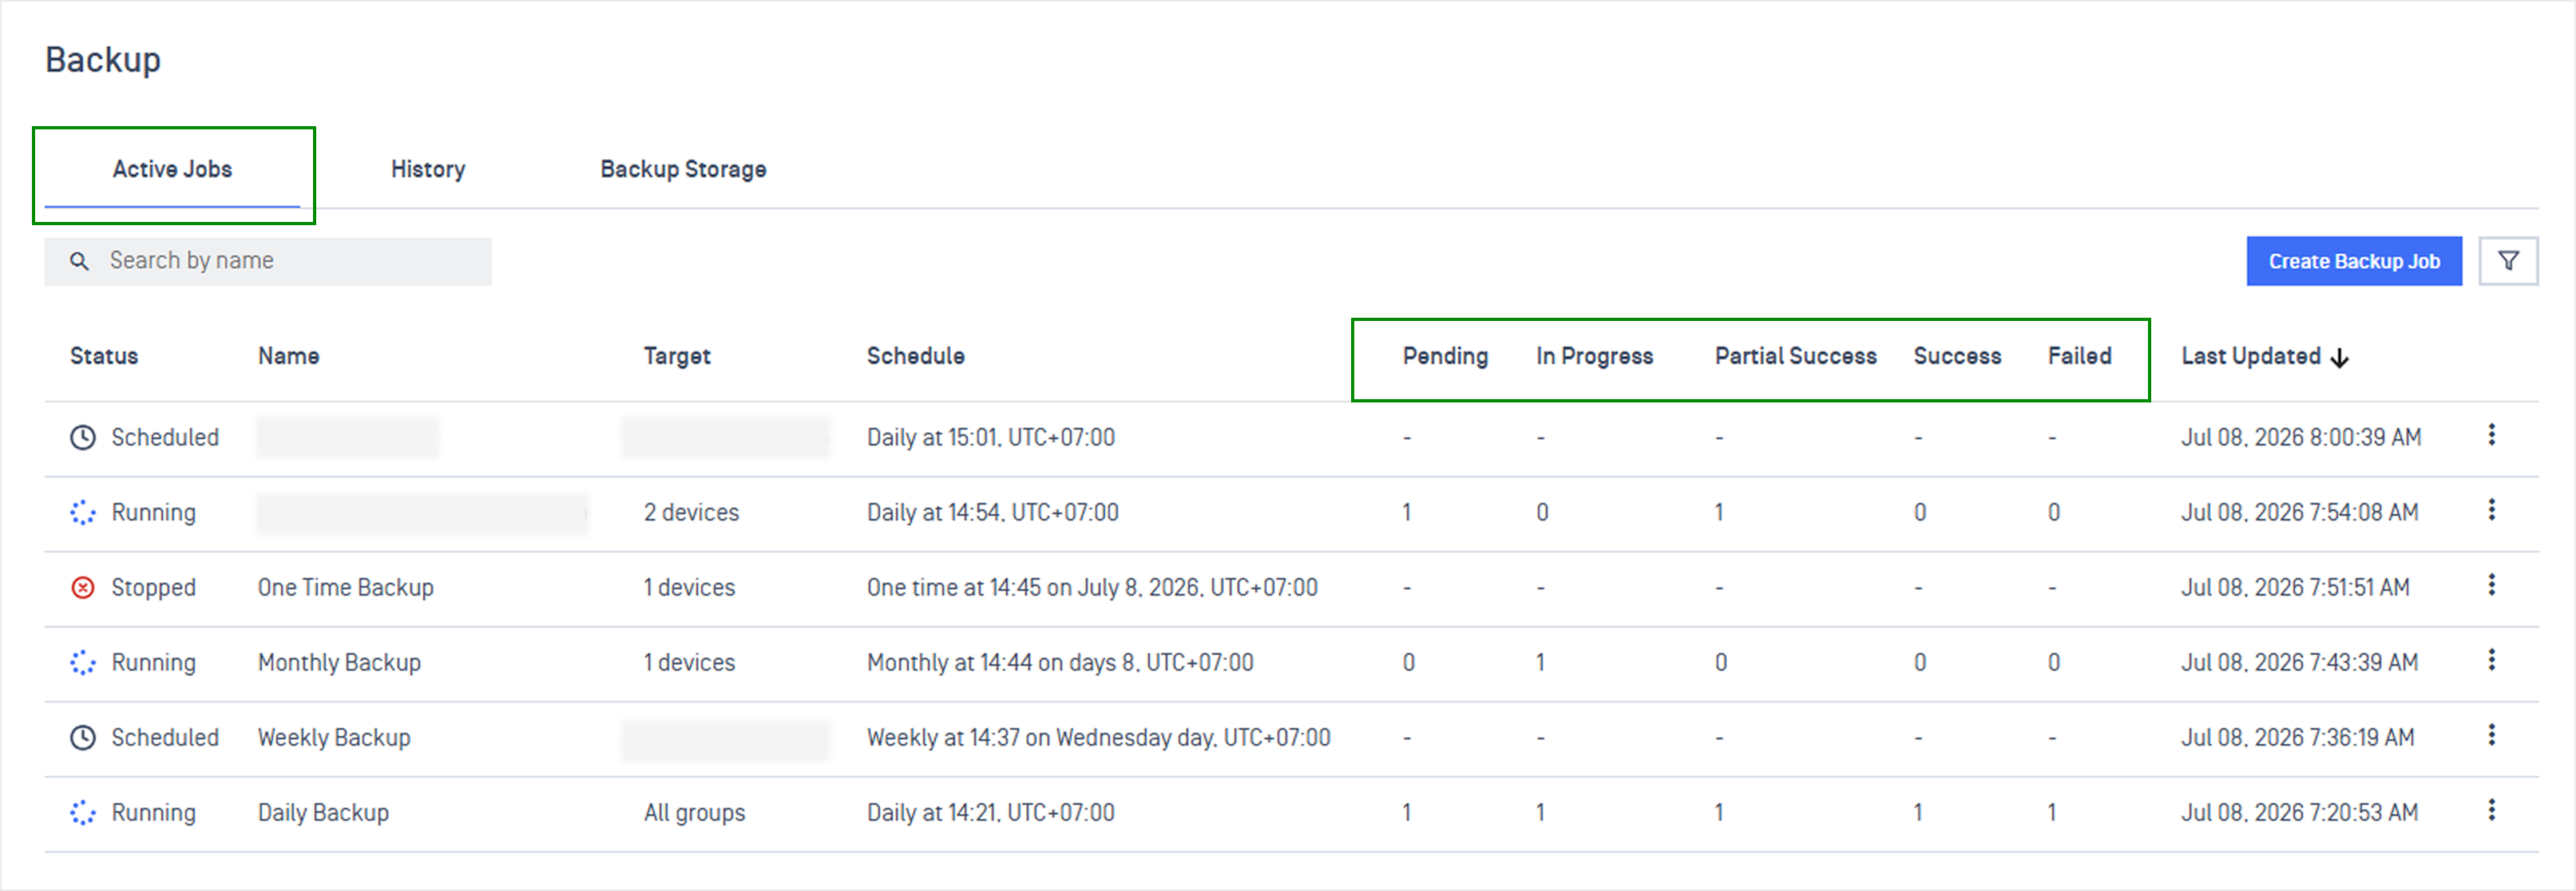
When a job finishes a run, it moves automatically to the History tab. If the job is recurring (Hourly, Daily, Weekly, or Monthly), a new active job is created automatically to handle the next scheduled run.
History
The History tab records each completed run with its start and end time and the number of devices that ended in each status. Use it to audit past backups and confirm whether they succeeded.
Backup Storage
The Backup Storage tab shows what has actually been stored. You can view it By Device or By File, and see the backup scope, destination, size, and the time of the last backup for each device.
Job Status
A job is in one of these states:
Status | Meaning |
|---|---|
Scheduled | The job is enabled and waiting for its next scheduled run |
In Progress | A run is underway and devices are backing up |
Stopped | The job has been stopped manually and will not run until you start it again |
A run is considered complete once every targeted device has reached a terminal result of Success, Failed, or Partial Success.
Note These are job-level states. The Pending / In Progress / Partial Success / Success / Failed counts shown on each job row describe individual devices, not the job as a whole.
Create Backup Job
Navigate to Endpoint Security → Backup & Restore → Create Backup Job
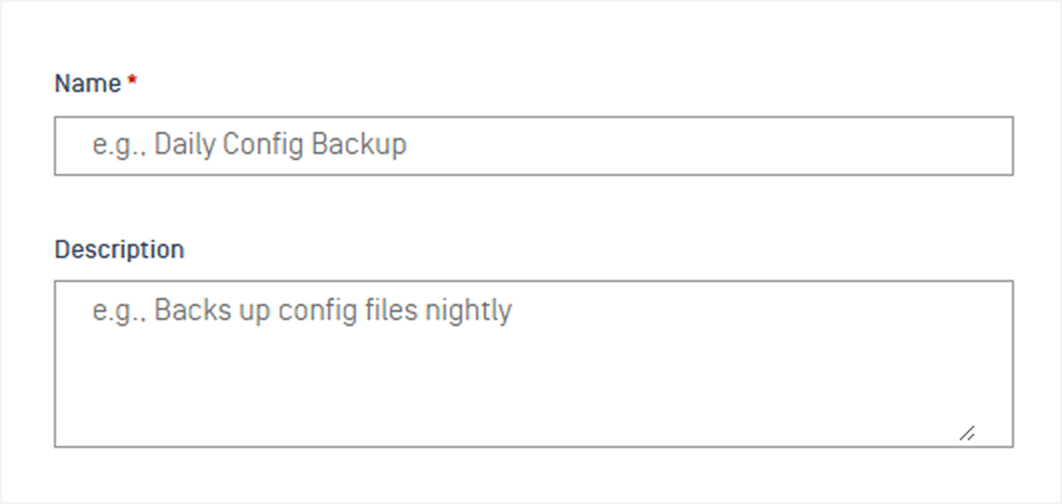
Enter a Job Name and Description. The job name must be unique within your account; a duplicate name will be rejected.
Choose target devices to back up. Please note only Windows devices running MetaDefender Endpoint 7.6.2607.xxx or later can be backed up.
All Groups applies to every device group.
Specific Groups applies only to the groups you pick.
Specific Devices applies only to the individual devices you select.

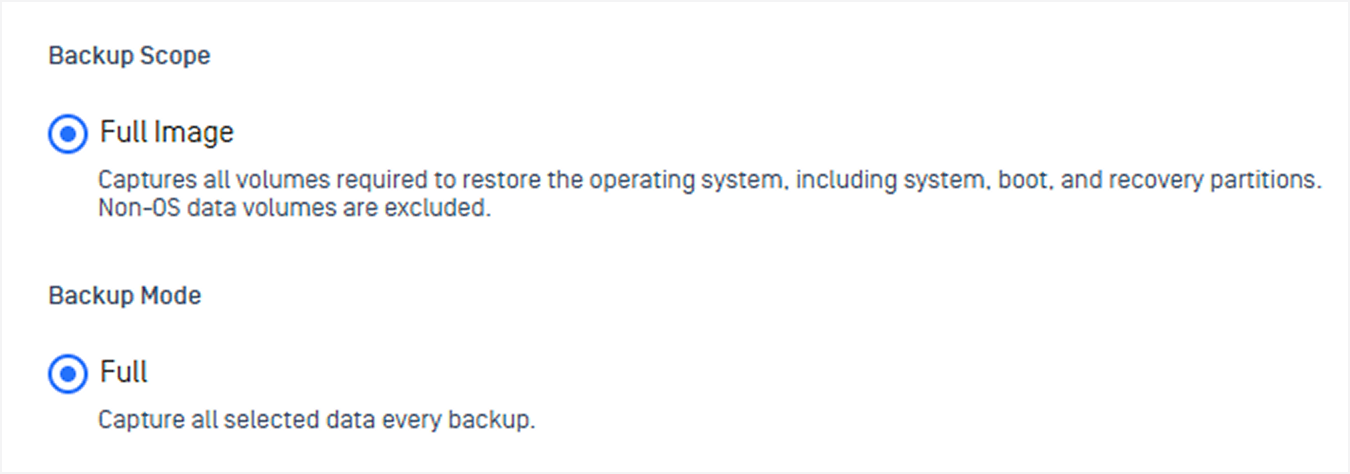
Configure Backup Scope and Backup Mode.
Backup Scope is currently fixed to Full Image. It captures all volumes needed to restore the operating system, including the system, boot, and recovery partitions; non-OS data volumes are excluded.
Backup Mode is currently fixed to Full, which captures all selected data on every run. Because every run stores a complete image, make sure your destination has enough free space.
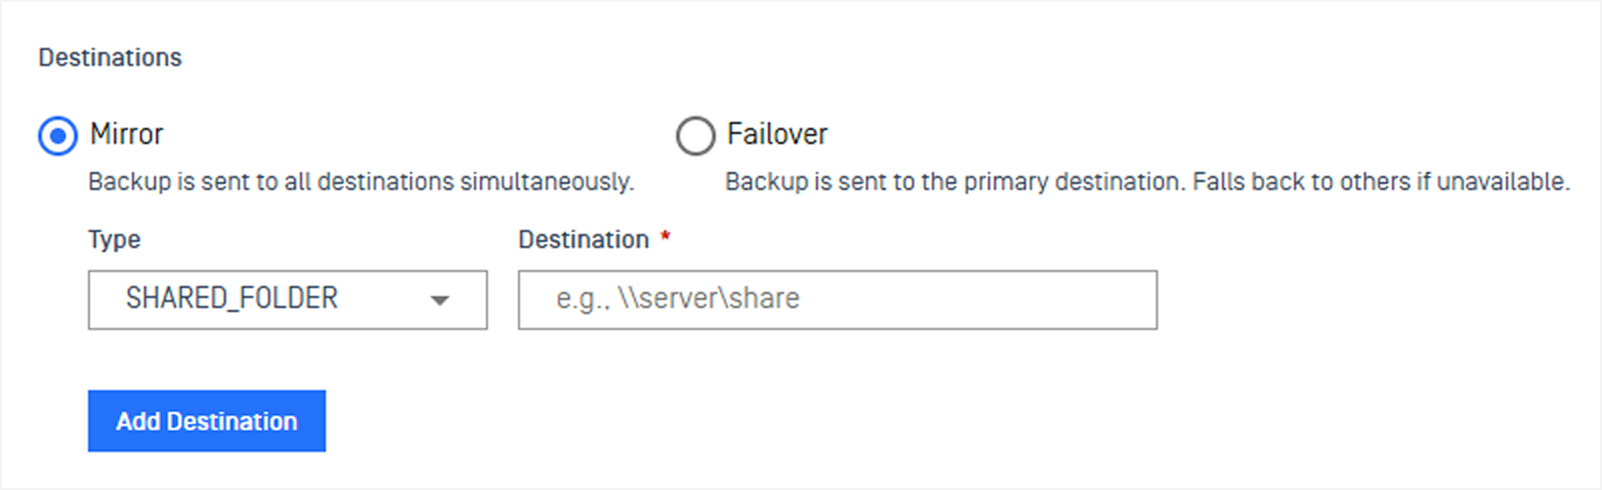
Configure Backup Destination. Choose where backups are stored.
Mirror sends the backup to all destinations at the same time
Failover sends it to the primary destination and falls back to the others if that one is unavailable.
For each destination, pick a Type (such as a shared folder) and enter the path (for example \\\\server\\share). Use Add Destination to add more. An unreachable or misconfigured destination will be rejected.
Set up a schedule when backups run on target devices.
Frequency can be Once, Hourly, Daily, Weekly, or Monthly; depending on the choice, the form asks for the matching details (for example days of the week for Weekly, or a day of the month for Monthly).
For Timezone, choose Local device time to run by each device’s own local time, or pick a specific timezone (such as UTC+7) so all devices run at the same moment. For a one-time schedule, the system rejects a start time that is already in the past.
Max Backup Duration (optional) limits how many hours a backup may run on a device. If a device exceeds this window before finishing, that run is marked Failed. If you leave it empty, a default limit of about 24 hours applies.

When the form is complete, click Create to save the job, or Discard to cancel.
Manage Backup Job
Click a job in the Active Jobs list to open its detail view, which shows its status, target, scope, mode, destination, schedule, and Max Backup Duration. Use the Action menu at the top right to manage the job:
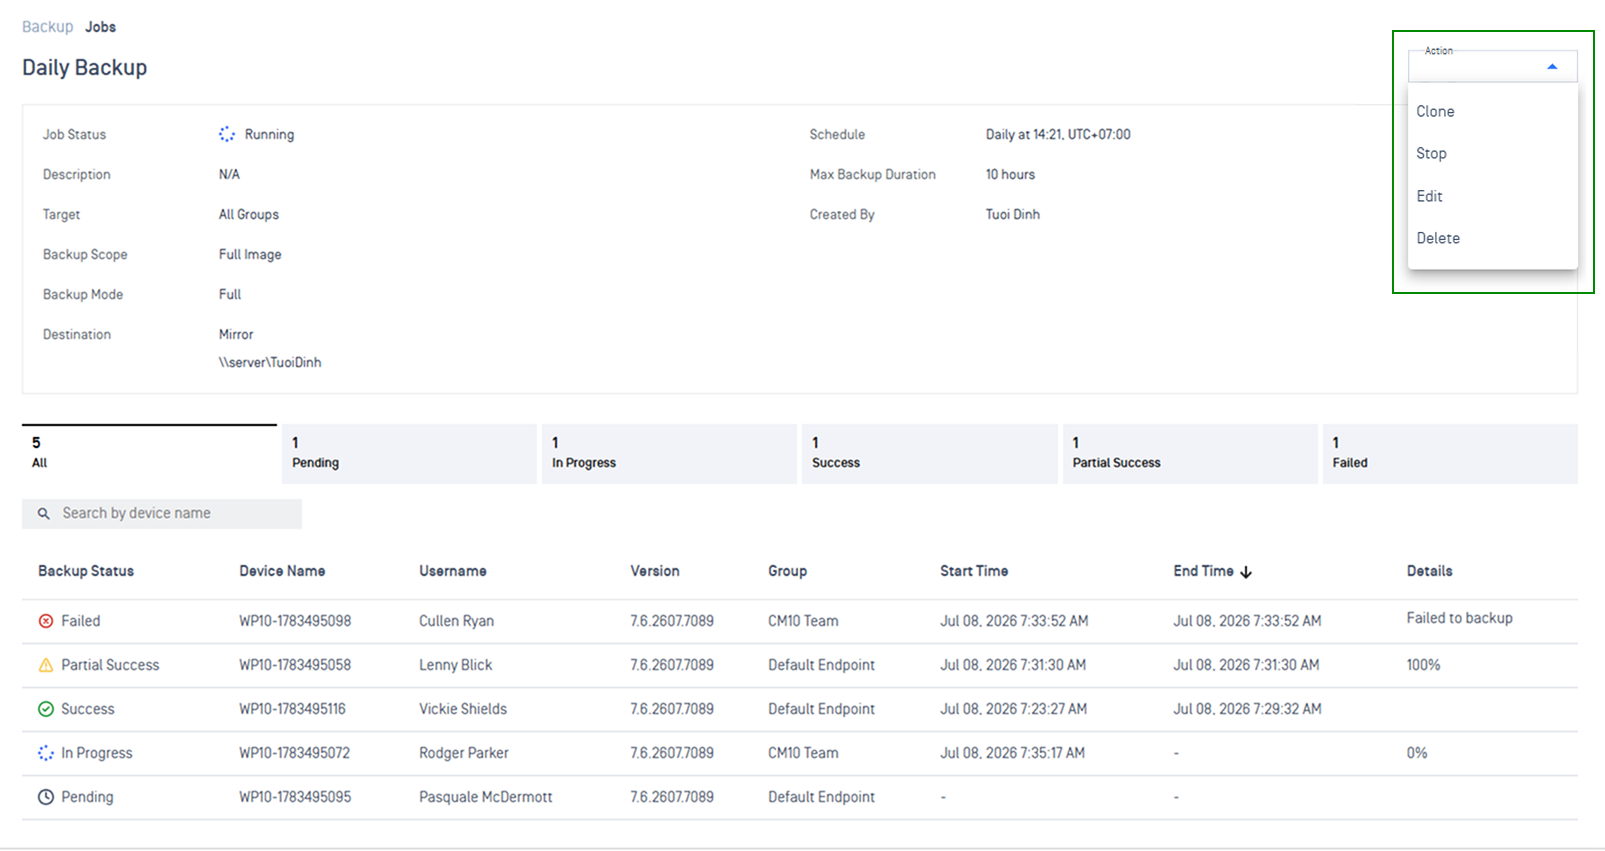
Action | What it does |
|---|---|
Clone | Duplicate the job's settings into a new job. |
Stop | Stop a running or pending job. Devices that are backing up receive a stop command and are marked as failed by force stop, while devices that have not yet started are removed from the queue. A stopped job can be started again with Start, which recalculates the next run time from the schedule. |
Edit | Change the job's settings, such as its schedule or targets. |
Delete | Remove the job. You cannot delete a job while it is running, so stop it first. |
Monitor Progress and Results
While a backup runs, each device reports its progress and you can watch the completion percentage rise. When a device finishes, it ends in one of these results: Success, Failed, or Partial Success (finished but with some issues).
These results are summarized on the Active Jobs list and recorded in the History tab. Every backup event is also written to the event log, so you can review a per-device history such as backup started, in progress with a percentage, completed, failed, or completed with some issues. Log entries expire automatically according to the data retention policy.
Important Notes
A few things to keep in mind:
The feature requires the MA-BKR license (SKU MA-BKR).
Any credentials used to reach a storage destination are always stored encrypted, so passwords are never exposed.
Each device has an execution time limit; if a backup runs too long (around 24 hours by default when no custom Max Backup Duration is set), it is marked as Failed.
The backup feature is available only on Windows devices running MetaDefender Endpoint version 7.6.2607.xxx or later.