Microsoft Entra ID requires MetaDefender Core to enable HTTPS for connections. Please follow these steps to first enable HTTPS on MetaDefender Core.
Register a new application in Azure
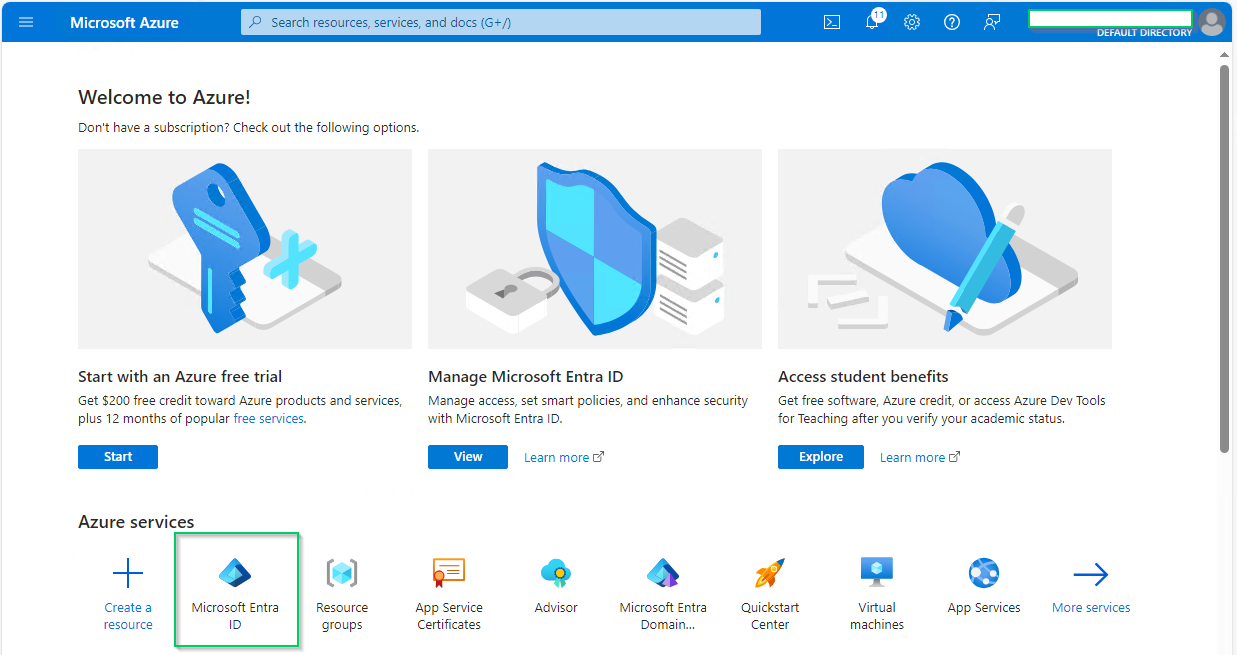
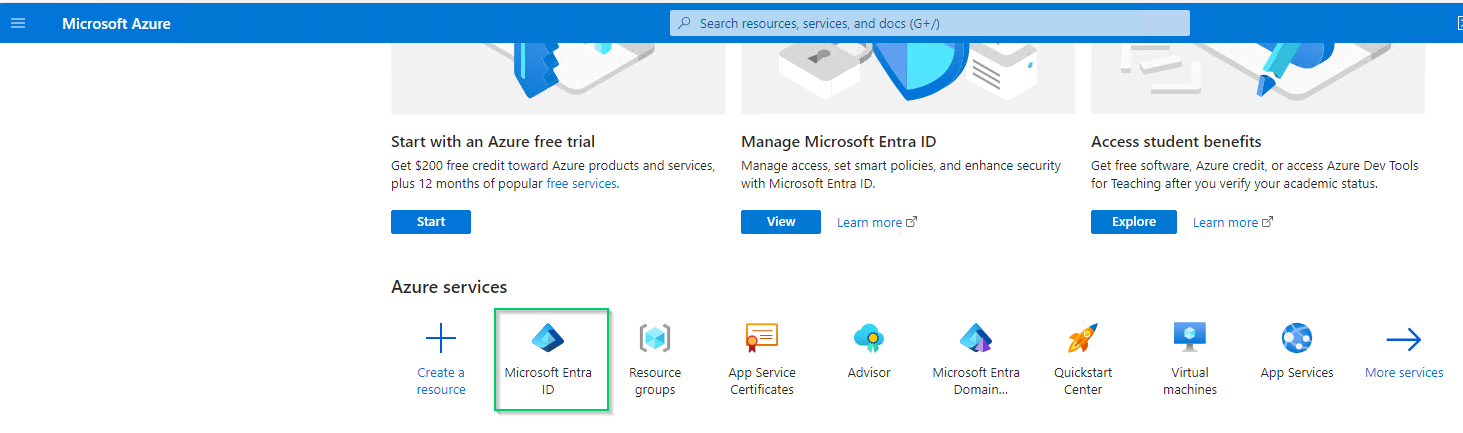
Access Azure portal and sign in.
On the homepage, select
Microsoft Entra IDunderAzure services.
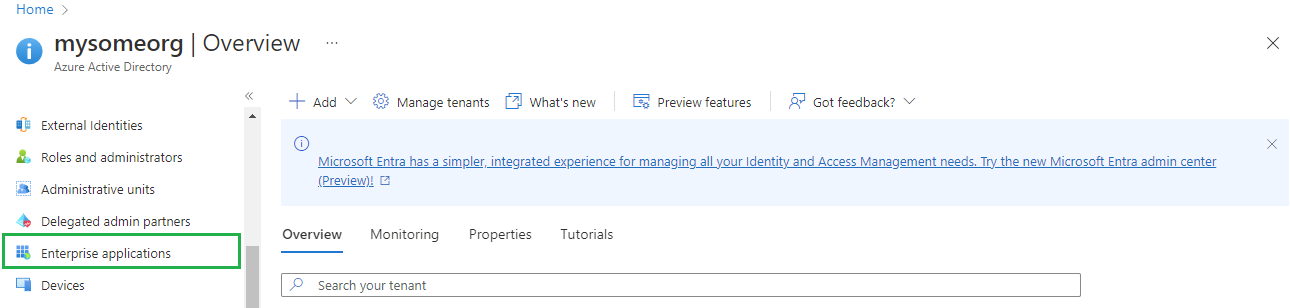
Select
Enterprise applicationsin the left sidebar.
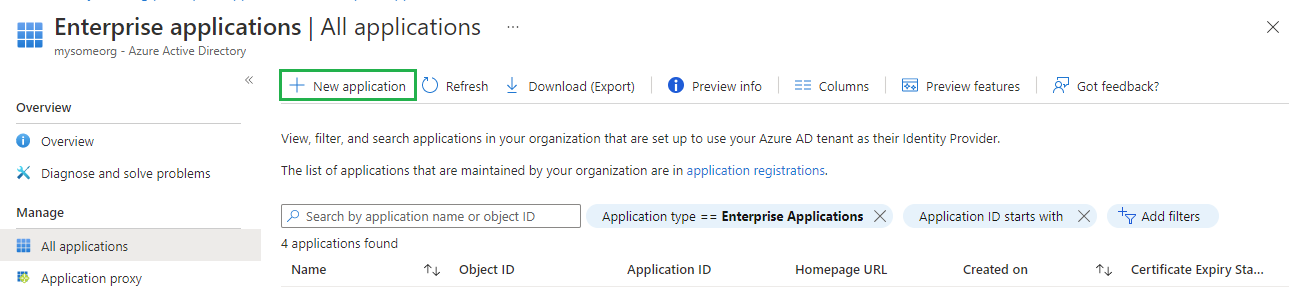
On
All applicationspage, clickNew application.
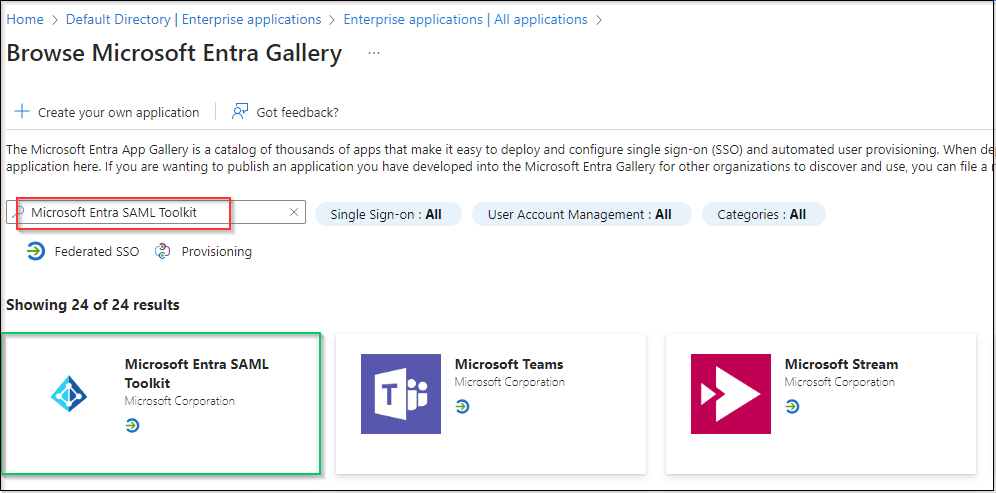
On
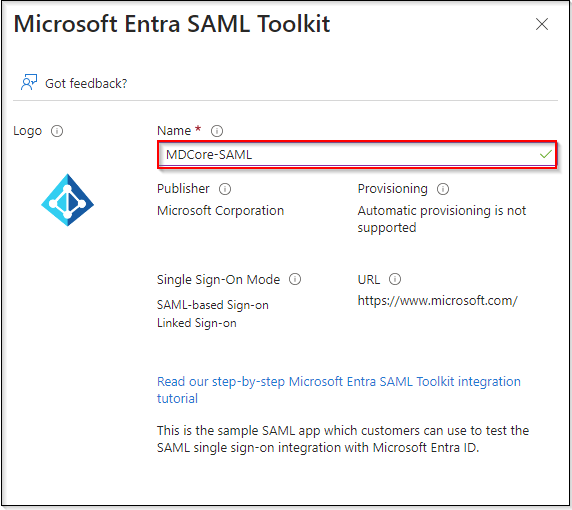
Browse Azure AD Gallerypage, search for "Microsoft Entra SAML Toolkit" and click onMicrosoft Entra SAML Toolkitin the result panel.
Fill in
Namefield with MDCore-SAML**,** for example, and clickCreatein the right sidebar.
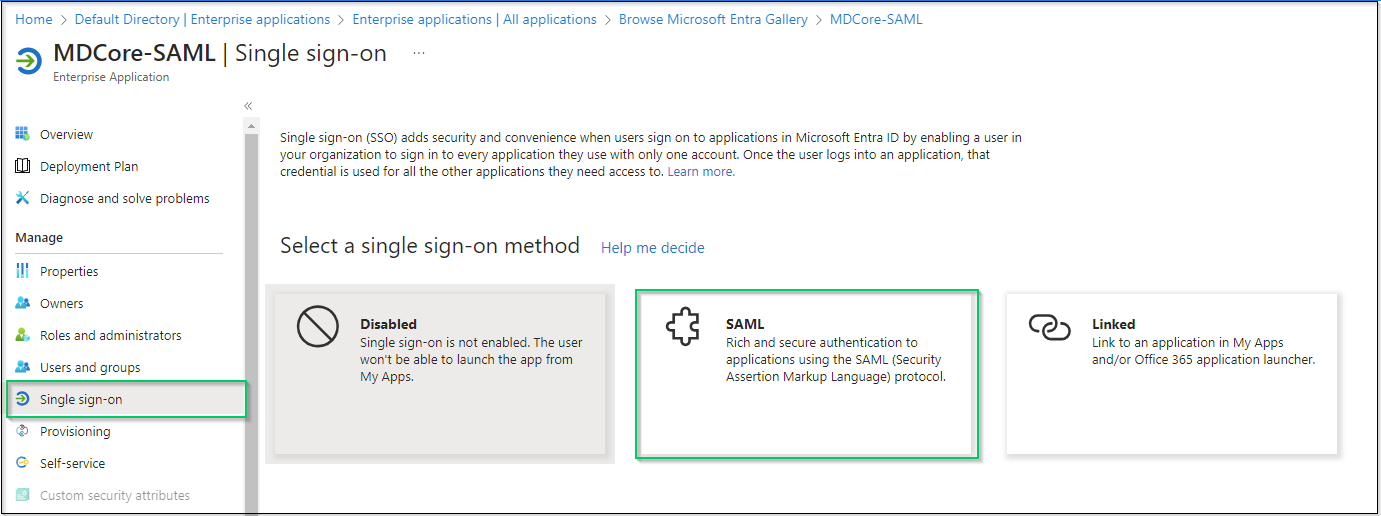
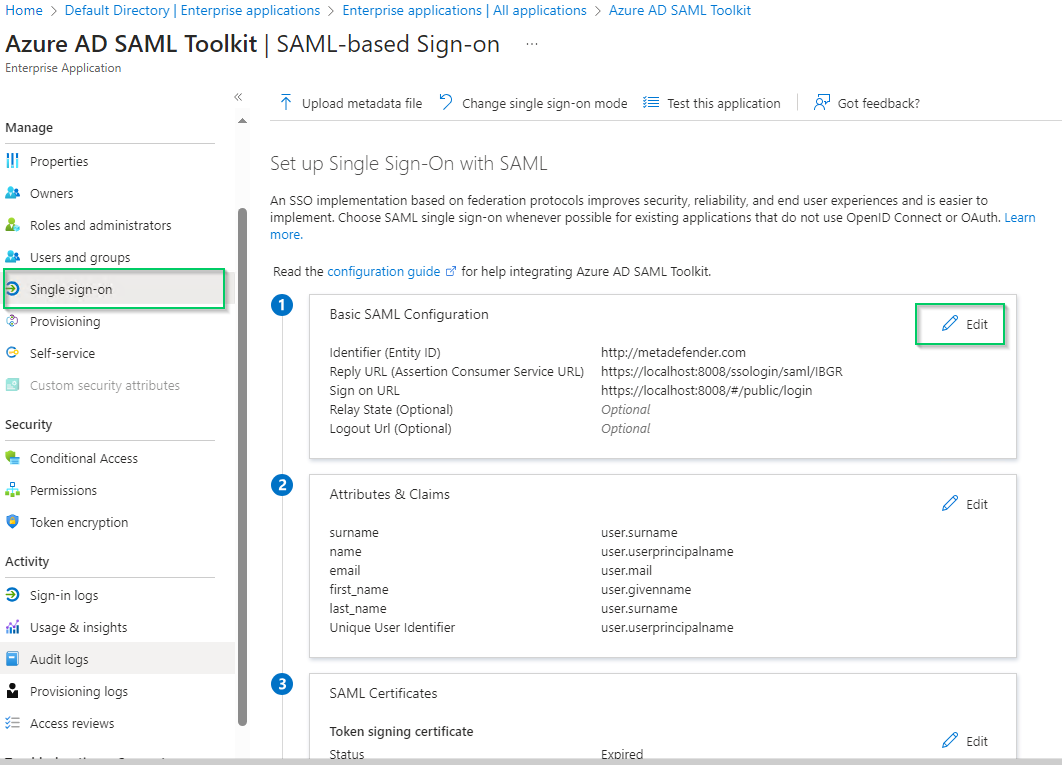
Navigate to
Single sign-onon the left sidebar and clickSAML.
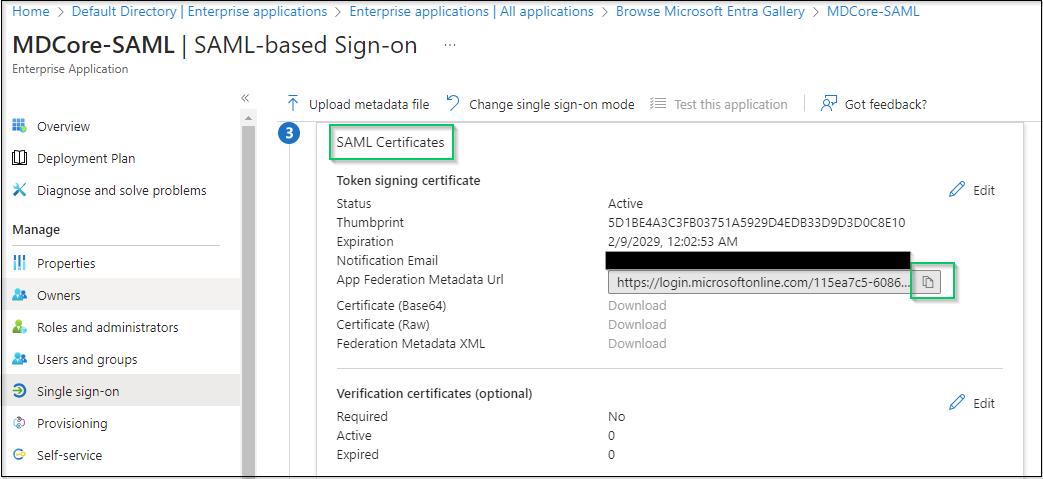
Go to
SAML Certificatessection, click the copy button at the far right ofApp Federation Metadata Urland store as metadata_uri.
Navigate to
Users and groupsin the left sidebar, clickAdd user/group.
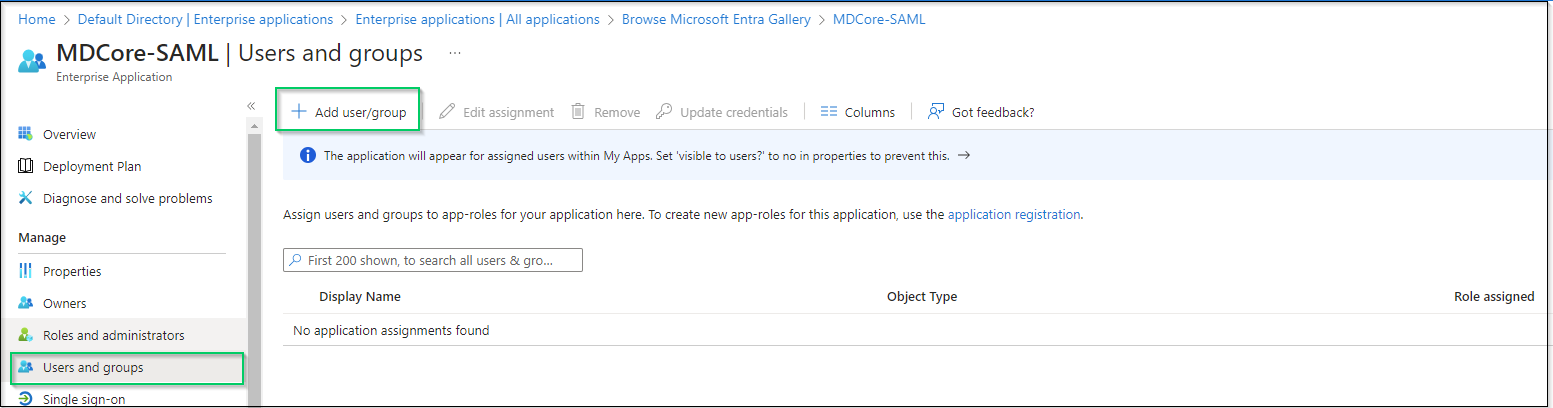
On
Add Assignmentscreen, clickNon Selectedand add users who are allowed to log in to the app, then clickSelectin the right panel.
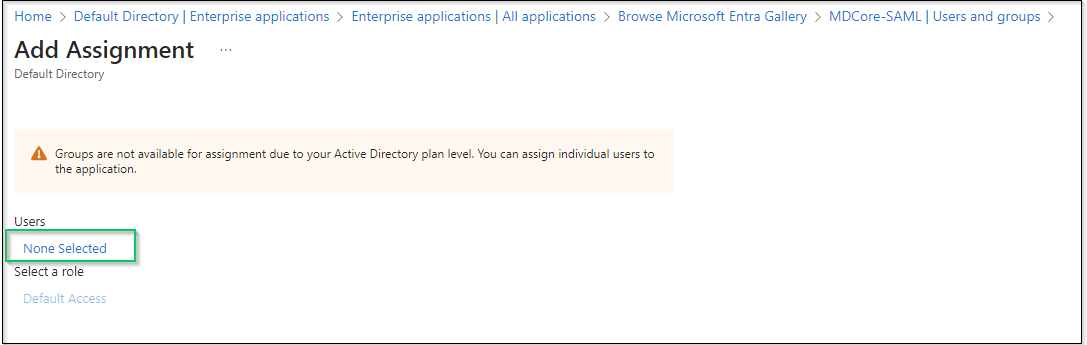
Finally, click
Assignto complete.
Create SAML directory in MetaDefender Core
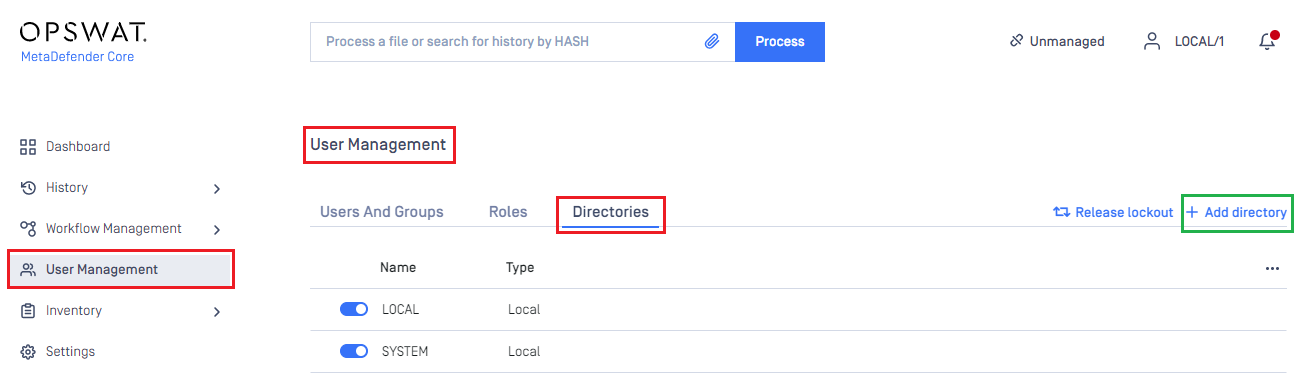
Sign in to MetaDefender Core management console.
On the dashboard, click
User Managementin the left sidebar.In
User Managementpage, selectDirectoriestab and click onAdd directoryin the top right corner.
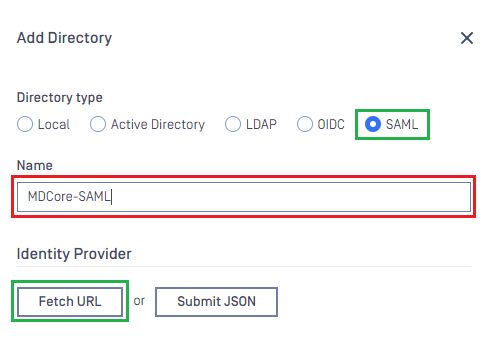
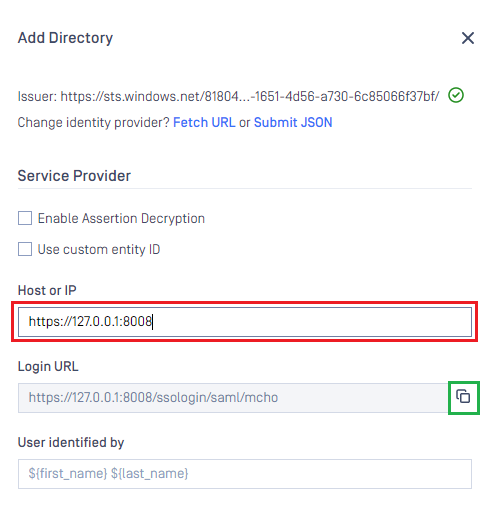
In
Add Directorypage, choose SAML inDirectory type, enter a name for the new directory, such as MDCore-SAML and clickFetch URL.
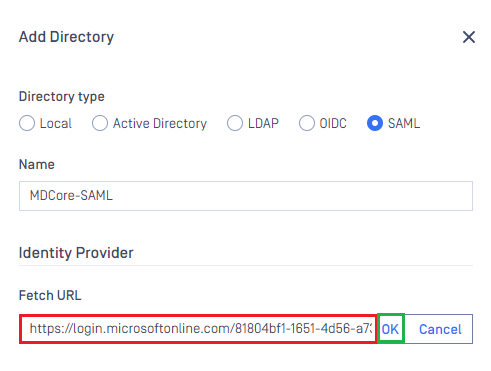
Paste the URI stored in metadata_uri into the box under
Fetch URL, then clickOKand wait a moment for MetaDefender Core to set Microsoft Entra ID as its IDP.
In
Service Providersection, fill inHost or IPwith the address where MetaDefender Core is hosted, for example https://127.0.0.1:8008.Copy the
Login URLand store in reply_uri for the later steps.
Complete configuration in Entra ID
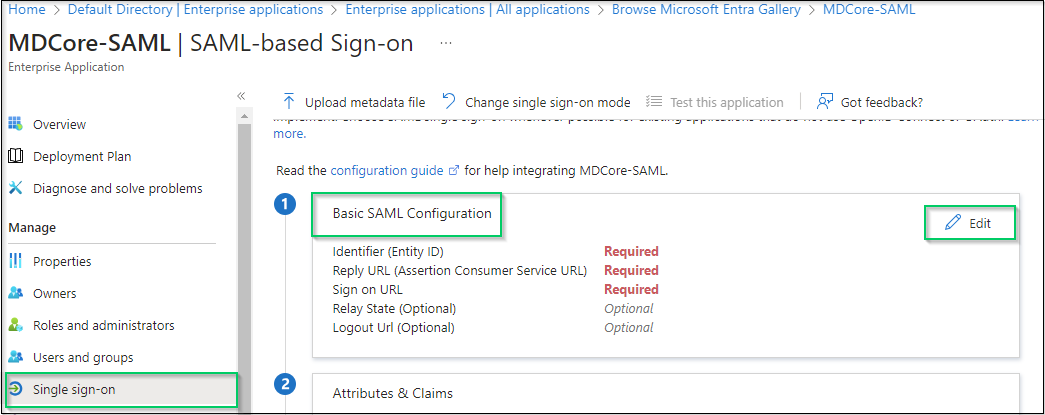
Switch back to Microsoft Entra ID, on
SAML-based Sign-onpage, navigate toBasic SAML Configurationand clickEditin the top right corner.
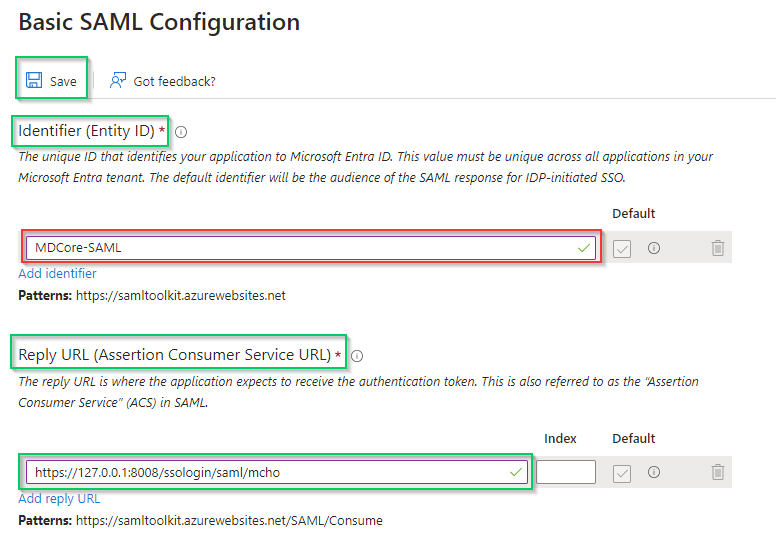
Navigate to
Identifier (Entity ID)in the right sidebar, clickAdd identifier, then enter a unique ID to identify MDCore, such as MDCore-SAML. Store the identifier to identifier.Navigate to
Reply URL(Assertion Consumer Service URL), clickAdd reply URLand fill in the URI with the value stored in reply_uri and clickSave.
Navigate to
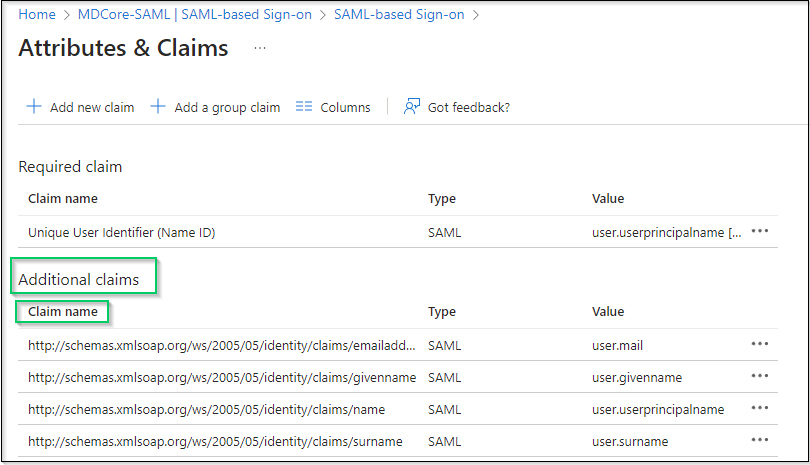
Attributes & Claims, then clickEdit.
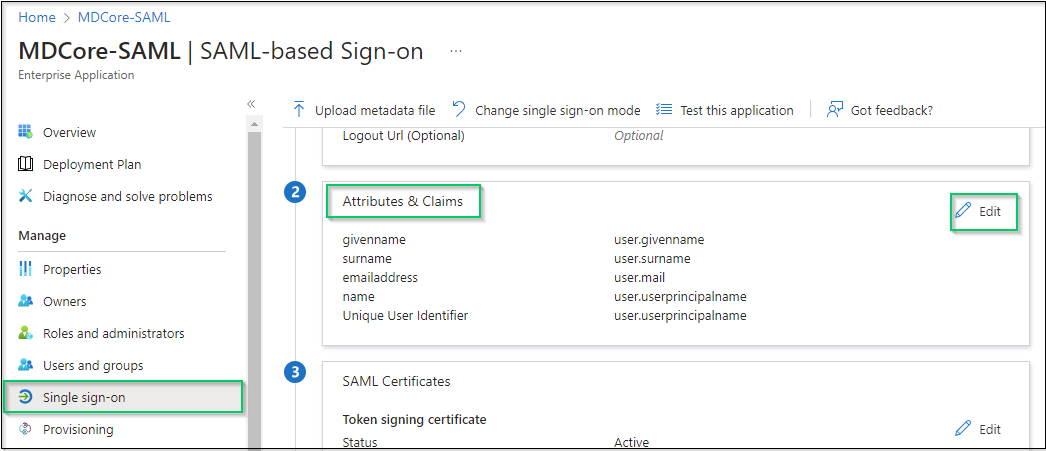
In
Attributes & Claimspage, go toAdditional claims, and click on any item underClaim nameto change its name.
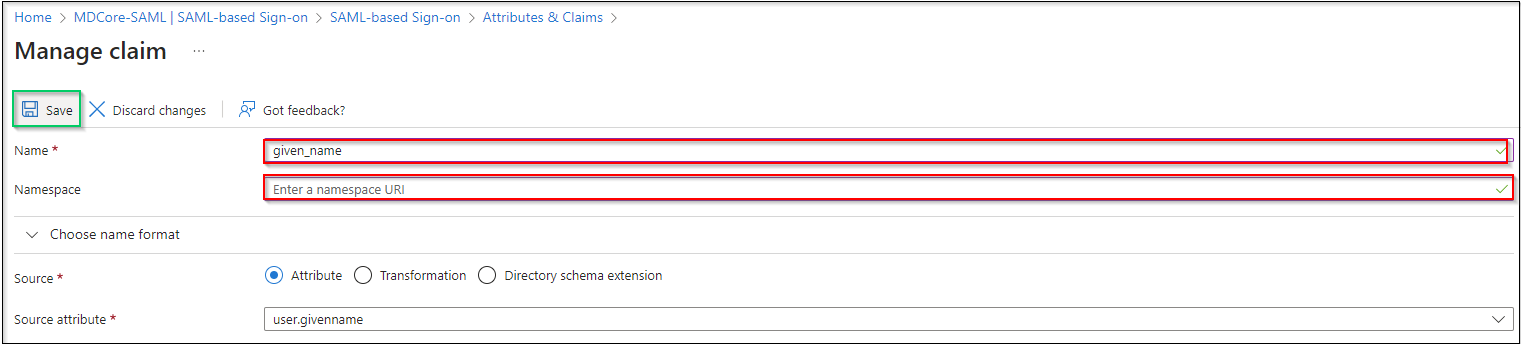
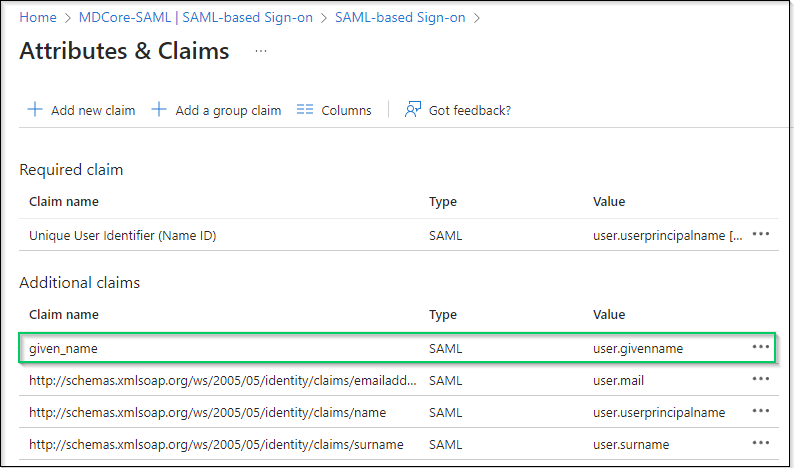
Change value of
Namefield, leaveNamespaceempty and clickSaveto complete. In this instruction, the claim name is changed to given_name, which will be used later to identify the logged-in user on MetaDefender Core.
If the names of attributes and claims provided by Microsoft Entra ID are sufficient, the customers are recommended for direct use in identifying the logged-in user in MetaDefender Core.
Complete configuration in MetaDefender Core
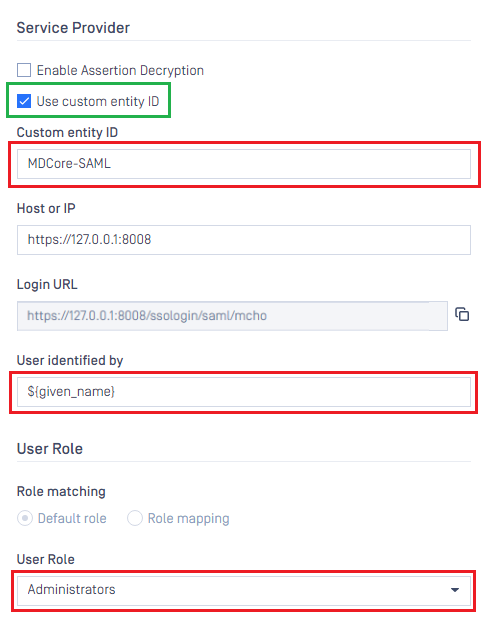
Switch back to MetaDefender Core screen. Under
Service Provider, go toUse custom entity IDand fill in it with value stored in identifier, MDCore-SAML in this example.Fill in
User identified bywith ${given_name}.
If the namespace is not removed from the claim name in step 6 of the previous section, the full claim name including the namespace must be used here to build user identity.
For example, if the claim of http://schemas.xmlsoap.org/ws/2005/05/identitity/clams/given_name is added to Microsoft Entra ID, then ${http://schemas.xmlsoap.org/ws/2005/05/identitity/clams/given_name} should be used by MetaDefender Core to build user identity.
Select appropriate role for the user under
User Role.Click
Addto complete the settings.
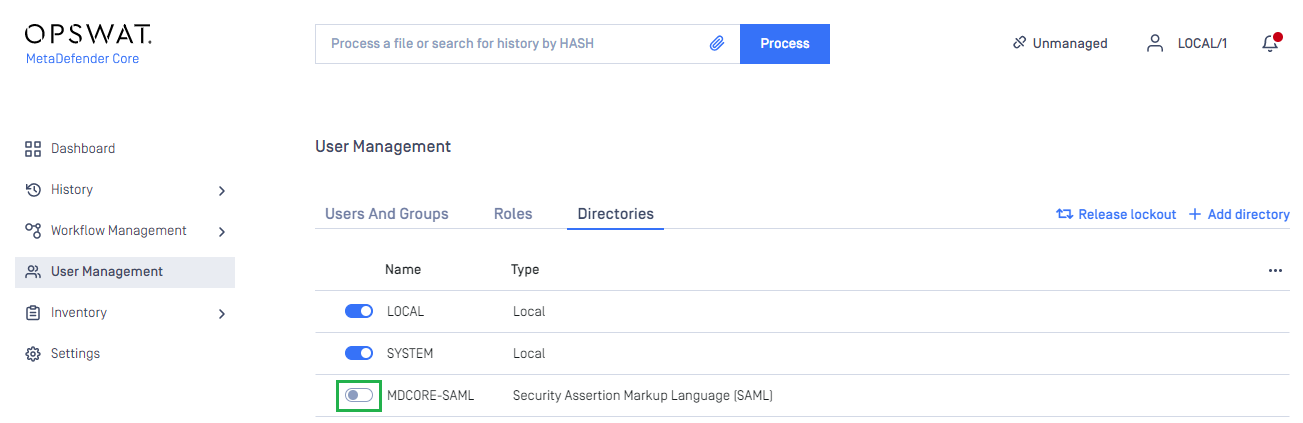
In
User Managementscreen of MetaDefender Core, toggle the new directory named MDCORE-SAML. A dialog box appears to confirm the action. OnceEnableis clicked, all sessions are expired immediately.
Test the integration
At the home screen of MetaDefender Core, click
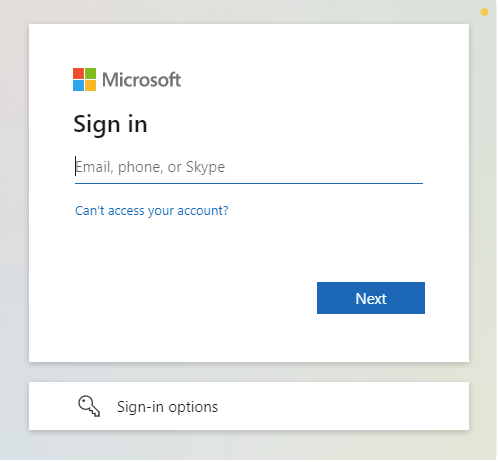
Login; the user is redirected to Microsoft Entra ID sign-in page.
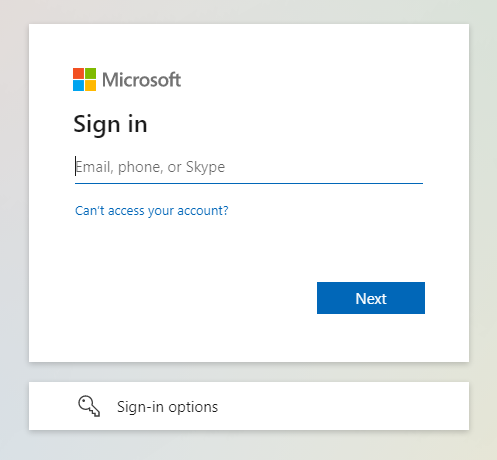
Sign in using the account registered with Microsoft Entra ID.
If everything goes correctly, MetaDefender Core dashboard is displayed with user's identity shown in the top right corner.
Otherwise, access backup login page at
<mdcore-host>#/public/backuploginfor trouble shooting.
Setup pseudo IdP-initiated SSO
Microsoft Entra ID does not support IdP-initiated SSO in the same way as other Identity Providers. It actually accesses the login page of its SP and does initiate Single Sign-in from there; so basically, it is SP-initiated.
Sign in to Azure management page.
Navigate to
Azure servicessection, click onMicrosoft Entra ID.
In the left sidebar, click on
Enterprise applications.

Select
Azure AD SAML Toolkitfrom the list of enterprise applications.

Choose
Single sign-onin the left sidebar, go toBasic SAML Configurationsection, and clickEditat the top right of the section.
In
Basic SAML Configurationright sidebar, enter Core login URL in the field underSign on URL.
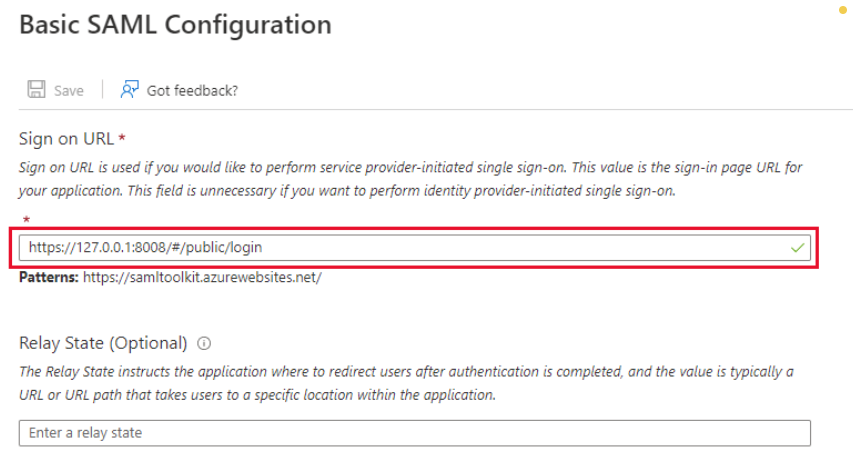
Click
Saveto complete.
Test IdP-initiated SSO
Sign in to Azure management page.
Navigate to
Azure servicessection, and selectMicrosoft Entra ID.In the left sidebar, click on
Enterprise applications.Choose
Azure AD SAML Toolkitfrom the list of enterprise applications.Go to
Propertiestab.
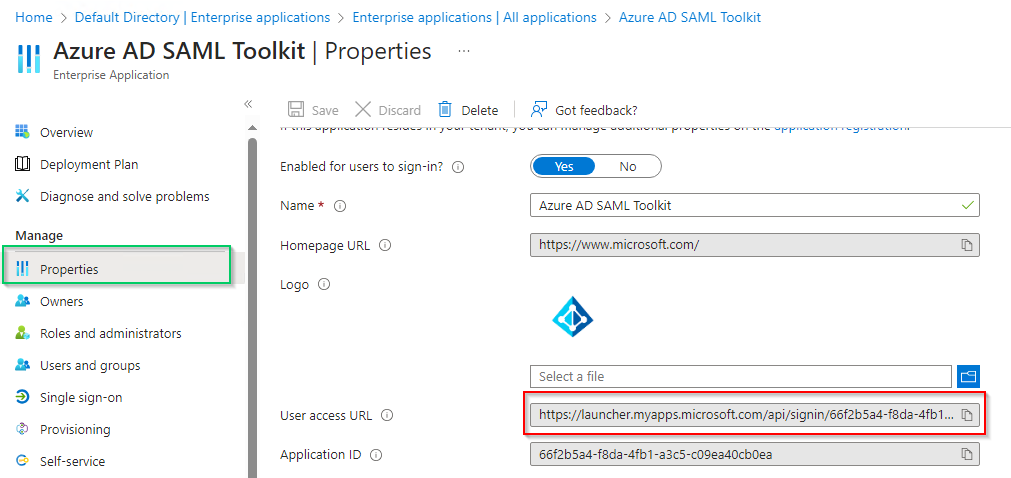
Copy the URL next to
User access URL.Paste the copied URL into your browser and sign in.
If everything goes well, MetaDefender Core dashboard will appear with the user identity displayed in the top right corner.

Otherwise, access backup login page at
<mdcore-host>#/public/backuploginfor trouble shooting.