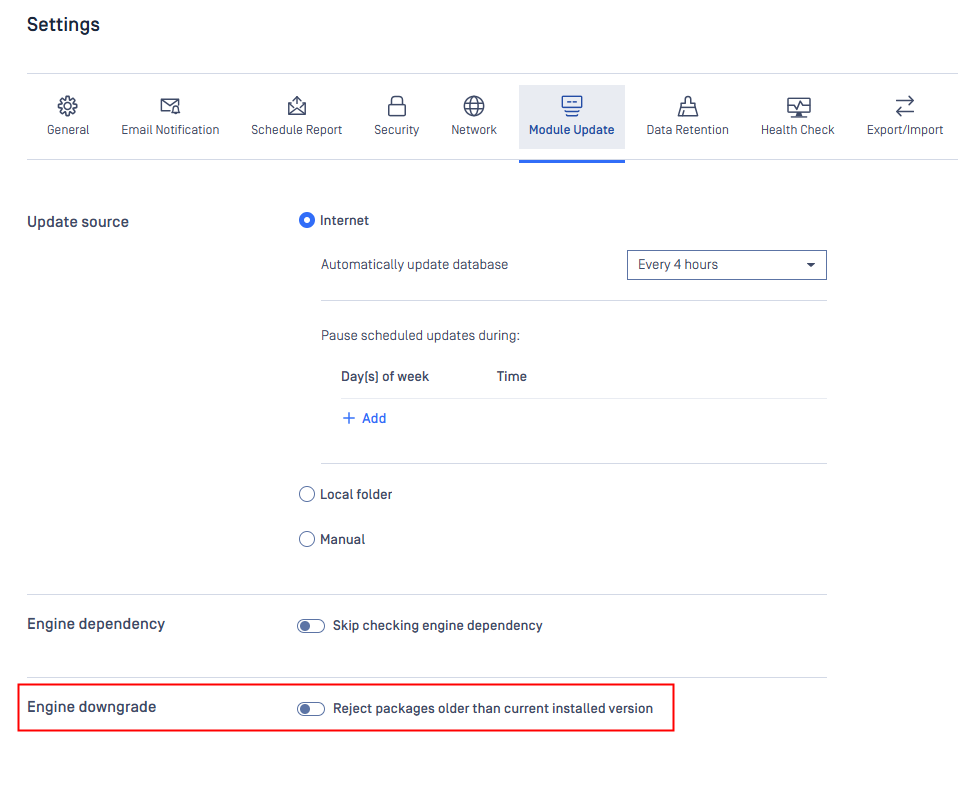
Update settings are accessible under Settings > Module Update tab .
On this page the update mechanism can be chosen between three different methods
Internet: automatic update downloading from the internet.
Local folder: searching for updates in a specific folder.
Manual: disable auto update
Internet update
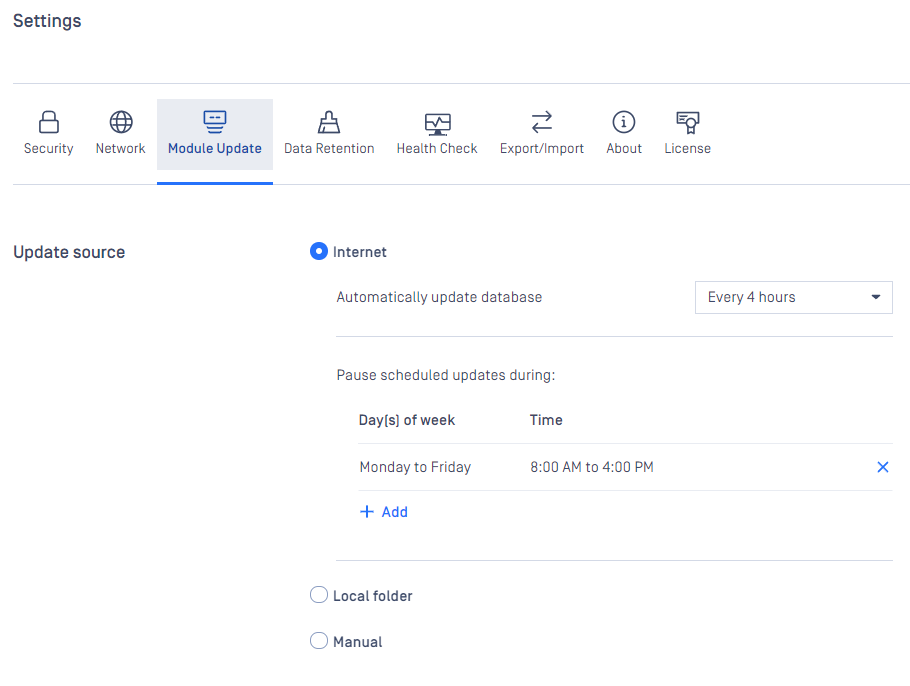
Choosing the Internet method means the product will typically perform automatic update downloads from the internet. In cases where the Core is managed by My OPSWAT / Central Management, the product will perform automatic update downloads from My OPSWAT / Central Management.
To set the frequency of these updates choose the corresponding value presented on the Automatic database updates scrollbar.
Setting the interval to off, means the update will only occur, when the Update all button is clicked on the engines page under Inventory > Modules.
With the Updates are not applied during field it is configurable when NOT to distribute update packages to scan nodes.
Local folder update
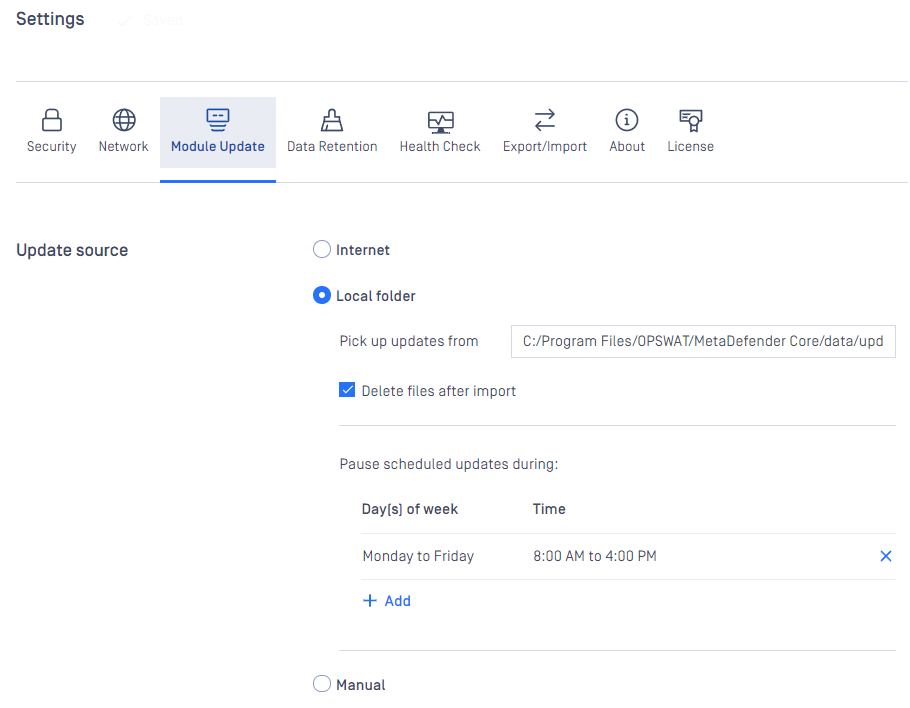
Choosing the Folder method will make the product searching for updates in a specific folder set in the Pick up updates from option.
The pick folder you select must grant read and write permissions to the MetaDefender Core process; without that access, the product cannot run as intended.
Network mapped drive and UNC path is also accepted.
On Windows, make sure to grant MetaDefender Core (run as SYSTEM account) to access the location and execute files within where you map the network drive.
The product watches the folder for modification, whenever the content is modified it will try to pick up the files placed under the folder.
Another option of this method is Delete files after import, which means product will delete files after they were processed successfully. This means even if an update could not be applied, it will be removed because it was processed without any issue.
With the Pause scheduled updates during field, it should be defined to indicate when you do NOT want MetaDefender Core to perform the engine update activity.
Manual update
Choosing the Manual option will turn off any automatic update mechanism stated above and only accepts updates on the engines page under Inventory > Technologies.
Advanced configuration for UNC path
On Windows, make sure the shared folder have permission for SYSTEM account
There are 2 options for input UNC path to pickup folder:
Input directly UNC path to the configuration, for example: \ABC-D1111\test or \192.168.0.1\test
But to use this format, MetaDefender Core server and shared folder's machine need to be on the same domain
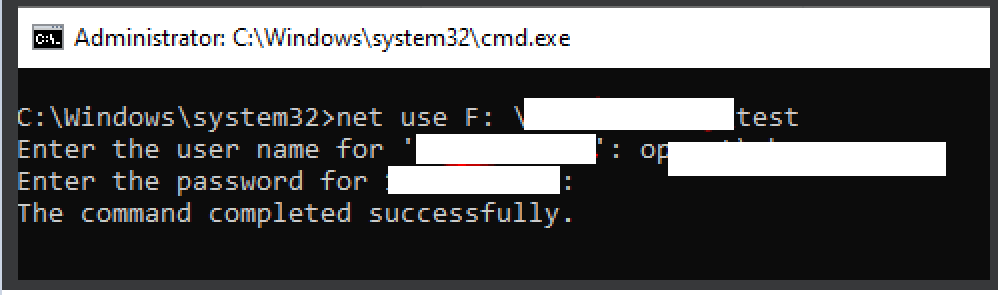
Map network drive to local drive, here is the step by step:
Us PSTools to map network drive with local drive for SYSTEM account, for example we will map \192.168.0.1\test with F drive:
Download PSTools and extract it
Open CMD in Administrator
PsExec.exe -s net use F: \192.168.0.1\test
After that, add F:\ in pickup folder
Since the drive is mapped using the SYSTEM account, the mapping is removed upon restarting the machine. Therefore, it is necessary to re-run the command to remap the drive after each restart.
PsExec.exe -s net use F: \192.168.0.1\test
Prevent Engine Downgrade
By default, MetaDefender Core installs any engine or database package whose version differs from the currently installed version, regardless of whether the package version is newer or older. This behavior is intentional and designed to provide flexibility for package management.
MetaDefender Core also provides a setting that blocks downgrades of engine and database packages. When enabled, an installed package cannot be replaced by an older one, which helps protect your deployment from accidental rollbacks to outdated threat definitions.