ADFS requires MetaDefender Core to enable HTTPS for connections. Please follow these steps to first enable HTTPS on MetaDefender Core.
Add Relying Party Trust for ADFS
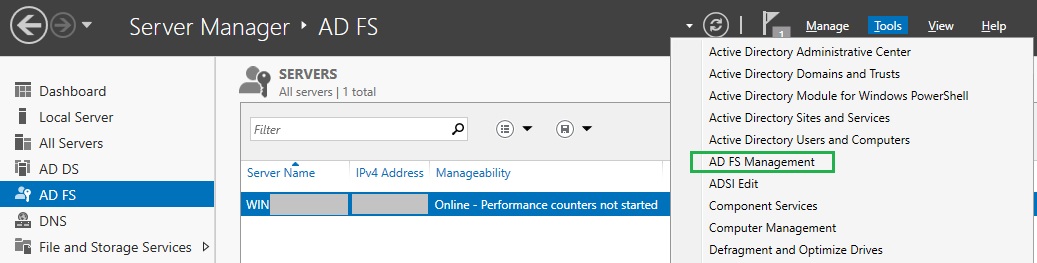
In the top right corner of
Server Manager, clickToolsand selectAD FS Managementfrom the drop-down list.
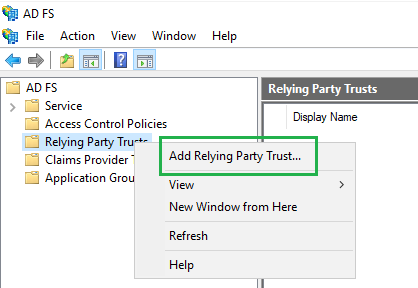
In
AD FSwindow, right click onRelying Party Trustsand selectAdd Relying Party Trustfrom the drop-down menu.
In
Add Relying Party Trust Wizard,selectClaims awareon theWelcomepage and clickStart.On
Select Data Sourcepage, chooseEnter data about the relying party manuallyand clickNext.On
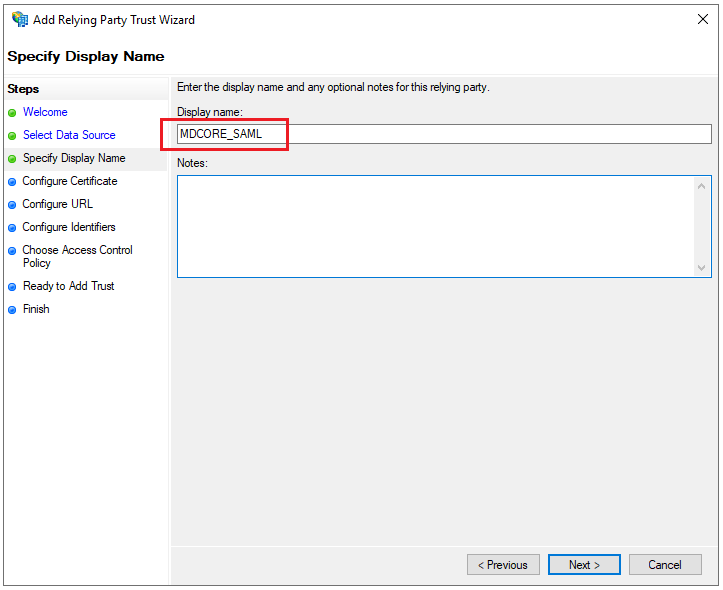
Specify Display Namepage, provide a descriptive name for your relying party, e.g. MDCORE_SAML, and clickNext.
Click
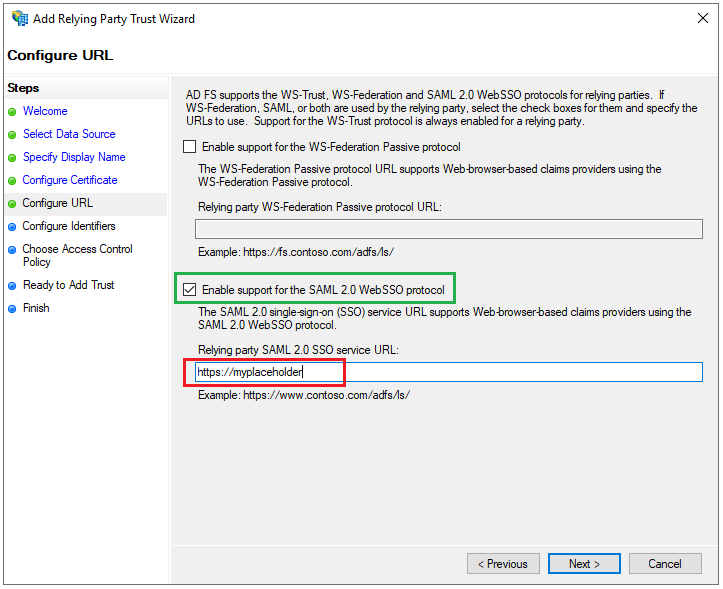
NextonConfigure Certificatepage.On
Configure URLpage, check the box forEnable support for the SAML 2.0 WebSSO protocoland set a placeholder, using https://myplaceholder as an example, forRelying party SAML 2.0 SSO service URL.
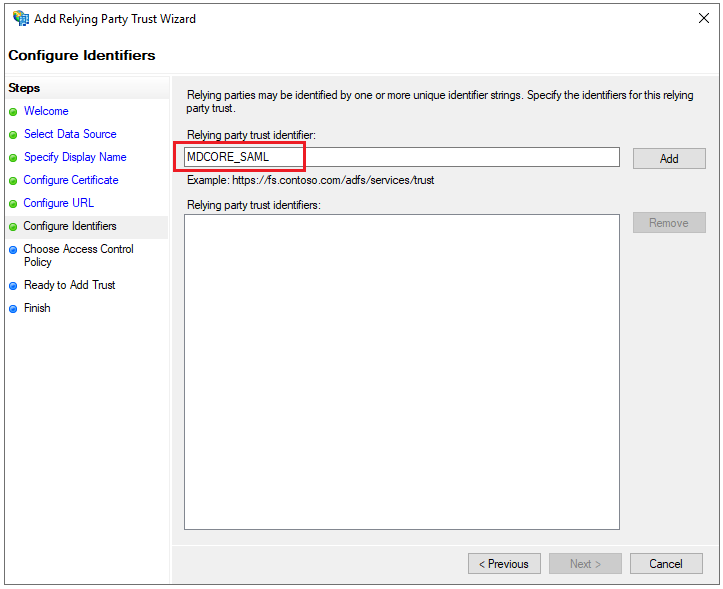
On
Configure Identifierspage, set MDCORE_SAML asRelying party trust identifier, then clickAddandNext.
On
Choose Access Control Policypage, selectPermit everyoneand clickNext.Click
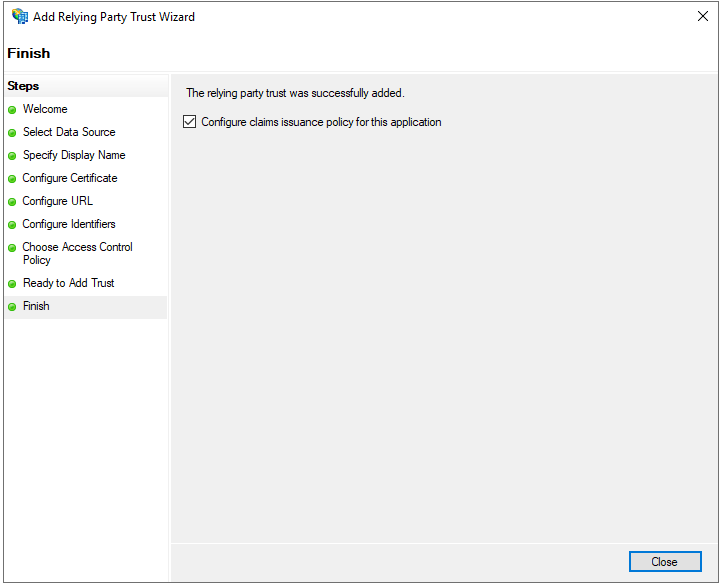
NextonReady to Add Trustpage to save your information.If everything goes well,
Finishpage will be displayed for you to clickClose.
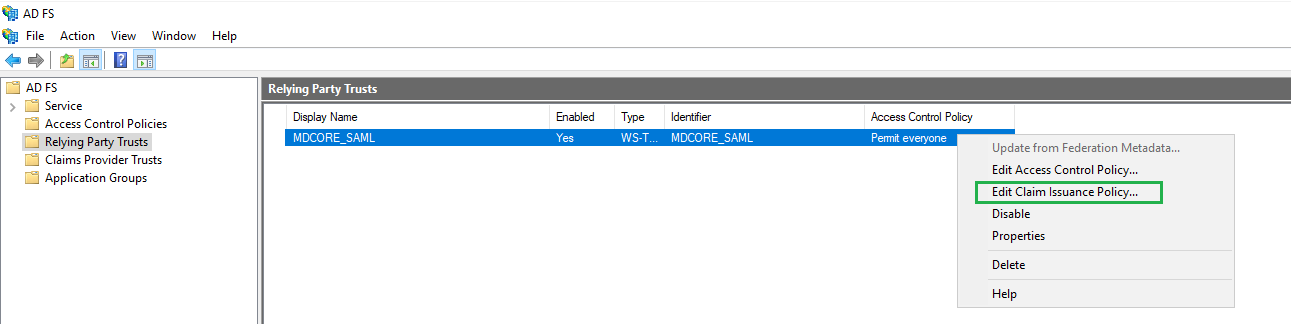
Configure claims Issuance Policy for ADFS
In
Relying Party Truststable ofAD FSwindow, navigate to the item MDCORE_SAML that was added in the previous step, right-click on it, and selectEdit Claim Issuance Policy...from the drop-down menu.
Click
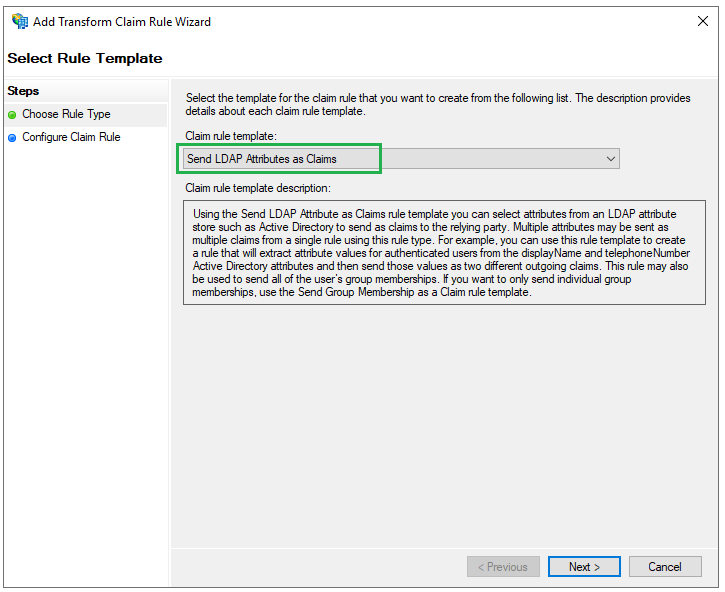
Add Rule.Select
Send LDAP Attributes as ClaimsforClaim rule template, and clickNext.
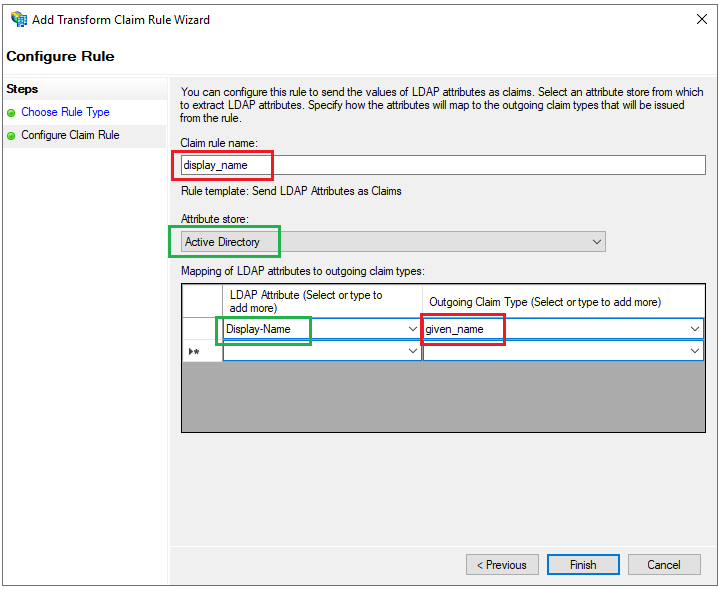
Enter a name for
Claim rule name, for instance, display_name. SelectActive DirectoryforAttribute Store. UnderLDAP Attributecolumn, chooseDisplay-Namefrom the drop-down list, type given_name for theOutgoing Claim Typecolumn, and clickFinish.
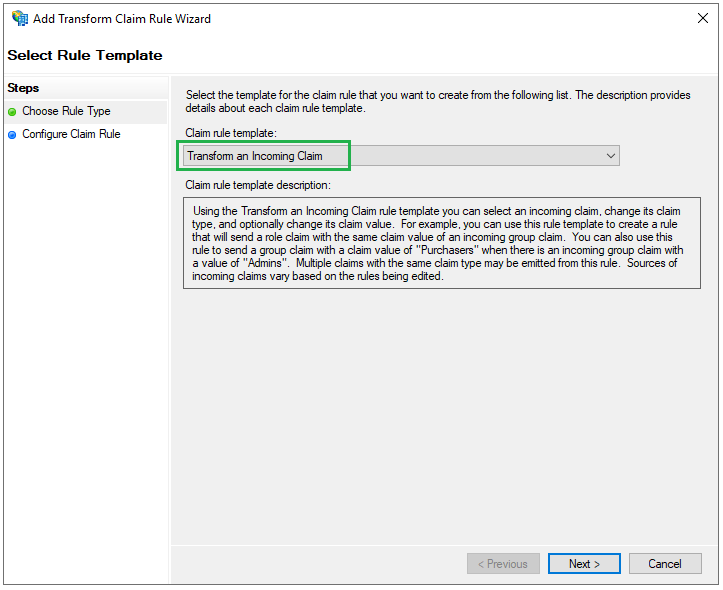
Click
Add Ruleonce more. AtChoose Rule Typeoption, selectTransform an Incoming ClaimforClaim rule templateand clickNext.
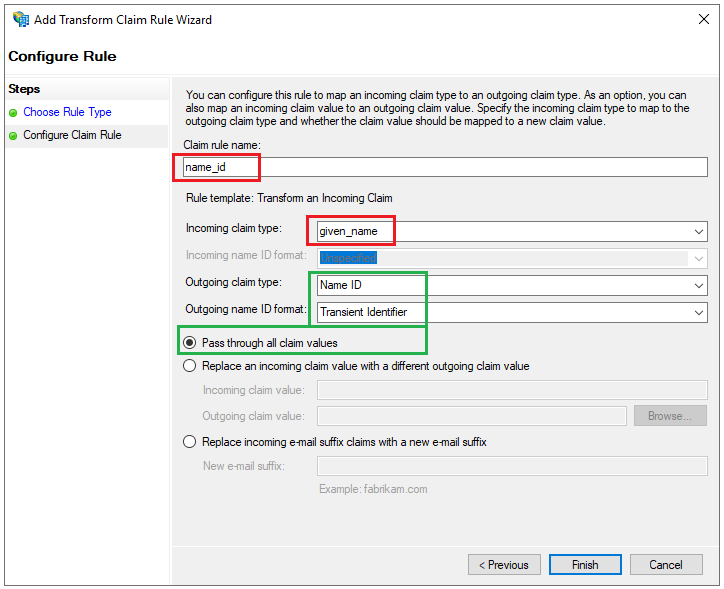
Enter name_id for the
Claim rule nameand given_name from step 4 forIncoming claim type. SelectName IDforOutgoing claim typeandTransient IdentifierforOutgoing Name ID formatfrom the respective drop-down lists. Finally, checkPass through all claim valuesand clickFinish.
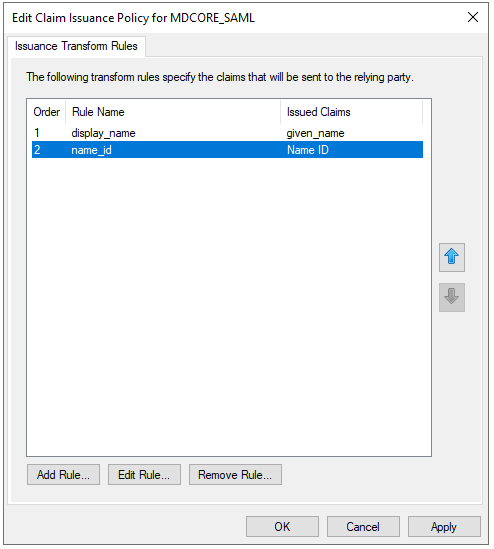
Click
Applyon the next page andOKto close the wizard.
Create a SAML directory in MetaDefender Core
Sign in to MetaDefender Core.
On the dashboard, click
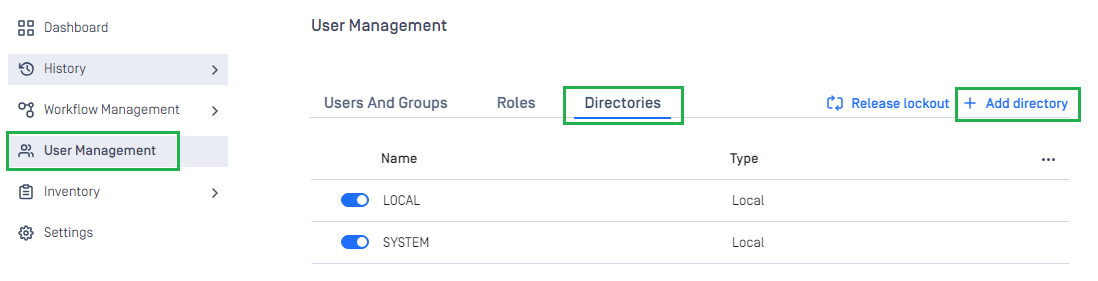
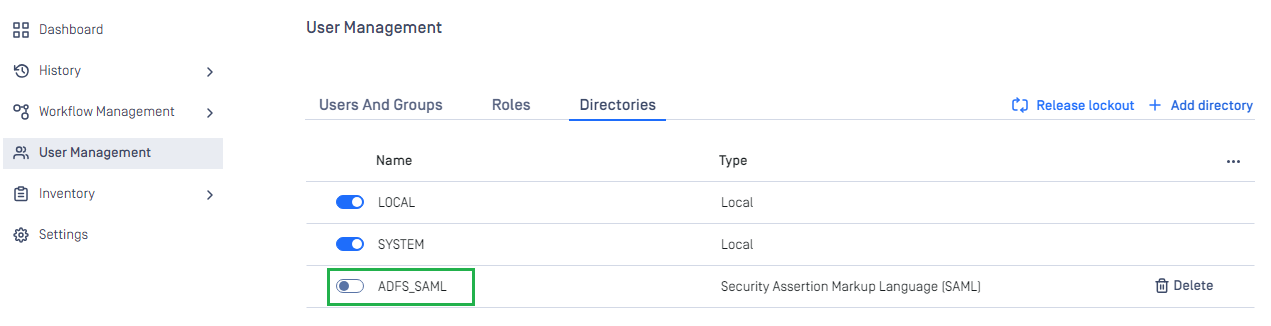
User Managementin the left sidebar.On
User Managementpage, selectDirectoriestab and clickAdd Directoryin the top right corner .
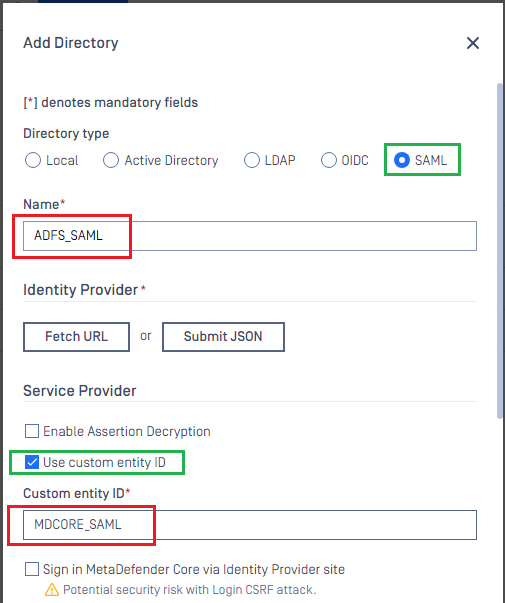
On
Add Directorypage, choose SAML asDirectory type.Enter the name of the new directory, such as ADFS_SAML .
In
Service Providersection, checkUse custom entity IDand type MDCORE_SAML inCustom entity IDtext box.
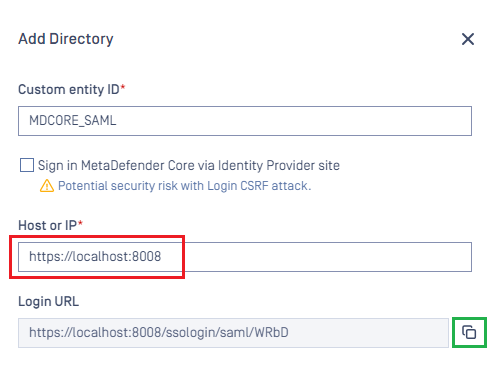
In
Service Providersection, fill inHost or IPfiled with the address where MetaDefender Core is hosted , using https://localhost:8008 as an example.Copy
Login URL.
Modify Replying Party Trust on ADFS
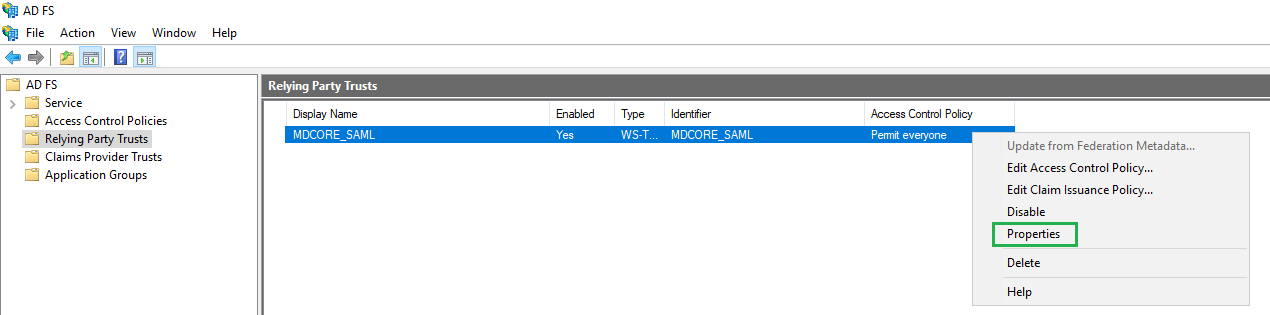
Access
AD FS Managementtool fromServer Manager, selectRelying Party Trusts, right click on the item MDCORE_SAML, and chooseProperties.
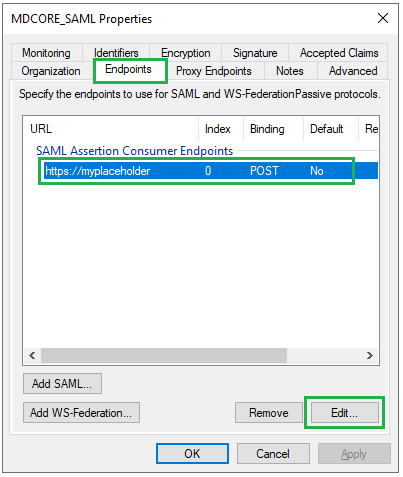
Navigate to
Endpointstab, select https://myplaceholder, and clickEdit.
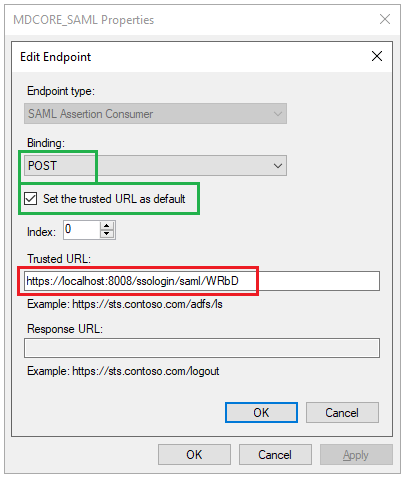
Select
POSTfrom the drop-down list forBinding. CheckSet the trusted URL as default, then paste theLogin URLfrom MetaDefender Core intoTrusted URLand clickOK.
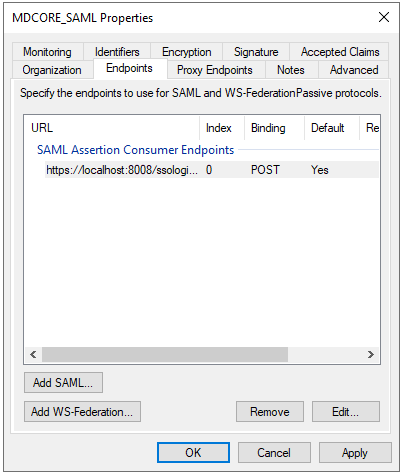
Click
ApplyandOKto complete the Relying Party Trust modification.
Complete configuration in MetaDefender Core
Access
AD FS Managementtool fromServer Manager, expandAD FS-->Service-->Endpoints. InEndpointspanel, navigate toMetadatasection and copy the URL path of typeFederation Metadata.
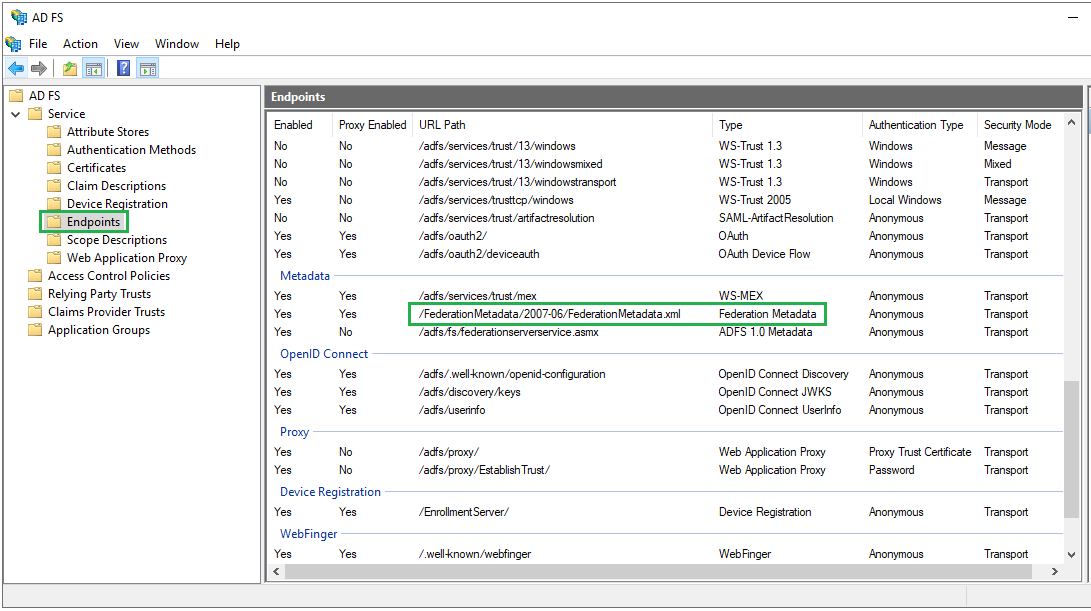
Build the complete URL to the metadata endpoint by appending the path from step 1 to the qualified domain name of ADFS.
For example:
Switch back to MetaDefender Core. Under the section
Identity Provider, clickFetch URLand paste the link above into the box underFetch URL, then clickOKto ensure MetaDefender Core can set ADFS as its IDP.Under the section
Service Provider, fill in the user identity underUser identified bywith the configured values ofOutgoing Claim Type, e.g. ${given_name}.Select the appropriate role for the user under
User Role.Click
Addto complete the settings.

On
User Managementscreen, toggle the new directoryADFS_SAMLin this example. A dialog box appears to confirm the action. OnceEnableis clicked, all sessions are immediately expired, and ADFS is used to authenticate the user.
Test the integration
Click
Loginfrom the home screen of MetaDefender Core; the user is redirected to ADFS page.

Sign in with the account created in the system domain.
If everything goes right, the MetaDefender Core dashboard is displayed with the user identity set in the top right corner.

Otherwise, access backup login page at
<mdcore-host>#/public/backuploginfor trouble shooting.