Configuration
ADFS requires MetaDefender Core to enable HTTPS for connections. Please follow these steps to first enable HTTPS on MetaDefender Core.
Set up OIDC in ADFS
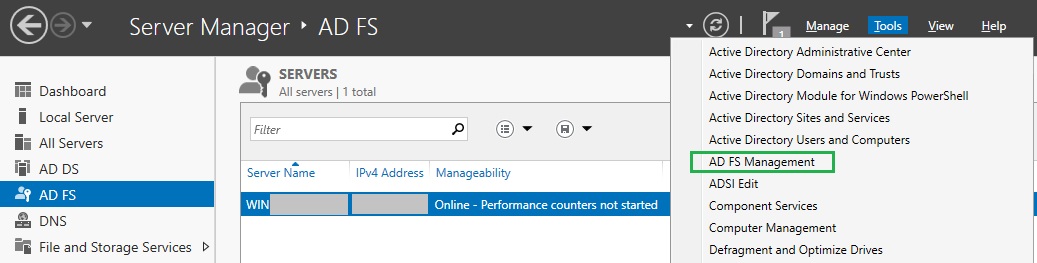
- In the top right corner of
Server Manager, click onToolsand selectAD FS Managementfrom the drop-down menu.
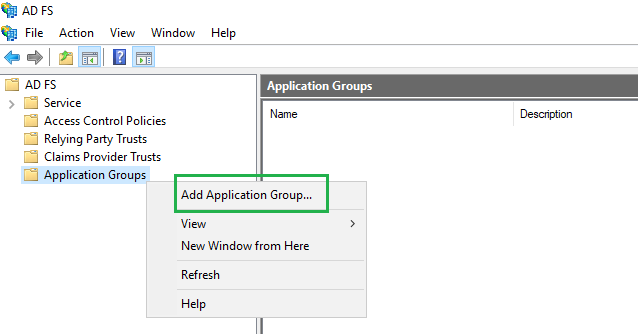
- In
AD FSwindow, right click onApplication Groupsand selectAdd Application Groupfrom the drop-down menu.
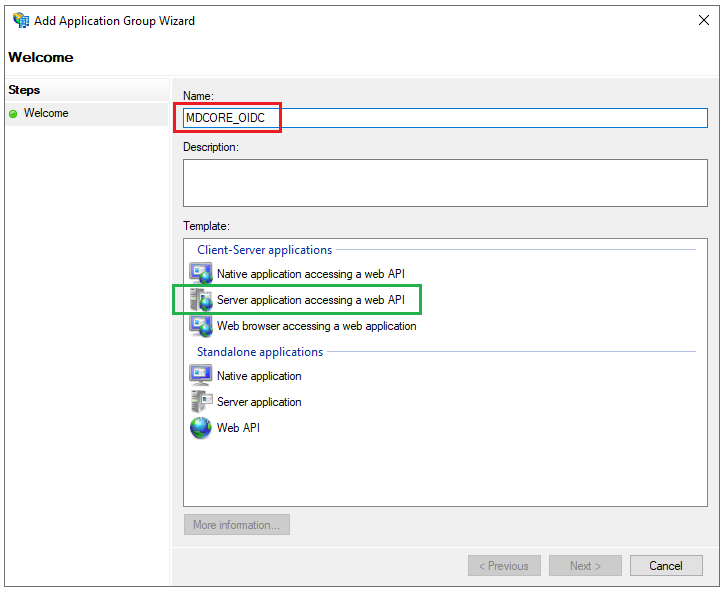
- On
Welcomepage, provide a descriptive name for your application , e.g. MDCORE_OIDC, selectServer application accessing a web APIunderTemplate, and clickNext.
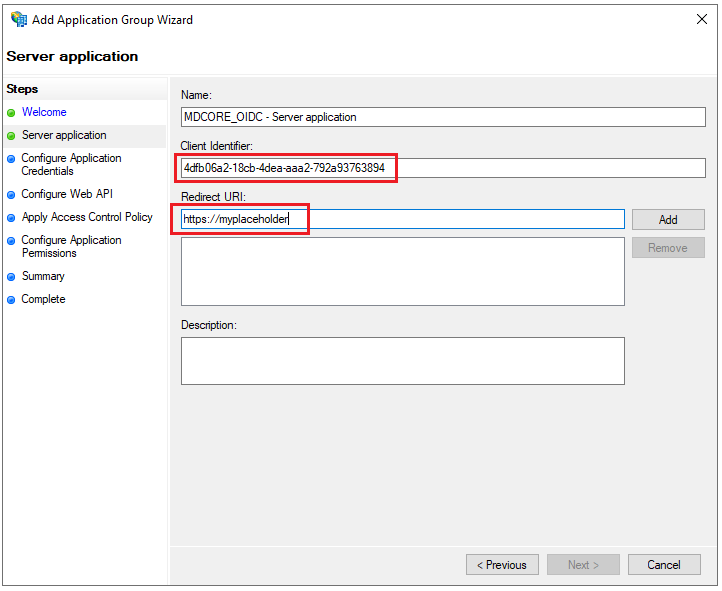
- On
Server applicationpage, copy the string underClient Identifierfor later use, set a placeholder https://myplaceholder forRedirect URI, then clickAddandNext.
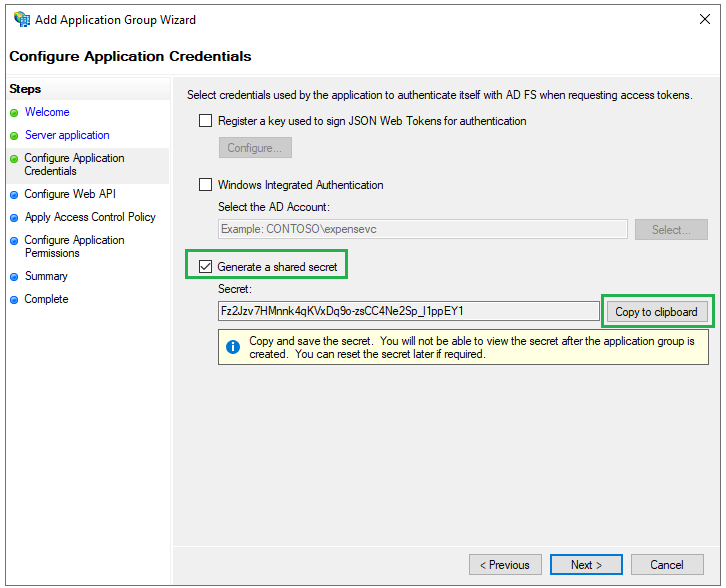
- On
Configure Application Credentialspage, checkGenerate a shared secret, clickCopy to clipboard, then save the secret string for later use and clickNext.
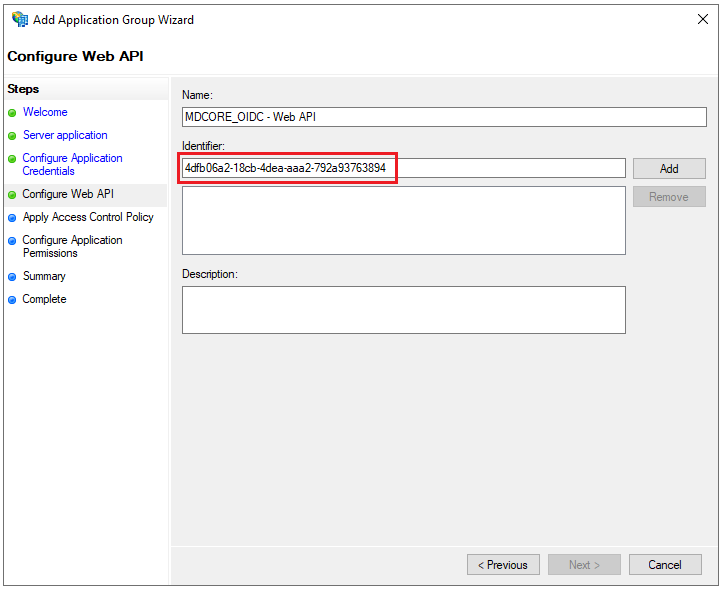
- On
Configure Web APIpage, enter the string ofClient Identifierfrom step 4 into the box underIdentifier, clickAdd, andNext.
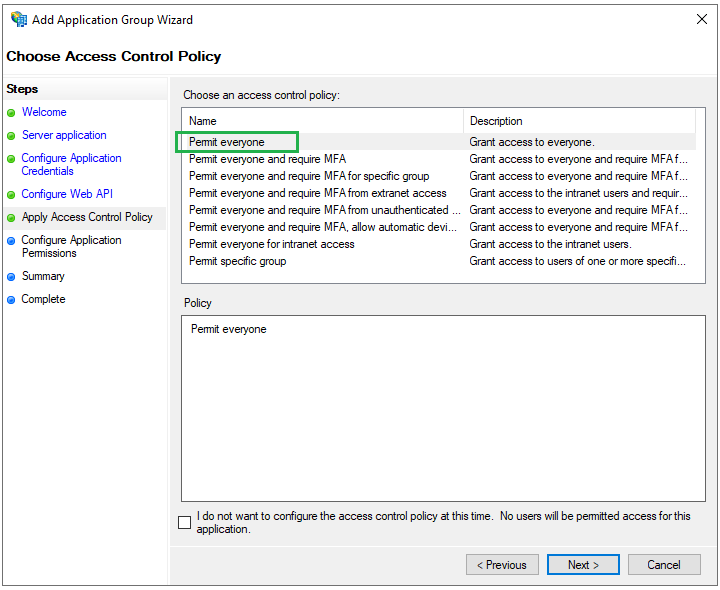
- On
Choose Access Control Policypage, selectPermit everyoneand clickNext.
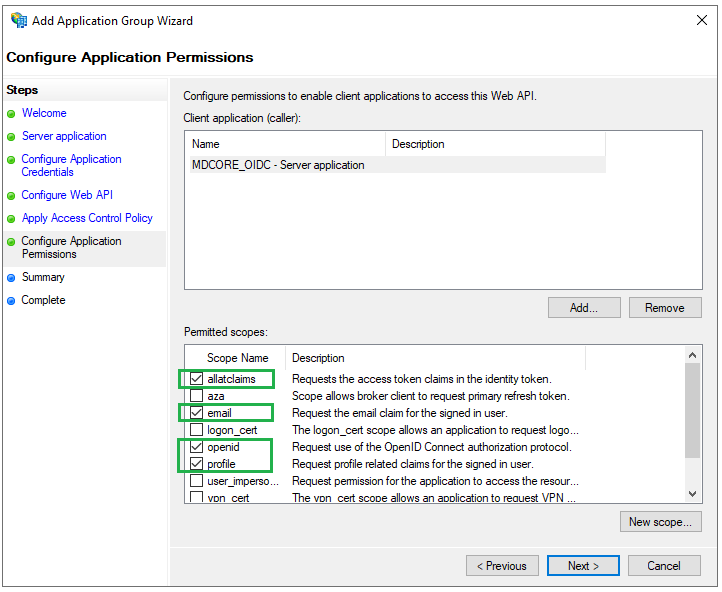
- On
Configure Application Permissionspage, select the scopesallatclaims,email,openid, andprofileunderPermitted scopes, and then clickNext.
- Click
Nexton the following page andCloseto finish.
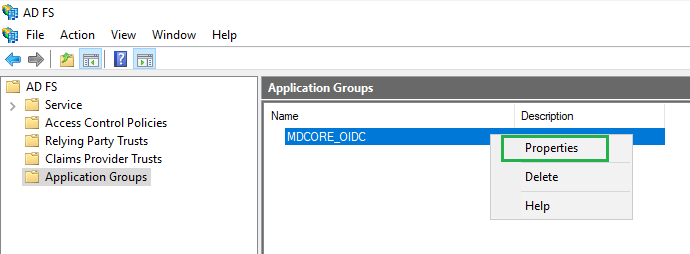
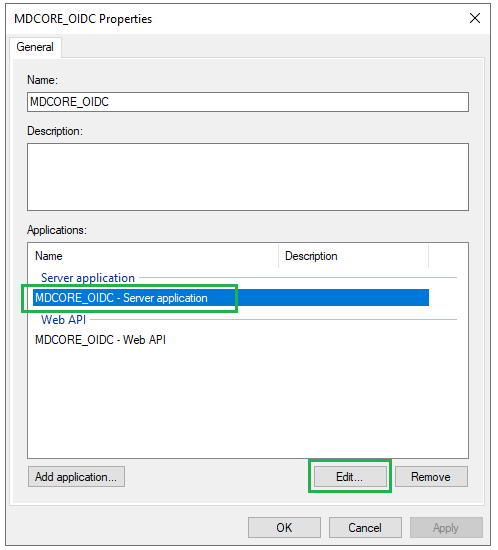
- Back in
AD FSwindow, right click on the item MDCORE_OIDC and selectProperties.
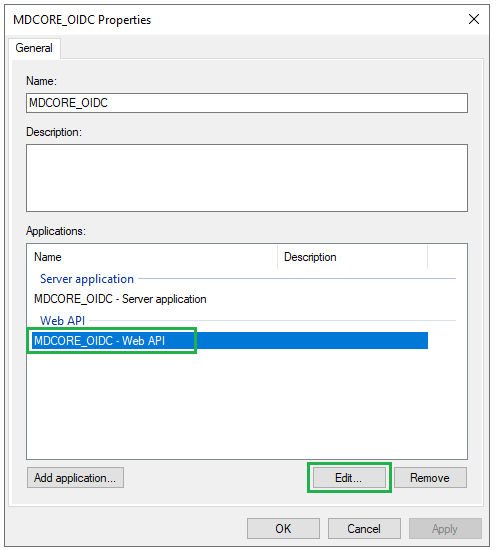
- Select
MDCORE_OIDC - Web APIand clickEdit.
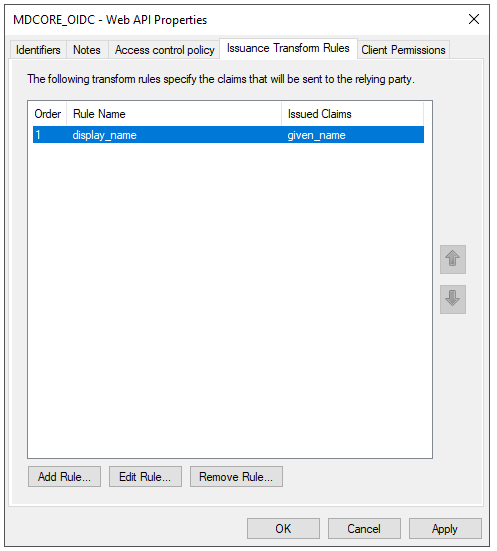
- Go to
Issuance Transform Rulestab and clickAdd Rule.
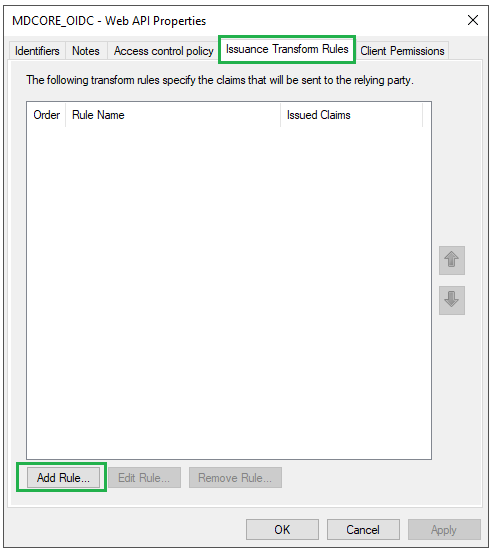
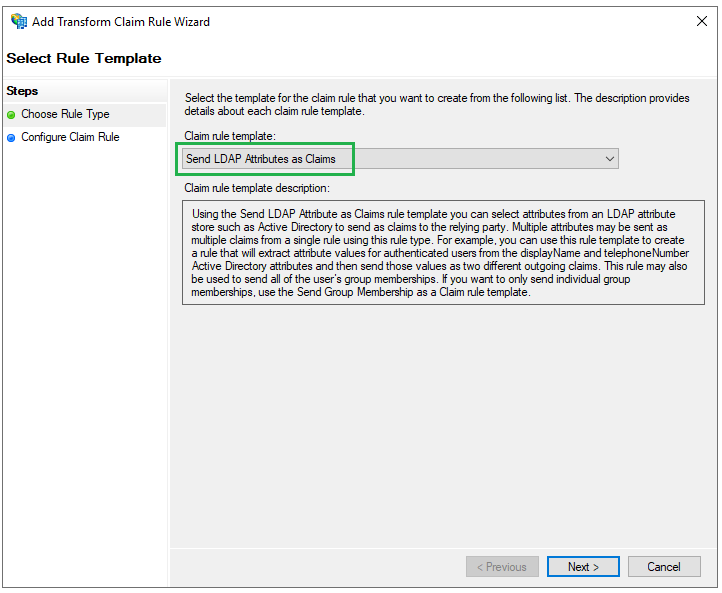
- Select
Send LDAP Attributes as ClaimsforClaim rule templateand clickNext.
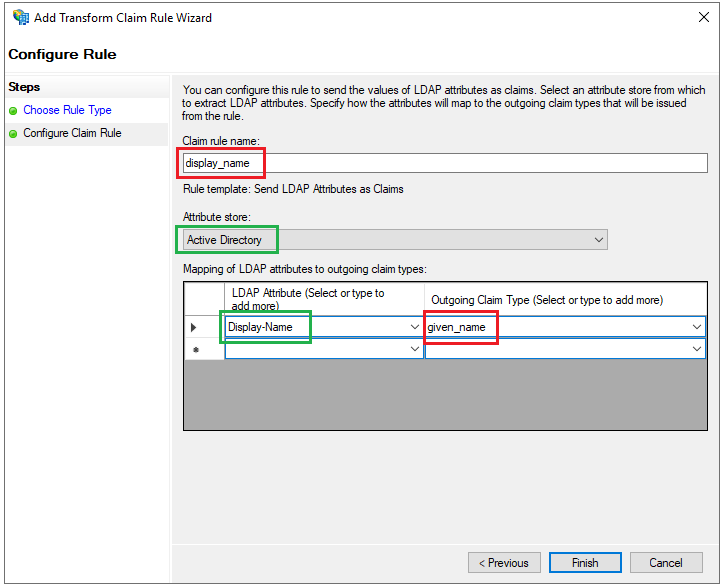
- Enter a name for
Claim rule, e.g. display_name, selectActive DirectoryforAttribute Store. UnderLDAP Attributecolumn, selectDisplay-Namefrom the drop-down list, enter given_name for theOutgoing Claim Typecolumn, and clickFinish.
- Click
Applyon the next page andOKto close the wizard.
Create OIDC directory in MetaDefender Core
- Sign in to MetaDefender Core.
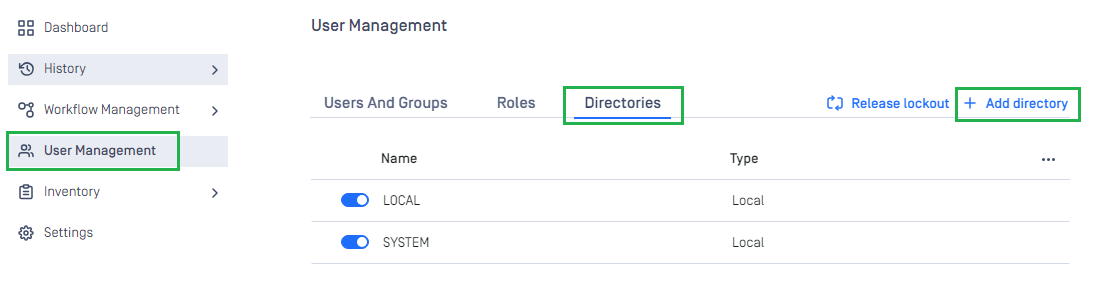
- On the dashboard, click
User Managementin the sidebar. - In
User Managementpage, selectDirectoriestab and clickAdd Directoryin the top right corner.
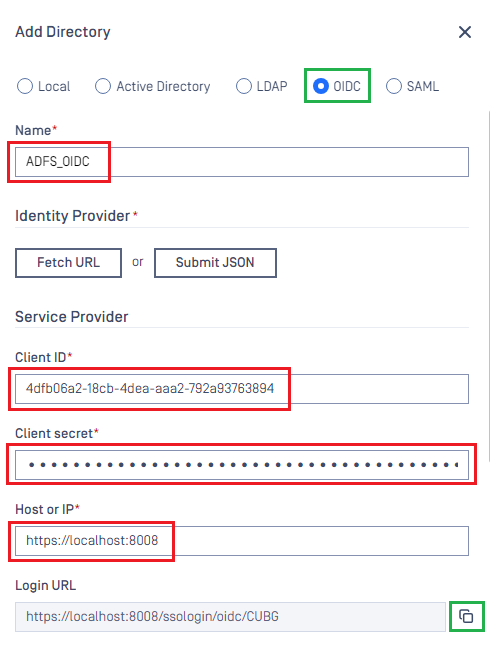
- In
Add Directorypage, choose OIDC asDirectory type. - Enter the name of the new directory, such as ADFS_OIDC.
- In
Service Providersection, paste the values ofClient IDandClient Secretcopied from ADFS, respectively. - In
Service Providersection, fill inHost or IPwith the host or IP address where MetaDefender Core is hosted; for this example, it is https://localhost:8008. - Copy
Login URL.
Complete configuration in ADFS
- Back to
AD FS, right click on item MDCORE_OIDC and selectProperties, then chooseMDCORE OIDC - Server applicationand clickEdit.
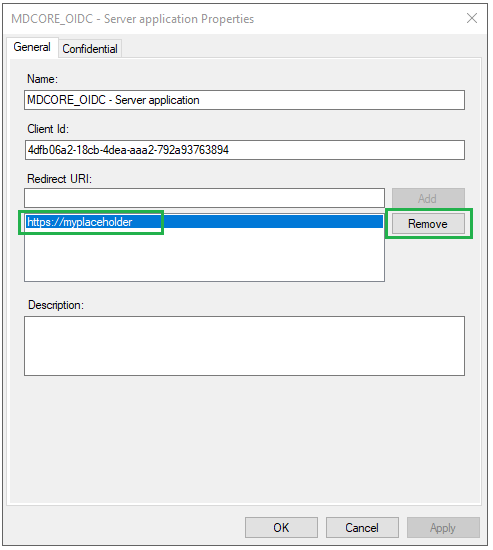
- Remove the placeholder https://myplaceholder by selecting it and clicking
Remove.
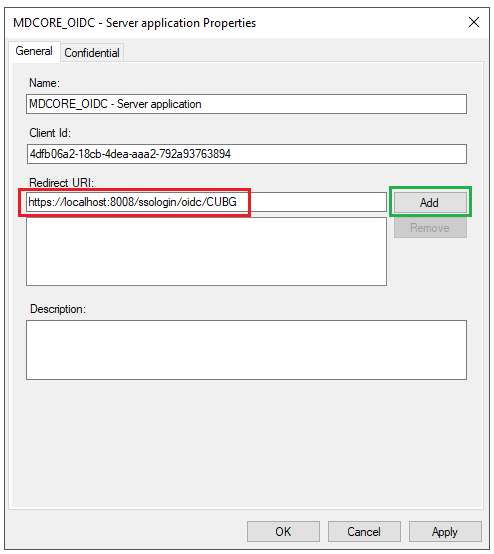
- Paste the
Login URLfrom MetaDefender Core intoRedirect URI, clickAdd, thenApplyandOK.
- Click
OKto complete the setup.
Complete configuration in MetaDefender Core
- Access
AD FS Managementtool fromServer Manager, expandAD FS-->Service-->Endpointson the left panel. InEndpointspanel, navigate toOpenID Connectsection and copy the URL path of typeOpenID Connect Discovery.
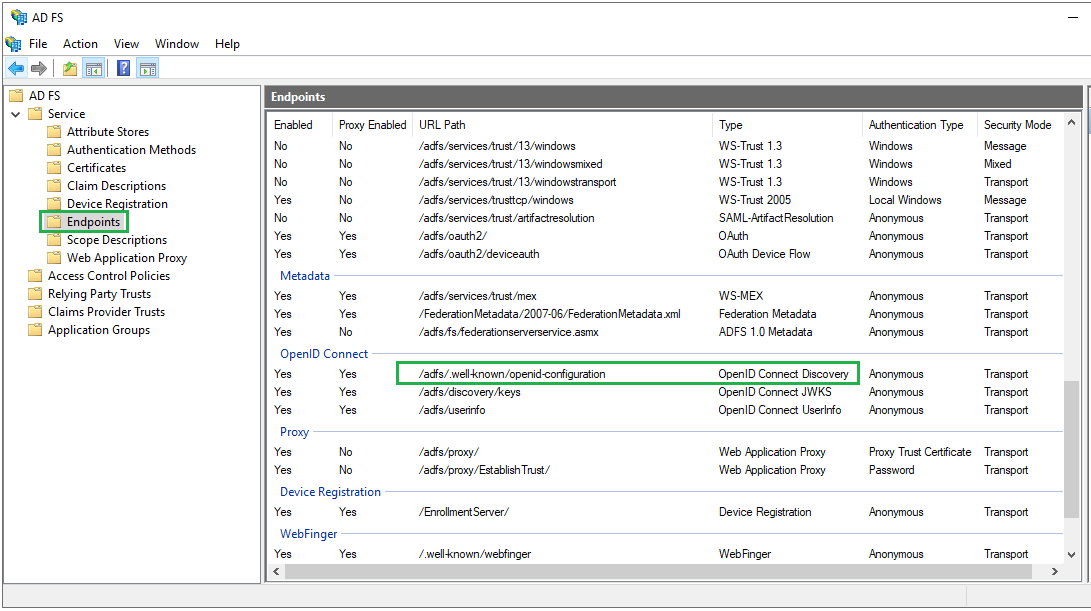
- Build the full URL to the metadata endpoint by appending the path from step 1 to the qualified domain name of ADFS
xxxxxxxxxxhttps://<adfs_fully_qualified_domain_name>/<metadata_endpoint_path>- For example:
xxxxxxxxxxhttps://win-tst/adfs/.well-known/openid-configuration- Switch back to MetaDefender Core. Under
Identity Providersection, clickFetch URLand paste the link above into the box underFetch URL. ClickOKand wait a moment for MetaDefender Core to set ADFS as its IDP. - In
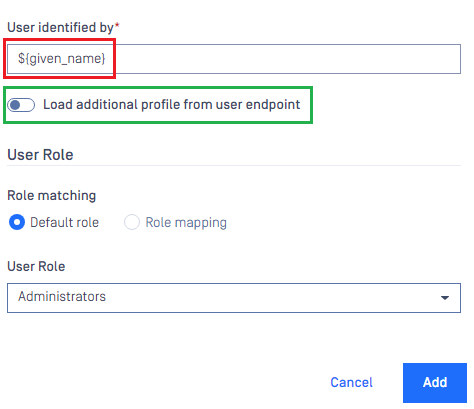
Service Providersection, fill in the user identity underUser identified bywith the configured values ofOutgoing Claim Type, e.g. ${given_name} in this instruction. - Select the correct role for the user under
User Role. - Disable
Load additional profiles from the user endpointoption since AD FS 2016 and newer have not yet supported the/userinfoendpoint. - Click
Addto complete the settings.
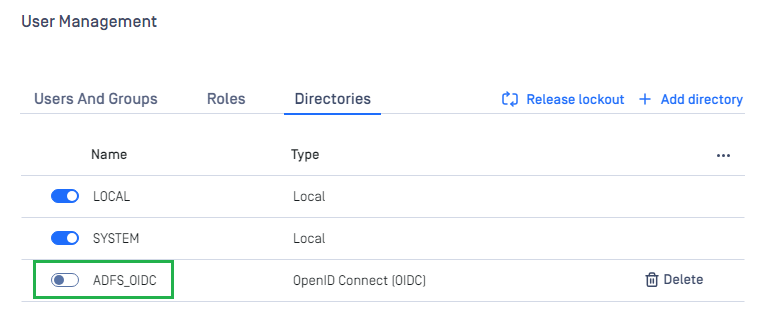
- On
User Managementscreen, toggle ADFS_OIDC directory. A dialog box appears to confirm the action. OnceEnableis clicked, all sessions are expired immediately, and ADFS is used to authenticate the user.
Test the integration
- Click
Loginfrom the home screen of MetaDefender Core; the user is redirected to the ADFS page.
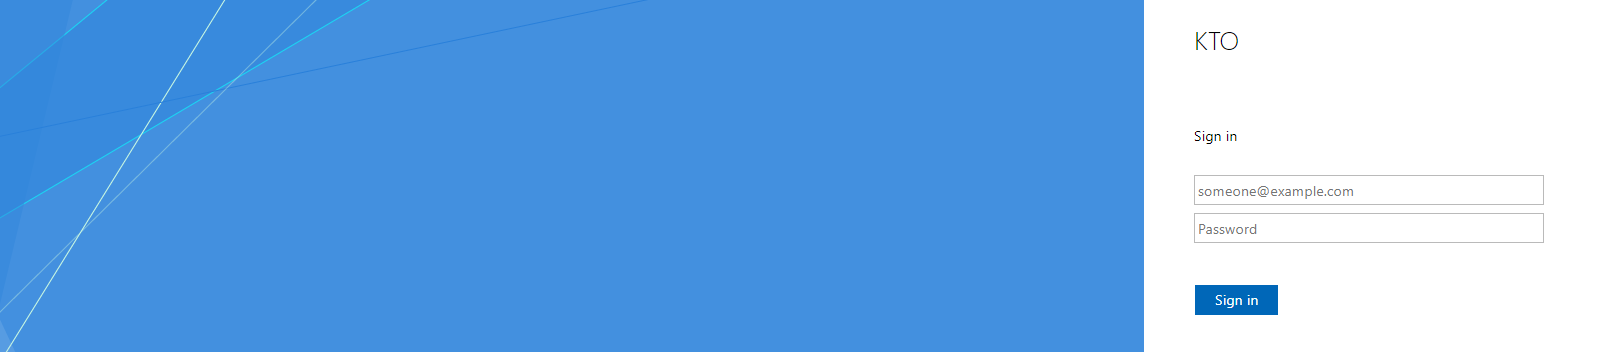
- Sign in with the account created in the system domain.
- If everything goes right, the MetaDefender Core dashboard is displayed with the user identity set in the top right corner.
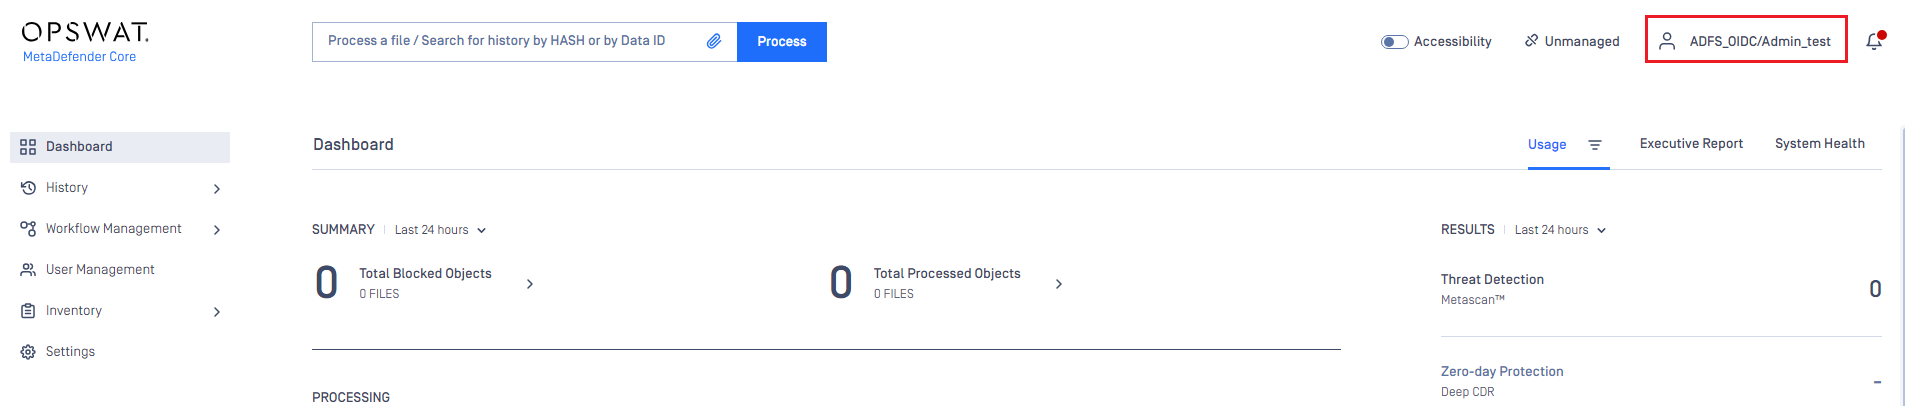
- Otherwise, access backup login page at
<mdcore-host>#/public/backuploginfor trouble shooting.
Was this page helpful?