Prerequisites
Access to the Microsoft Entra ID (Azure AD) Administration dashboard
Administrative privileges to create and configure Enterprise Applications
Your application's public URL
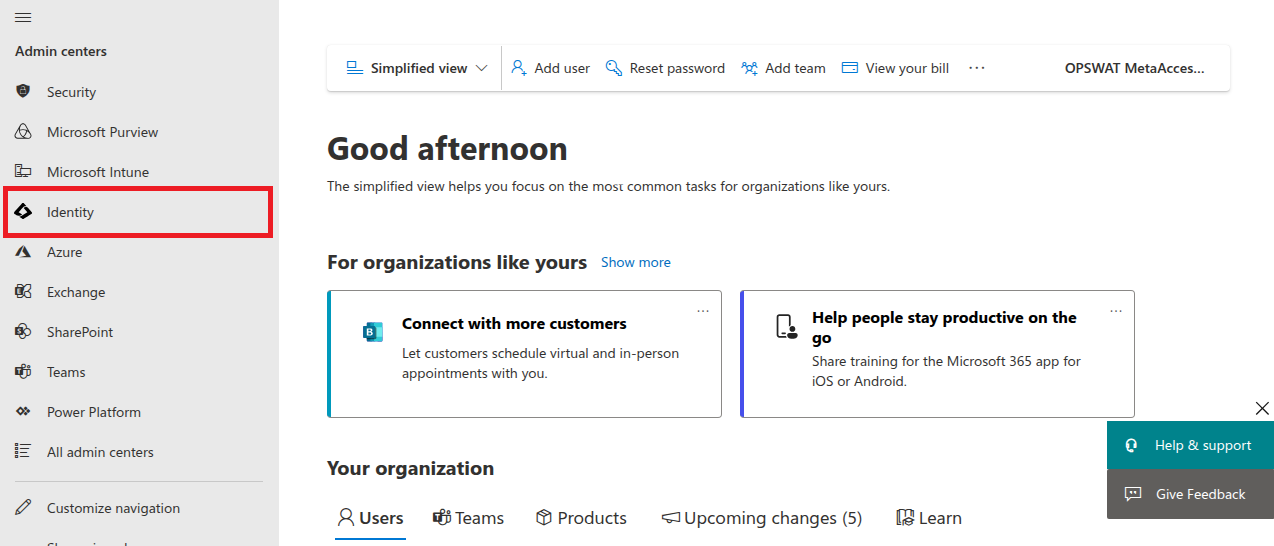
Step 1 — Navigate to Identity
Open the Administration dashboard and navigate to the Identity section.
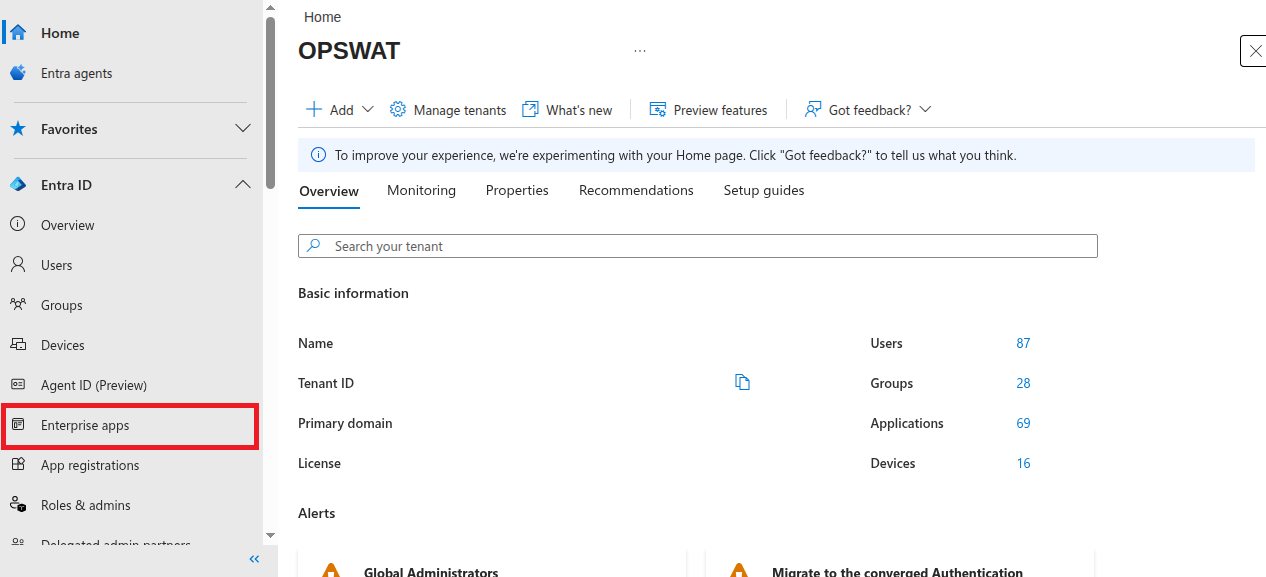
Step 2 — Open Enterprise Applications
In the left-hand navigation menu, select Enterprise applications.
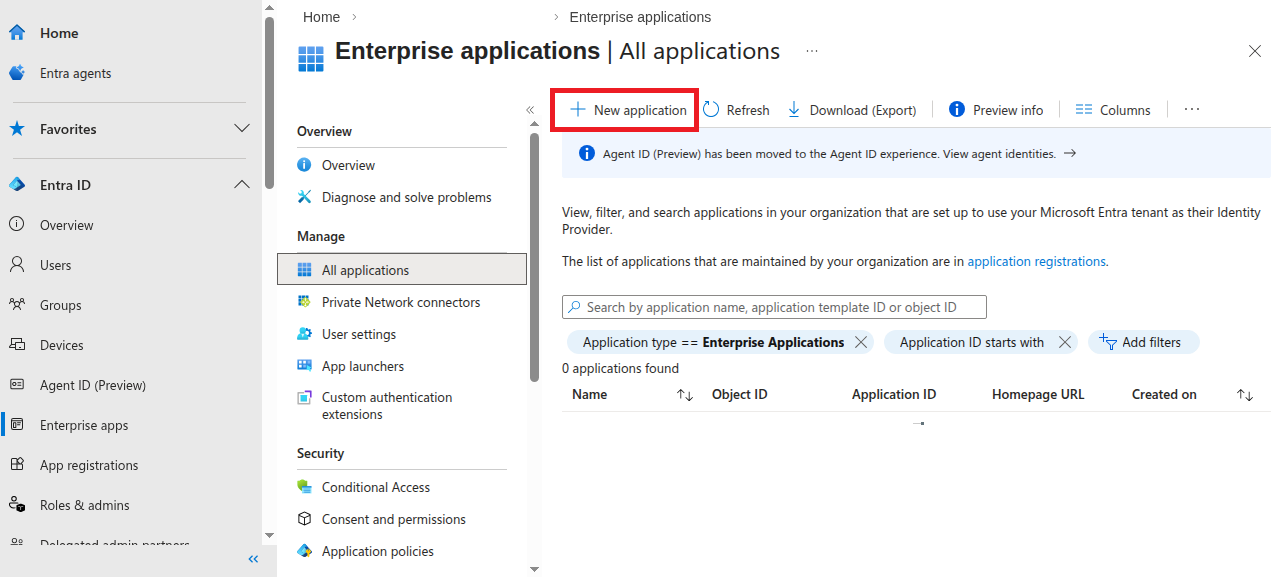
Step 3 — Create a New Application
Click the + New application button at the top of the Enterprise applications view.
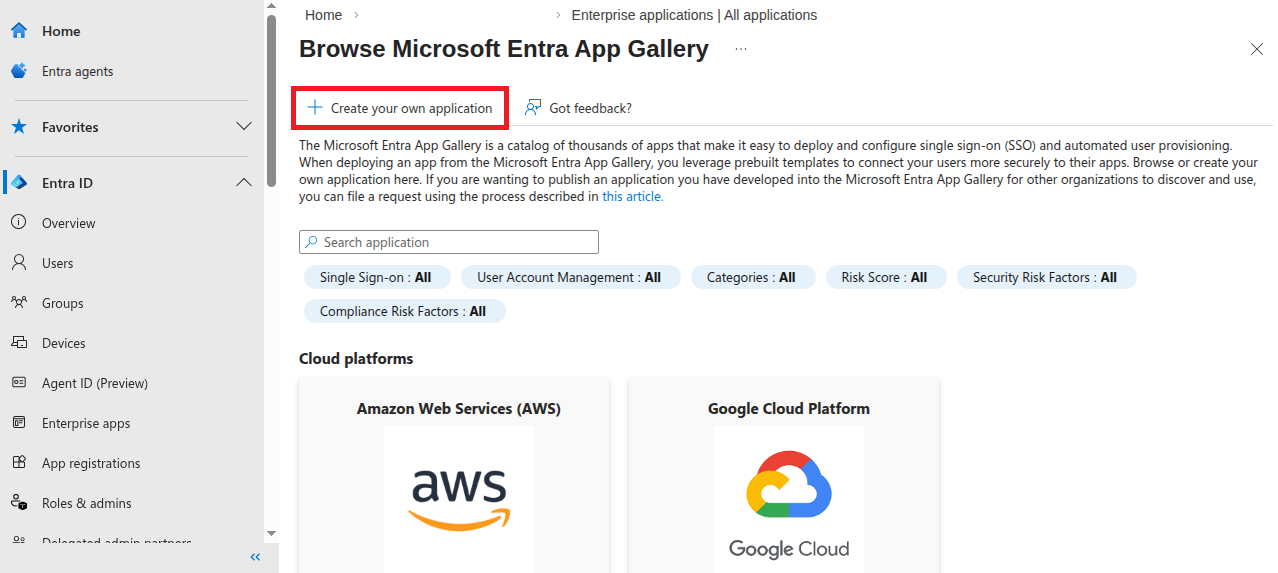
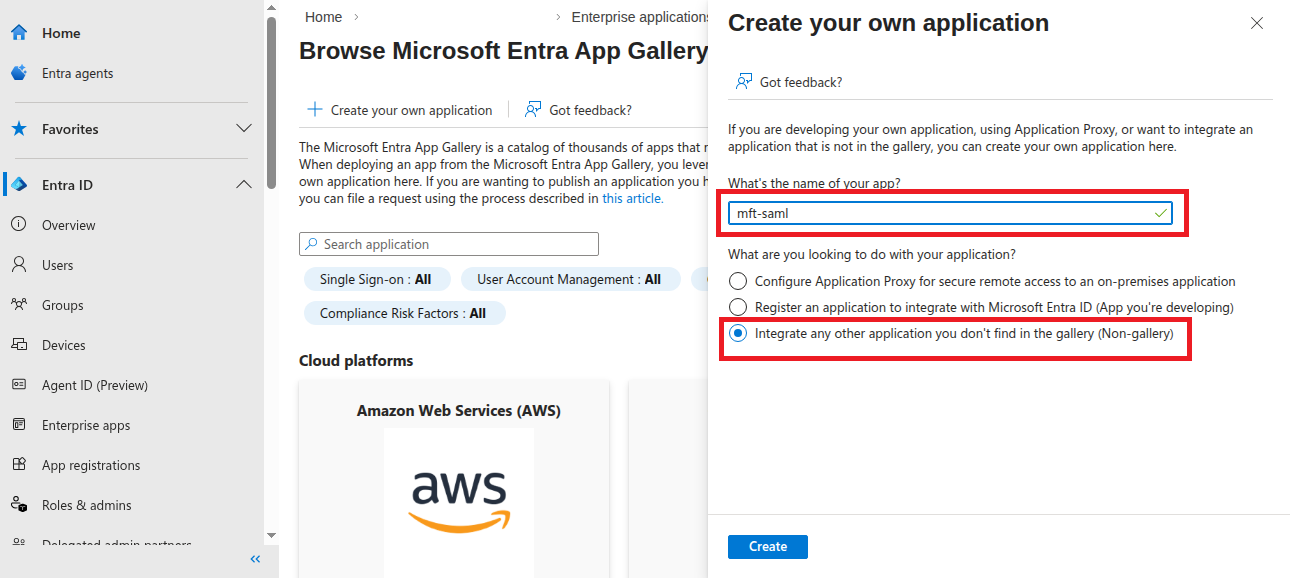
Step 4 — Create Your Own Application
In the App Gallery, click Create your own application.
Step 5 — Configure the Application
Enter a name for your application.
Select "Integrate any other application you don't find in the gallery (Non-gallery)".
Click Create.
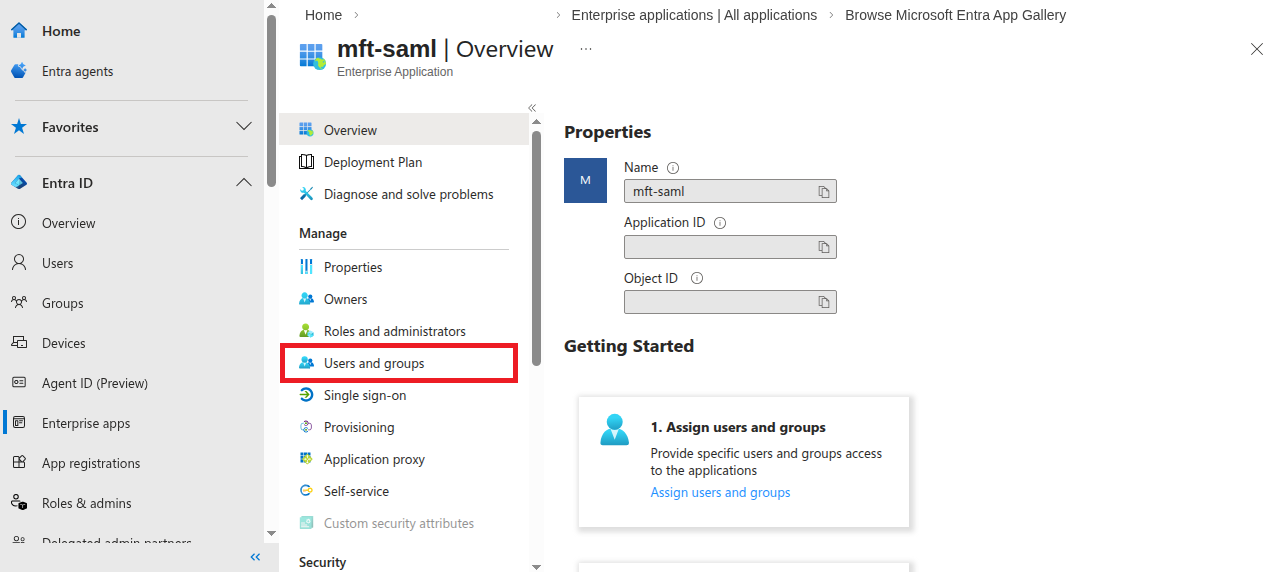
Step 6 — Assign Users and Groups
In the application overview, select Users and groups from the left-hand menu. Add the users and groups that should have access to the application.
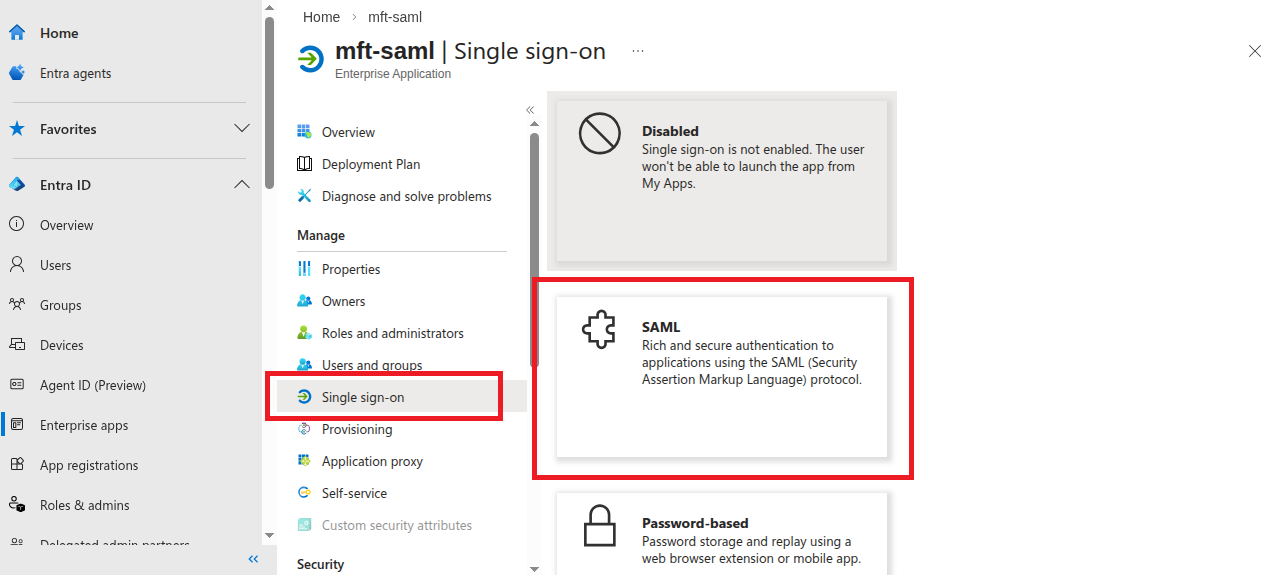
Step 7 — Select SAML as the SSO Method
In the application overview, select Single sign-on from the left-hand menu, then choose SAML as the sign-on method.
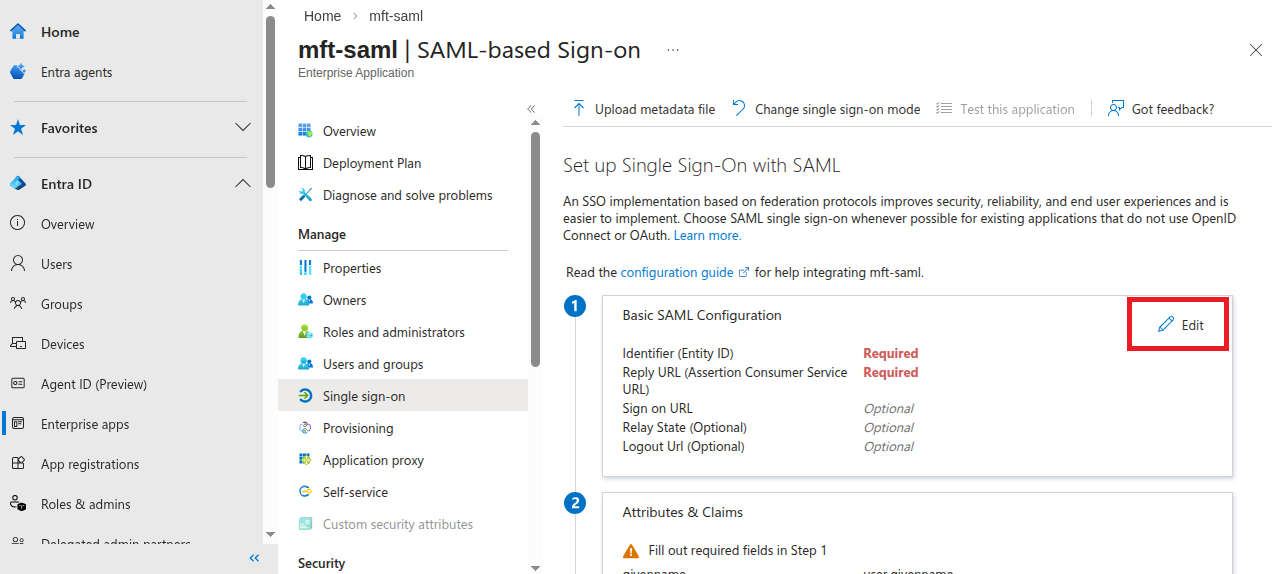
Step 8 — Edit Basic SAML Configuration
In the SAML-based Sign-on view, locate the Basic SAML Configuration section and click Edit .
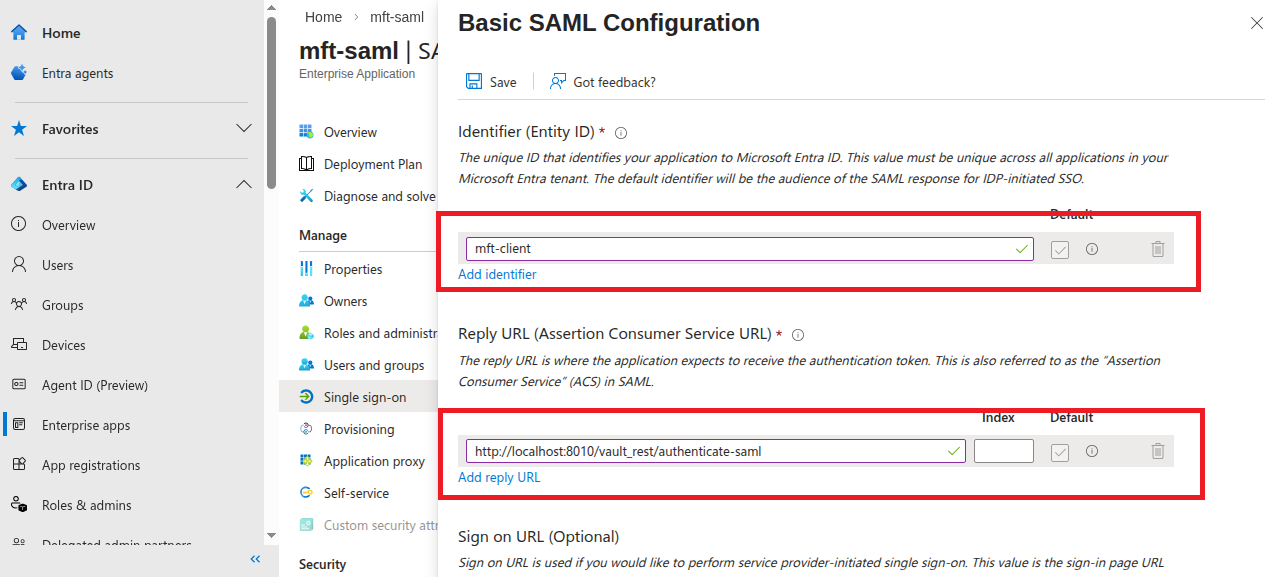
Step 9 — Enter SAML Configuration Values
Provide the following values:
Identifier (Entity ID): A unique identifier for your application. It can be any string, but using a URL format is recommended.
Reply URL (Assertion Consumer Service URL):
https://<your-application-url>/vault_rest/authenticate-saml
Step 10 — Save the Configuration
Click Save to apply the Basic SAML Configuration.
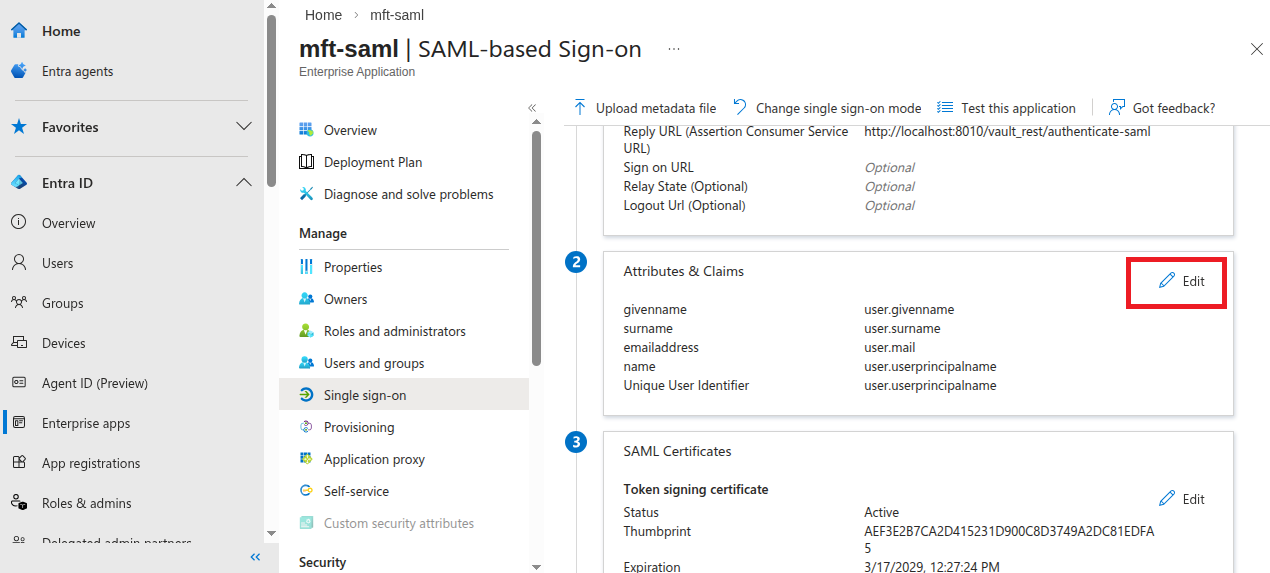
Step 11 — Configure Attributes (Optional)
If needed, configure Attribute Mapping and User Attributes & Claims to match your application's requirements.
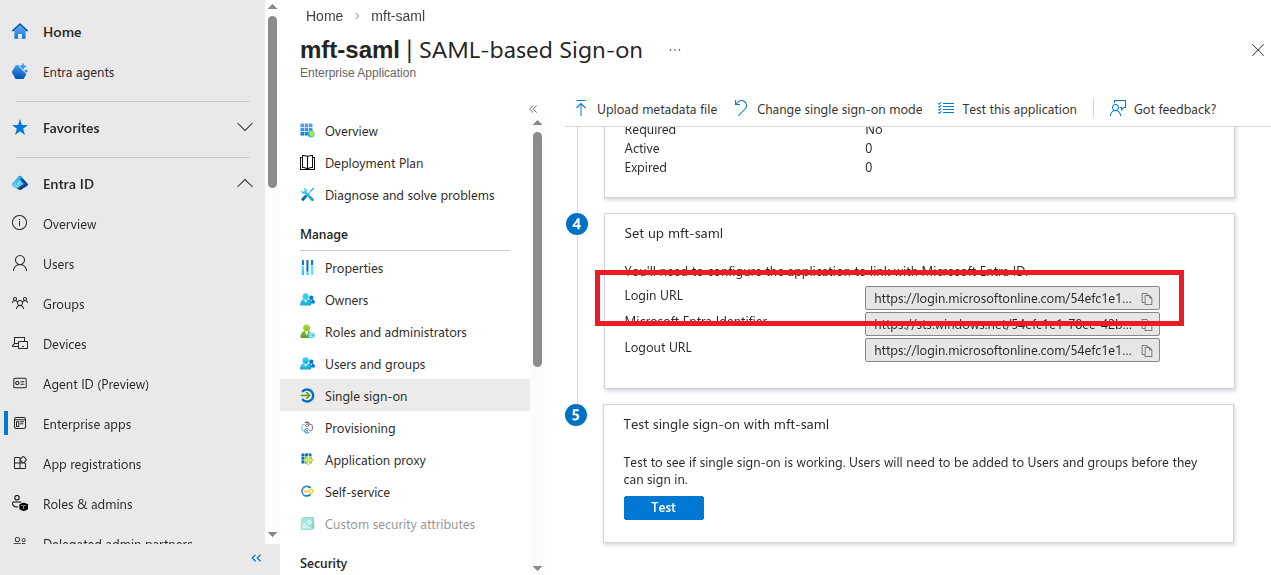
Step 12 — Copy the Login URL
In the Set up section, copy the Login URL. This value will be required when configuring your application to authenticate using Entra ID SAML.
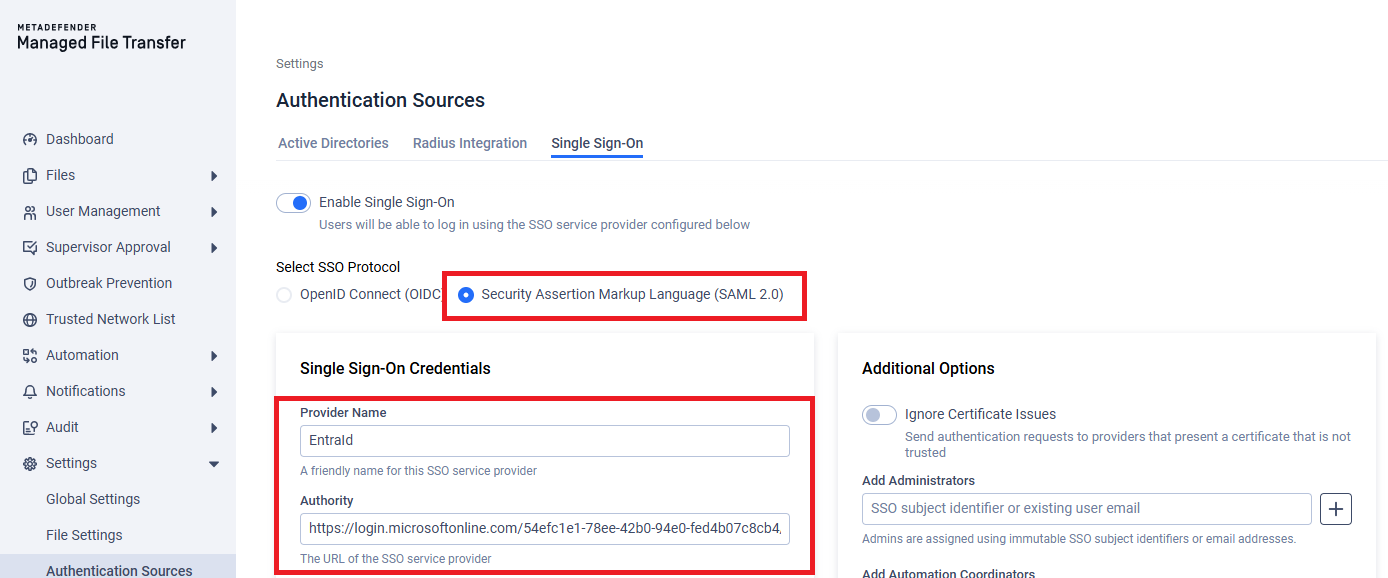
Step 13 — Enable SSO in MetaDefender Managed File Transfer™
Open Settings/Authentication sources, choose the Single Sign-On tab and enable SSO.
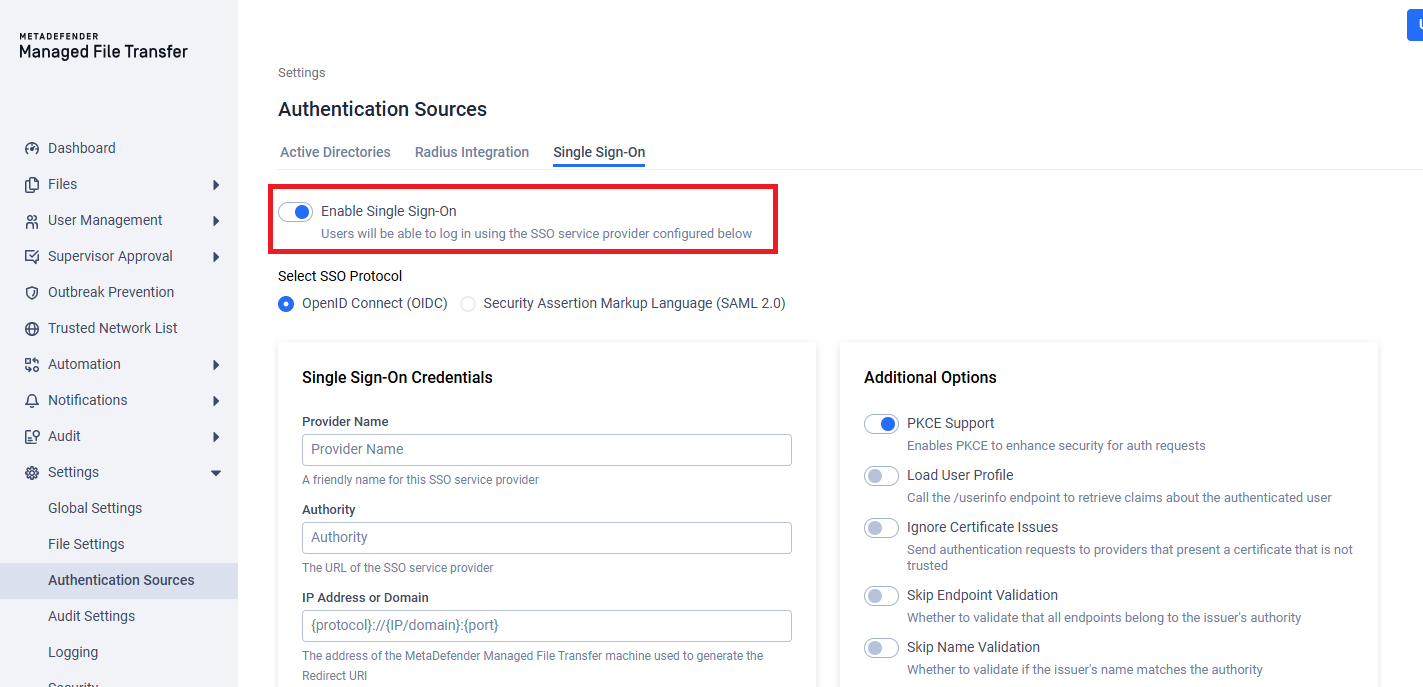
Step 14 — Configure SAML Authority
Select SAML 2.0 and provide a custom provider name and fill in login url from Step 12 into the Authority field.
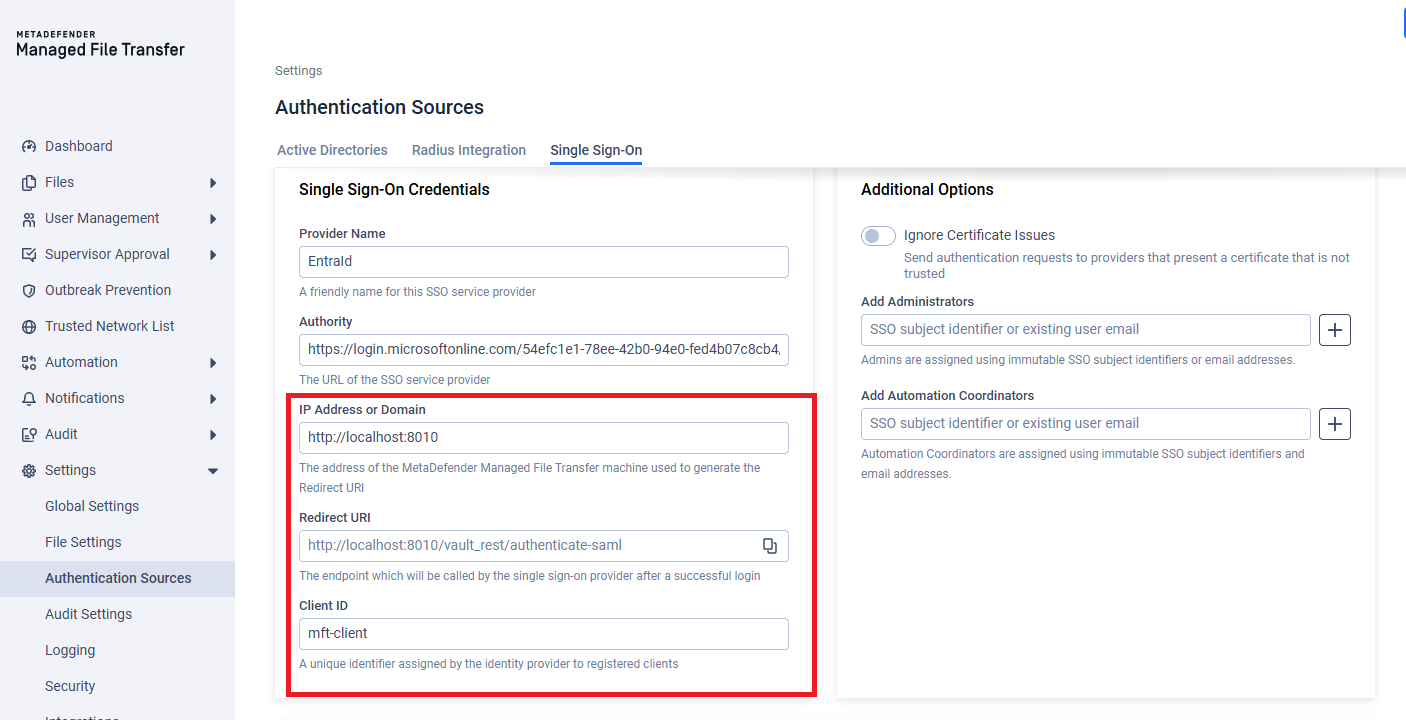
Step 15 — Fill in IP Address or Domain, Client ID
This IP Address or Domain field is to help generating the correct redirect uri, which we already provided in previous steps.
The client id is the value from Step 9.
Step 16 — Save configuration
Click Update to save the configuration, Entra ID SAML based SSO is now configured and can be utilized during login.