
Add Kiosk's public key to Secure Storage
To use Secure Storage with Kiosk, follow the steps to add the valid key, on a Secure Storage that does not currently have a public key
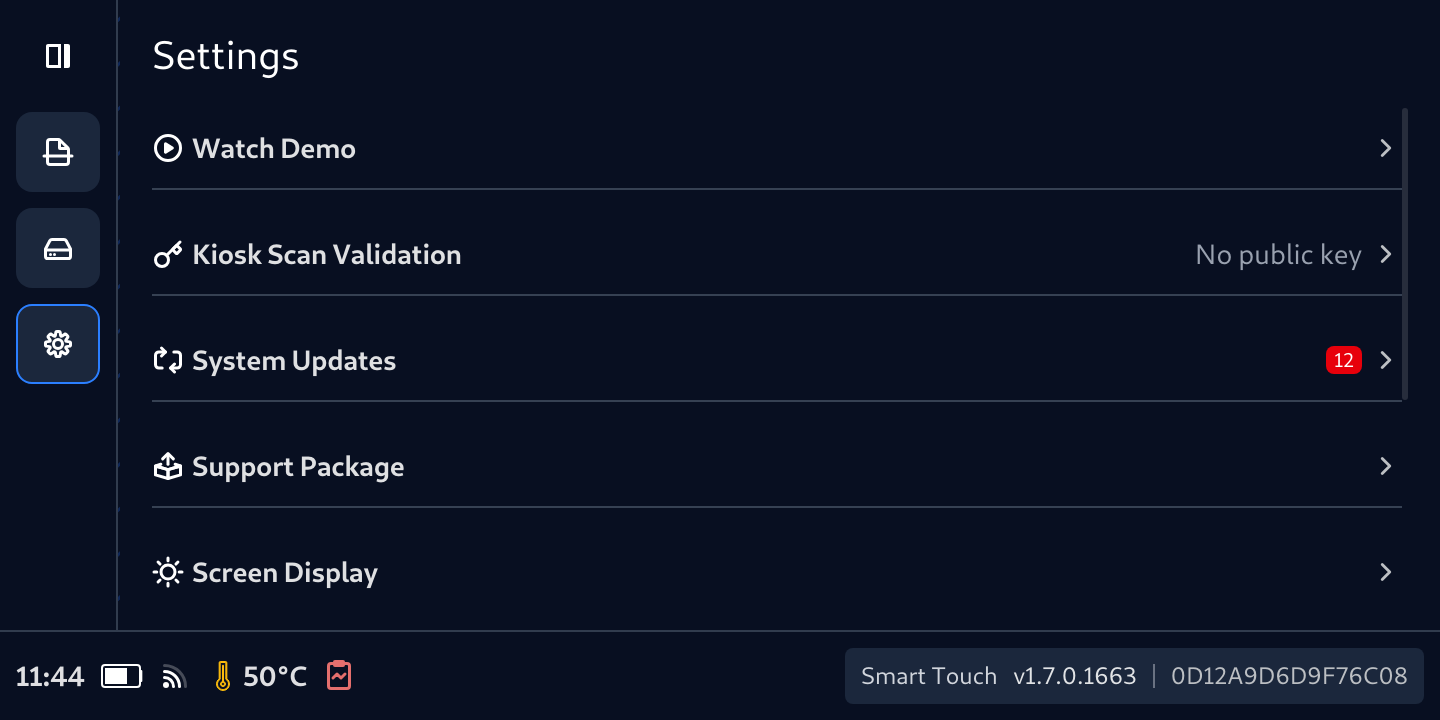
Tap Kiosk Scan Validation
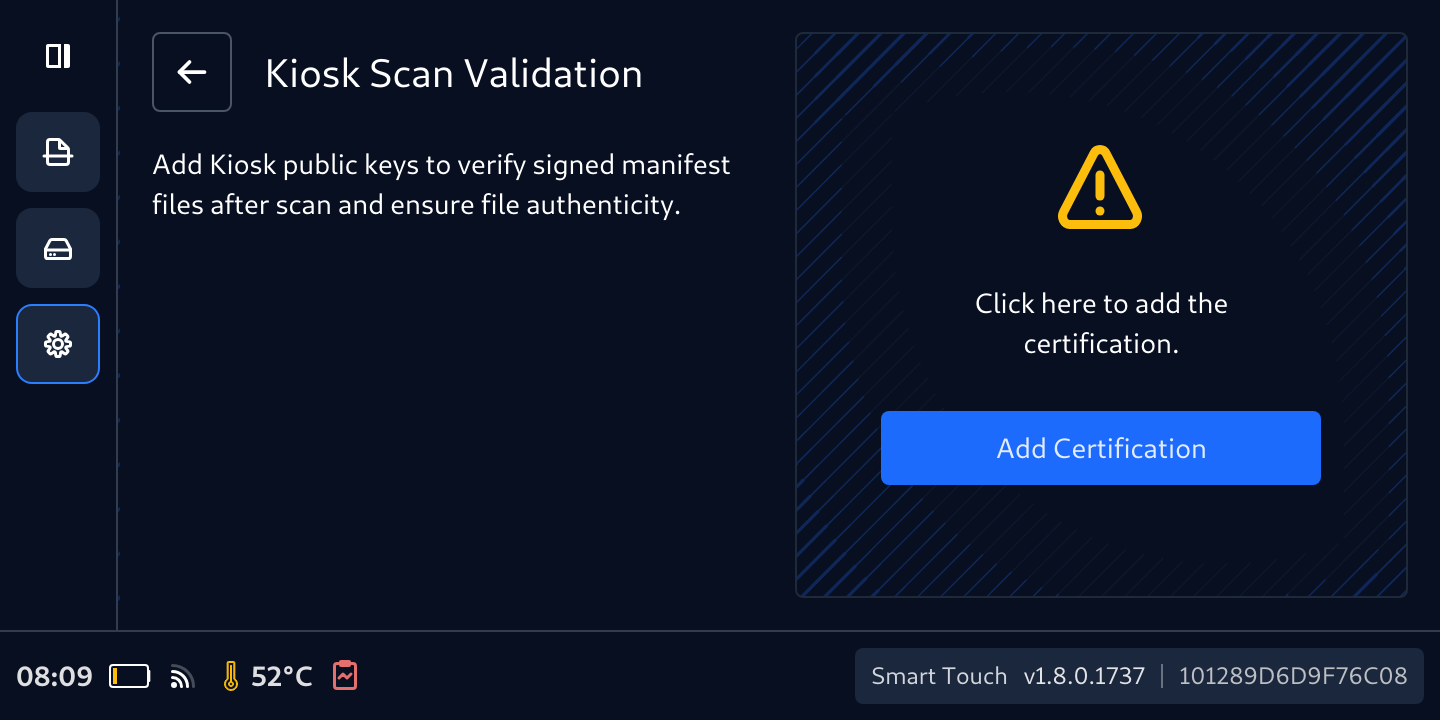
Tap Add Certification button
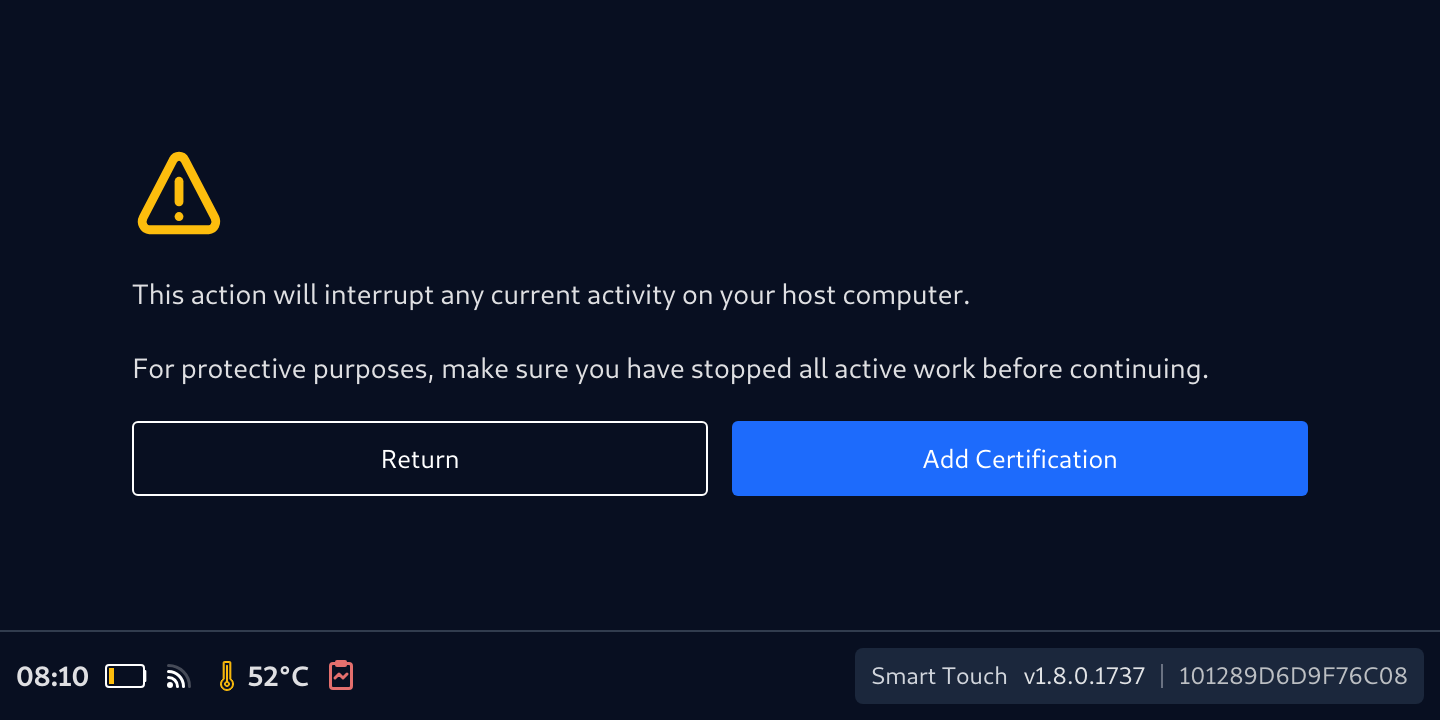
Tap Add/Replace Certification button again to confirm the acknowledgement
Then this screen displays, waiting for the key. Now, connect the device to a machine that store the Kiosk public key
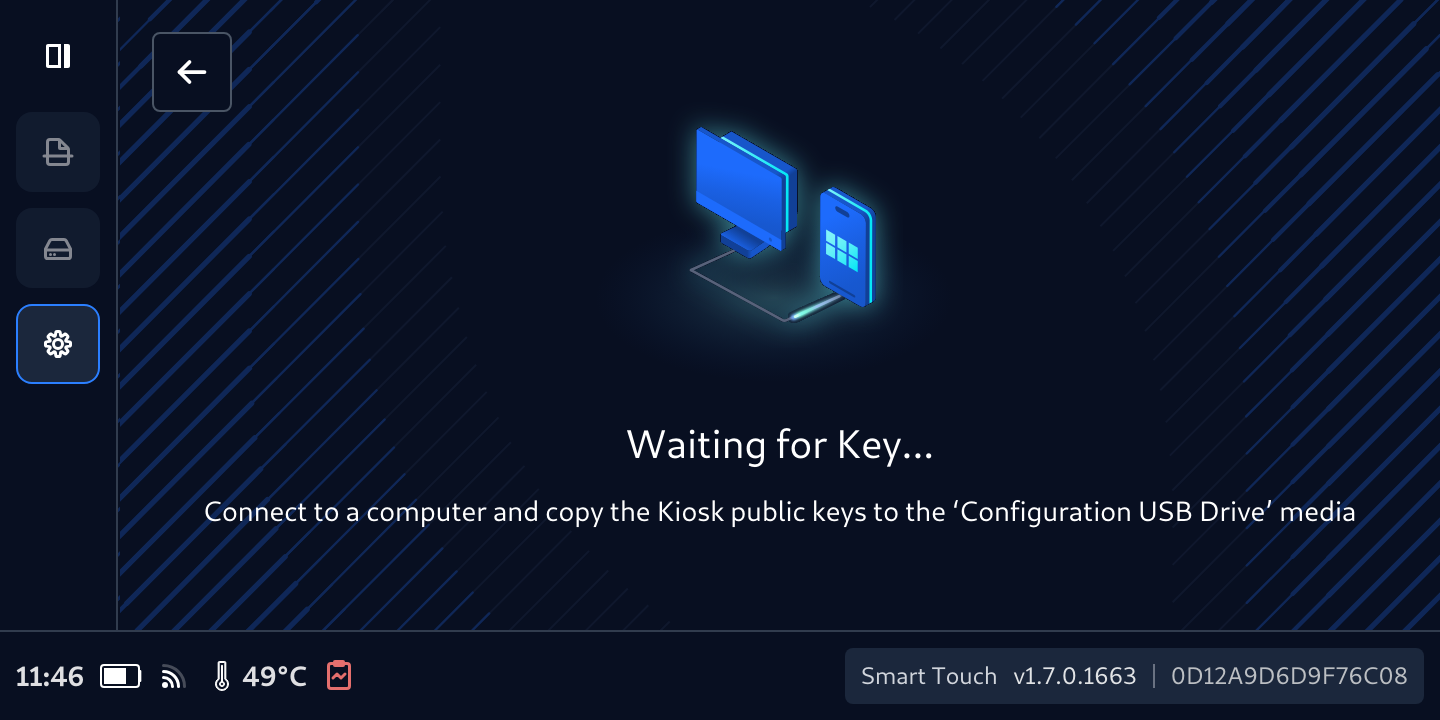
On that computer, copy the public key to the USB storage has been mounted.
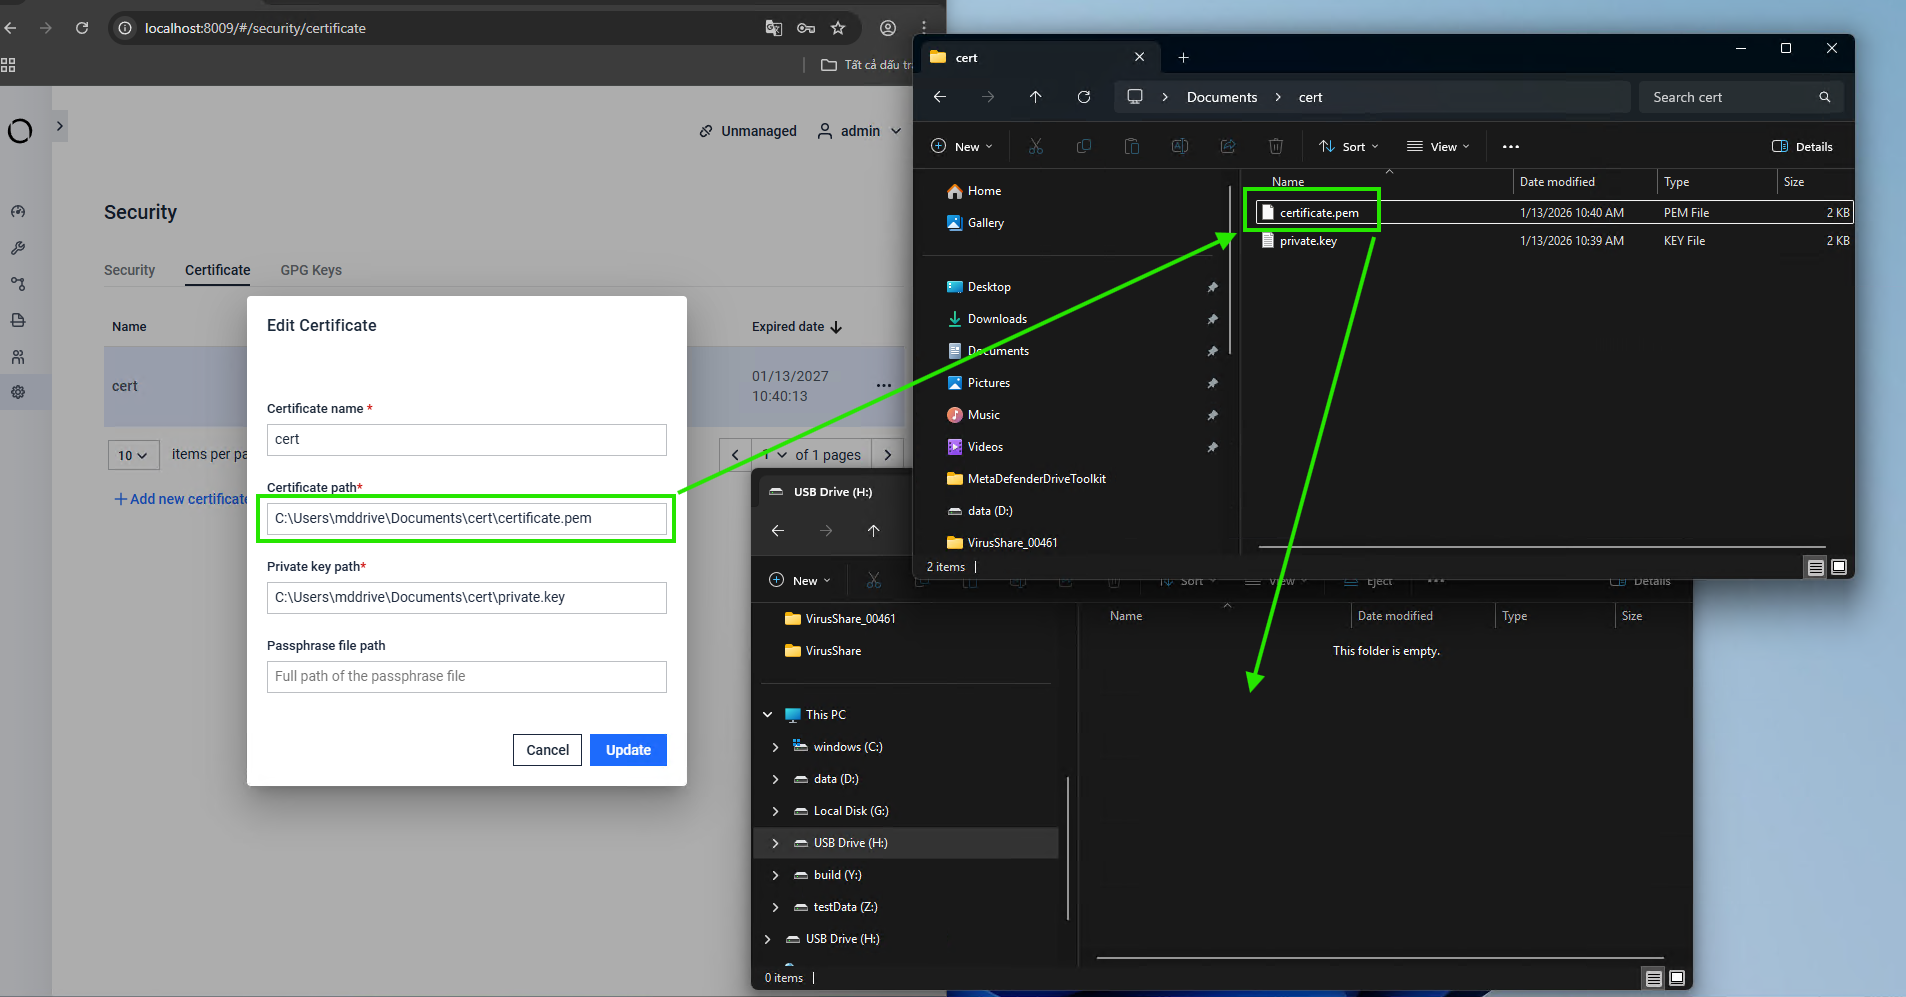
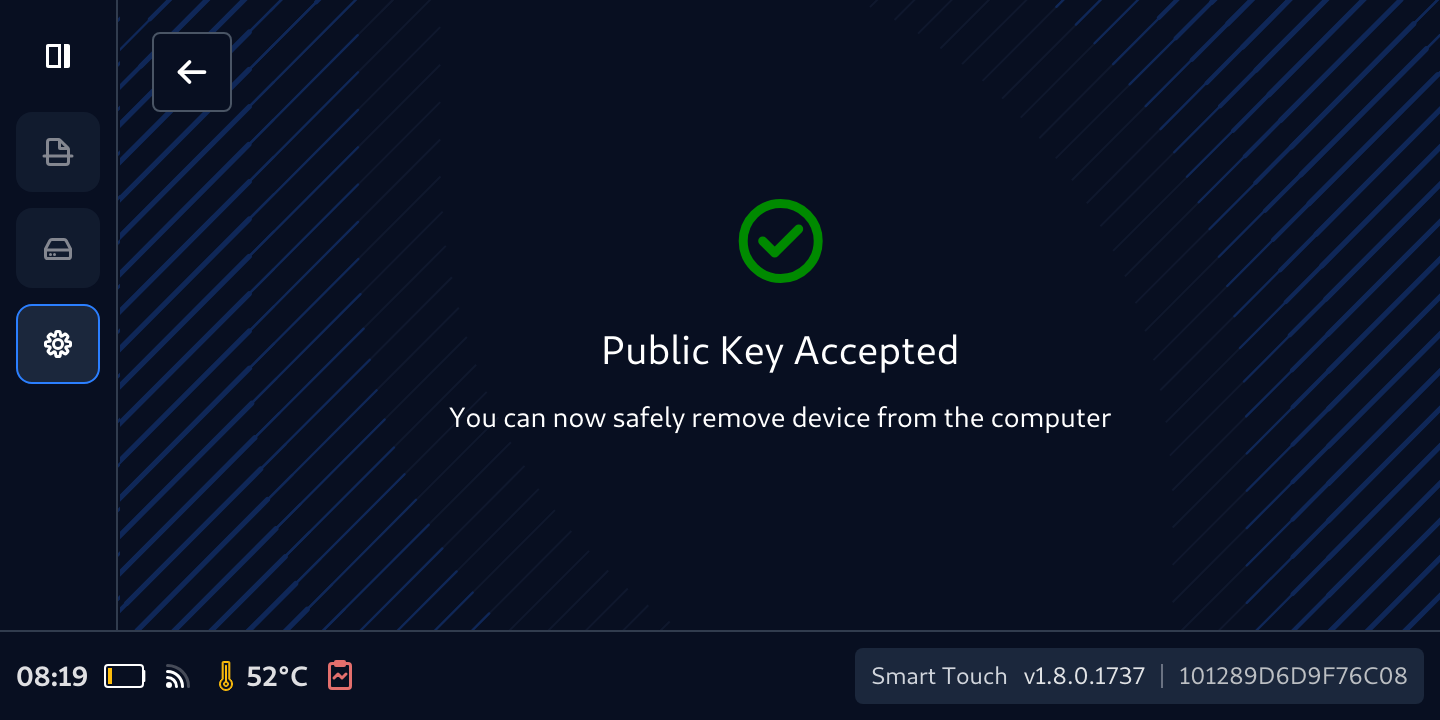
Don't remove the cable, wait for the key to be accepted when this screen appears
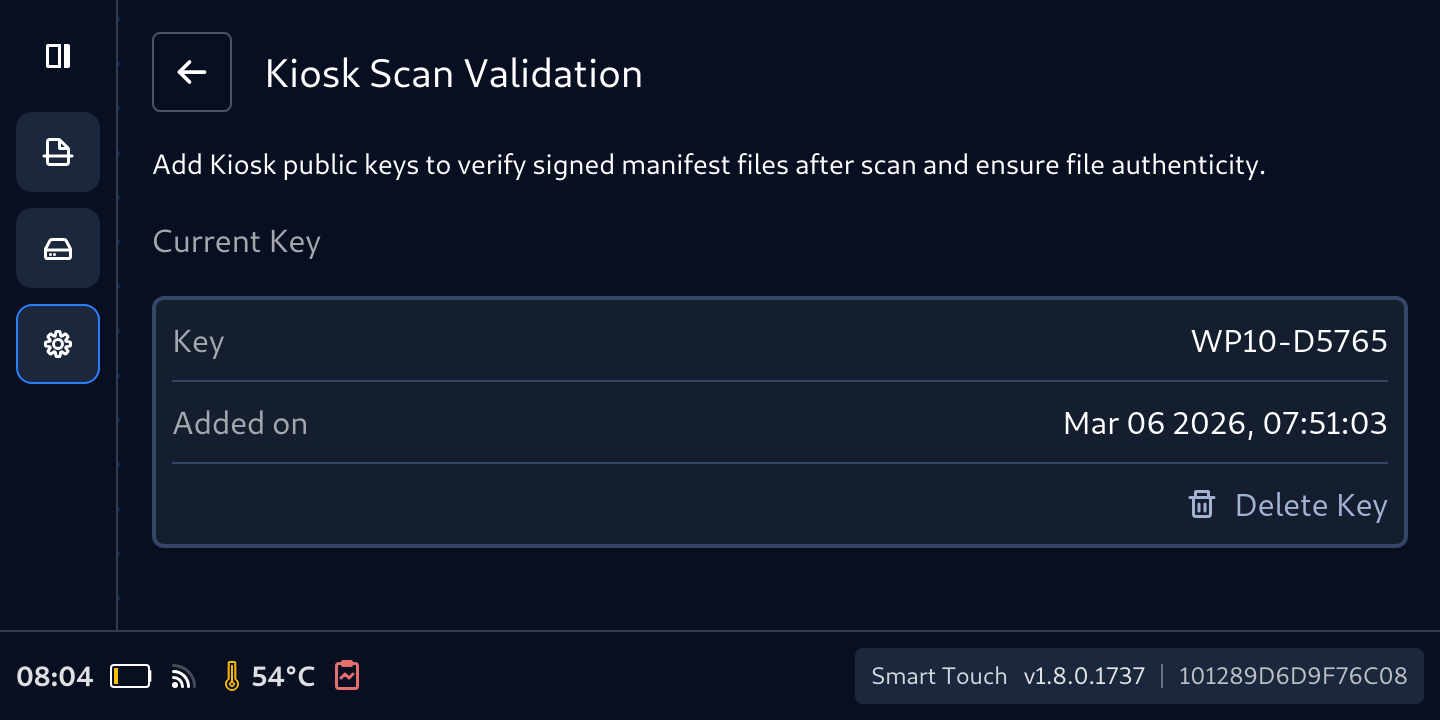
Your Secure File Storage now is ready to be used with the Kiosk that has the information showed in the Current Key
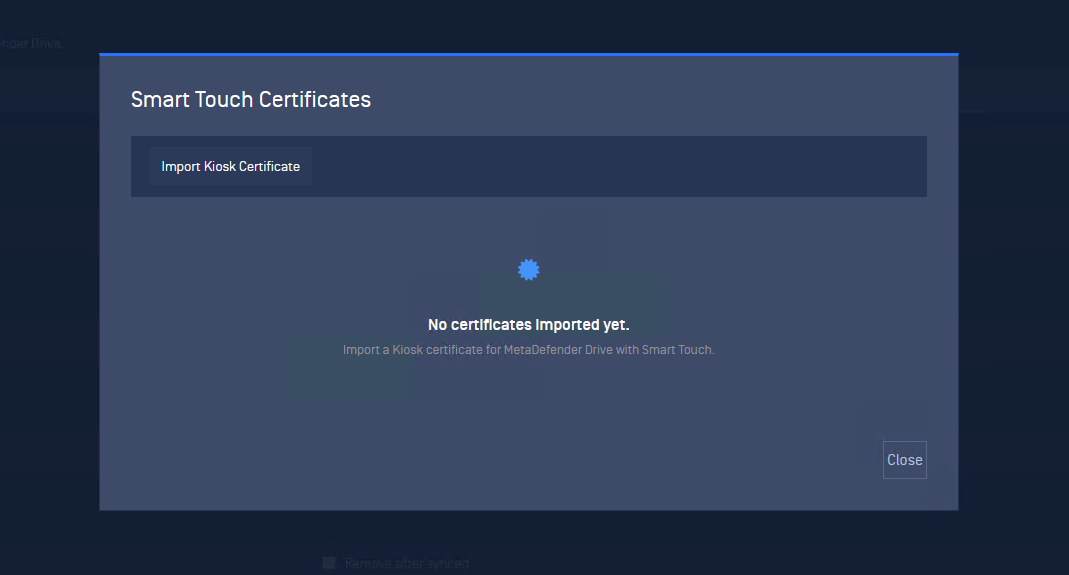
After Drive version v4.4.10 and Smart Touch v2.2.0, the Certificate can be also imported from Central Management if MetaDefender Drive with Smart Touch has been enrolled.
Delete Added Cert
From Kiosk Scan Validation screen, tap the Delete Key
To confirm deletion, tap Yes, Delete on the Delete Kiosk Public Key popup
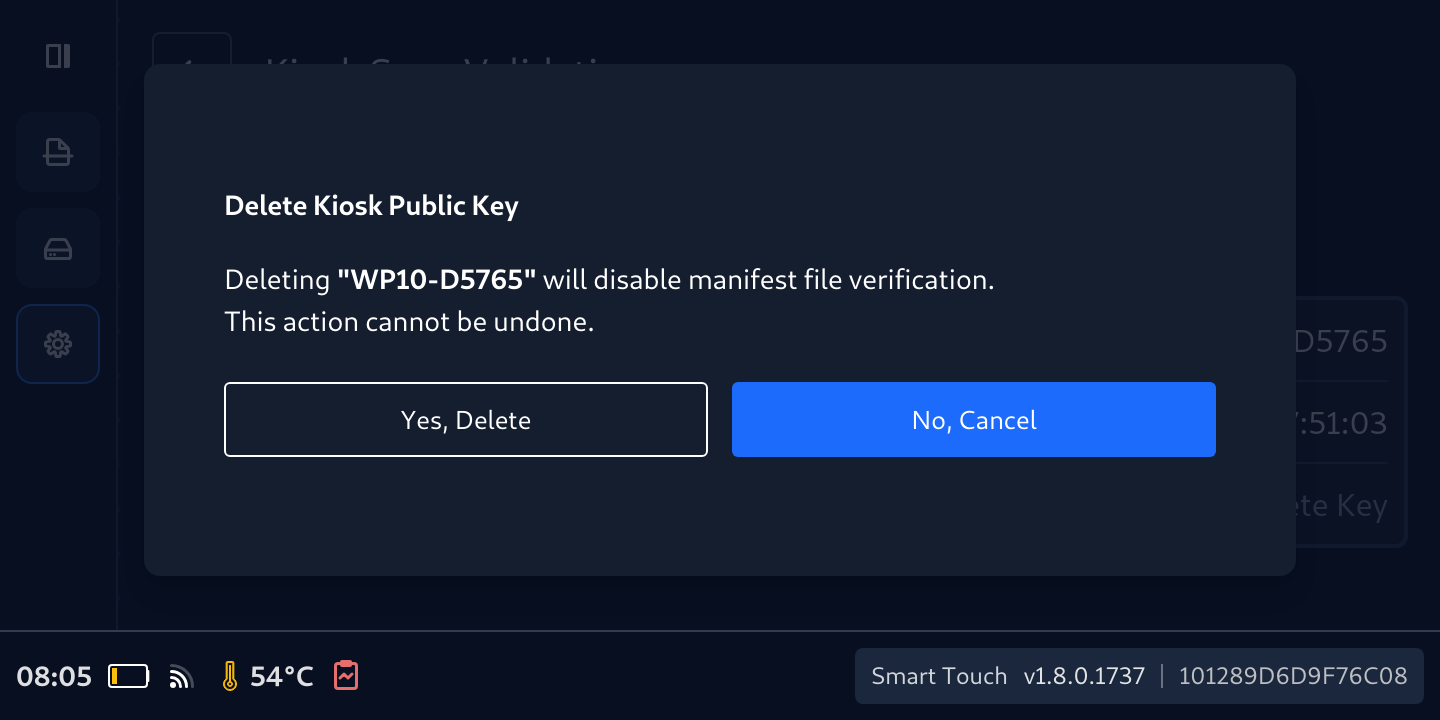
Now the public key has been deleted. Repeat step Add Kiosk's public key to Secure Storage to add new key if you want to use the Secure File Storage with manifest feature
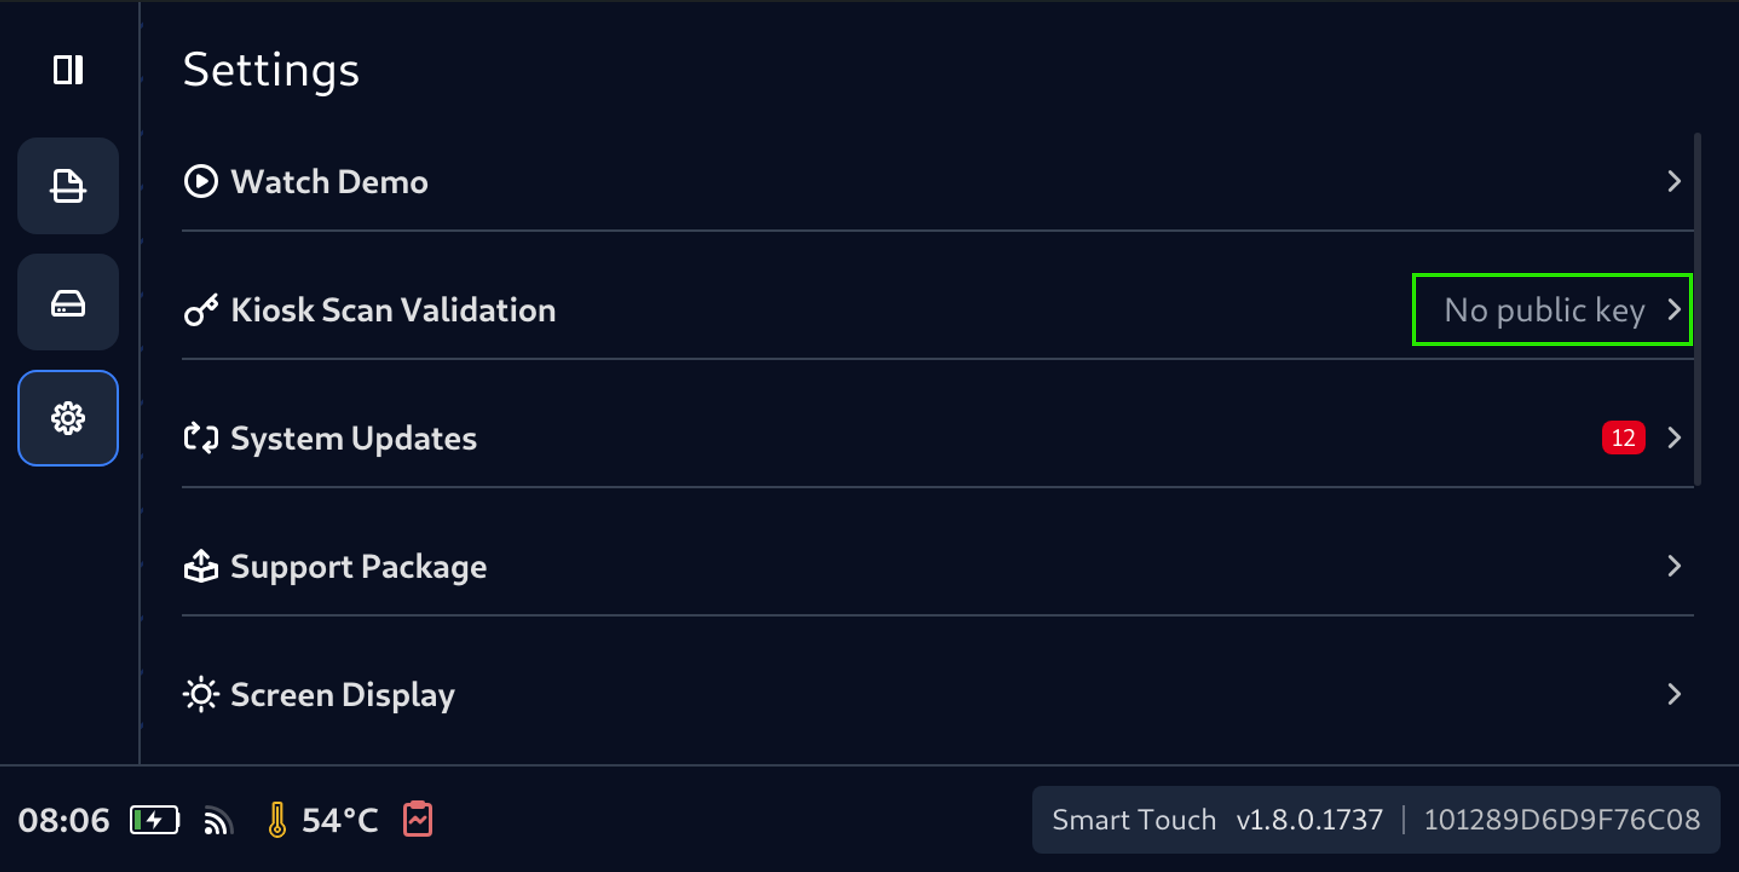
After configuring with valid KIOSK certificate, follow next instruction Copy Files to Secure Files Storage to start using Secure File Storage.