
From Smart Touch v2.4.0 (MetaDefender Drive v4.4.11), administrators can wipe Secure File Storage or lock a lost MetaDefender Drive with Smart Touch from My OPSWAT Central Management.
Requirements
The Drive is enrolled to Central Management (status Managed). See Manage MetaDefender Drives with OPSWAT Management and Enroll MetaDefender Drive to Central Management Server from MetaDefender Drive with Smart Touch.
The Drive is connected to the network. It carries out the action the next time it connects to Central Management (about every 15 seconds while online).
Wipe Data | Lock Lost Device | |
|---|---|---|
Files in Secure File Storage | Permanently deleted | Kept, but cannot be accessed |
Smart Touch screen | Shows Wiping data..., then works normally | Shows only the lock screen |
Access from a connected computer (MetaDefender Drive image and Secure File Storage) | Secure File Storage is unavailable while it is wiped | Blocked |
After a restart | — | Still locked |
Central Management enrollment | Kept | Kept |
Can be undone | No | Yes, with the One-Time Password |
Open Remote Control
In Central Management, go to Inventory → Devices and open the Drive.
Select the Settings tab.
Under Smart Touch Console, select Edit Settings next to Remote Control.

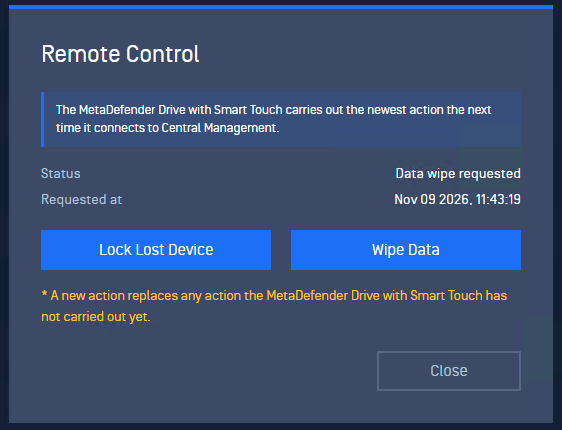
The Remote Control dialog shows the last requested action and when it was requested.
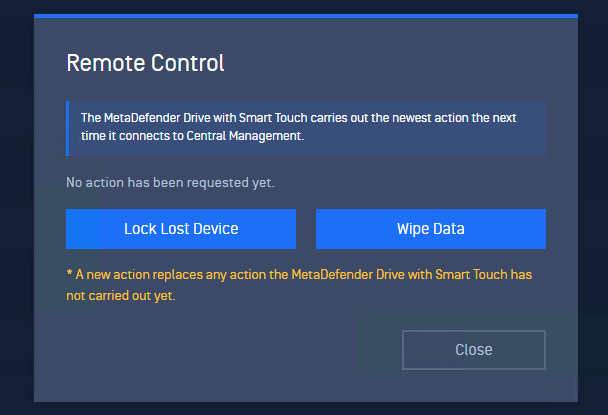
The Drive carries out only the newest action. A new action replaces any action the Drive has not carried out yet.
Wipe Data
Wipe Data deletes every file in Secure File Storage: unscanned, clean and unsafe files. The result is the same as Erase All Data on Smart Touch. Nothing else on the Drive changes.
In Remote Control, select Wipe Data.
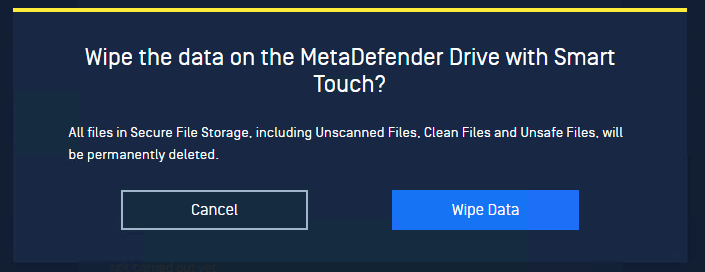
Confirm. The files are permanently deleted when the Drive carries out the action.
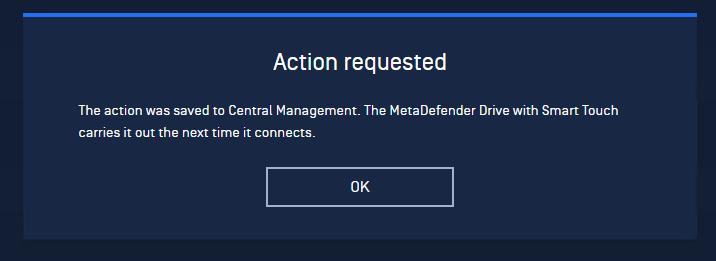
In Action requested, select OK.
When the Drive connects, Smart Touch shows Wiping data... until the wipe finishes. Do not unplug or power off the Drive.
Lock Lost Device
Lock Lost Device makes the whole Drive unusable until the correct One-Time Password is entered. While the Drive is locked:
Smart Touch shows only the lock screen.
A connected computer cannot see the MetaDefender Drive image or Secure File Storage, and cannot boot from the Drive.
The lock stays after a restart.
In Remote Control, select Lock Lost Device.
Optional: select Wipe Data to also permanently delete all files in Secure File Storage. It is not selected by default.
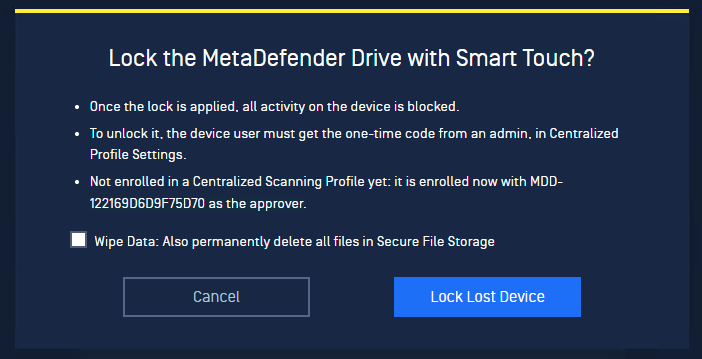
Select Lock Lost Device.
If the Drive is not enrolled in a Centralized Scanning Profile yet, the confirmation says so. The Drive is enrolled when you lock it, with MDD-<serial number> as the approver.
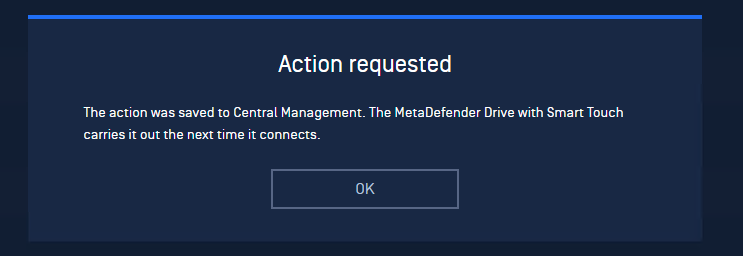
In Action requested, select OK.
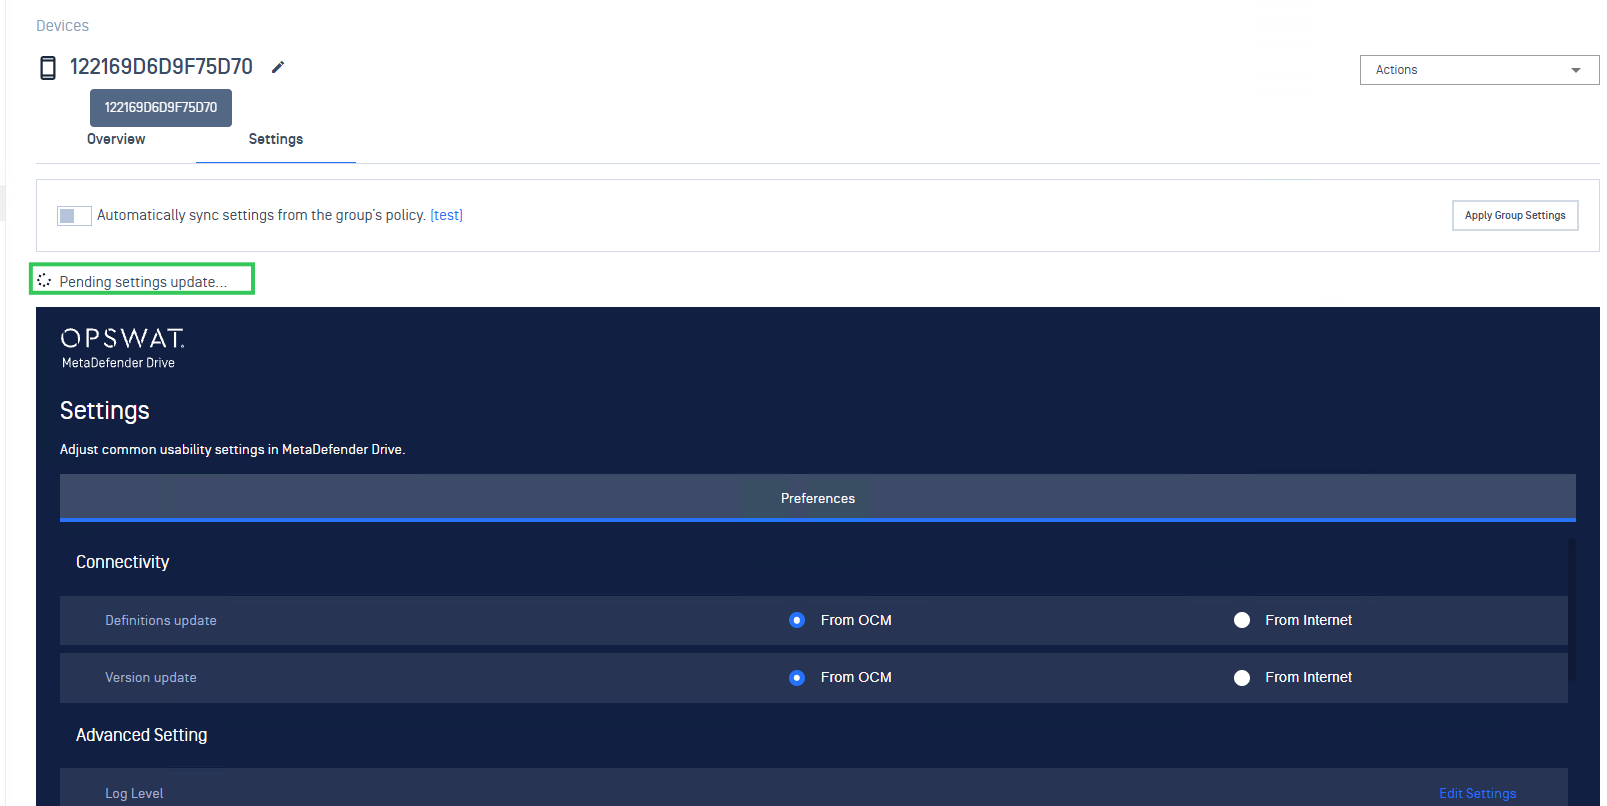
Until the Drive picks up the change, the Drive's Settings tab shows Pending settings update....
When the Drive connects, Smart Touch shows This Drive Is Locked.
Unlock the Drive
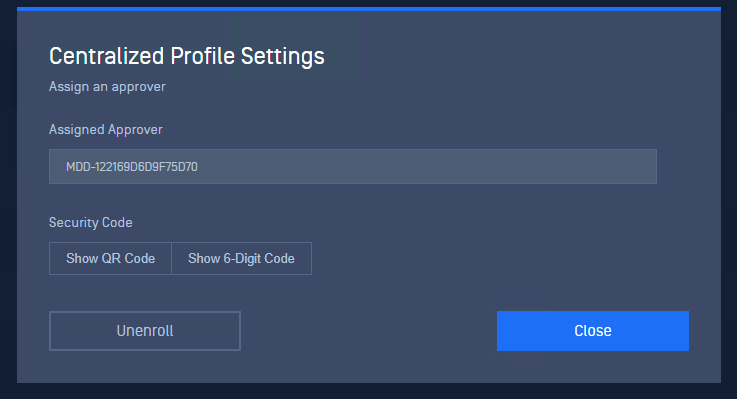
In Central Management, open the Drive's Centralized Profile Settings and select Show 6-Digit Code.
Give the One-Time Password to the person who has the Drive. The lock screen shows the name of the approver whose One-Time Password unlocks the Drive.
On the lock screen, enter the One-Time Password. The Drive is unlocked and works normally.
The Drive stays enrolled to its Centralized Scanning Profile after it is unlocked. To remove the profile, unenroll it in Central Management after the Drive is unlocked.
Notes
The Status in Remote Control shows the action that was requested. It does not confirm that the Drive has carried it out.
Unenrolling the Centralized Scanning Profile does not unlock a locked Drive.
If no one can reach the Drive, delete the Drive in Central Management. This lifts the lock, and the Drive must be enrolled again.
After 3 wrong One-Time Passwords, Smart Touch makes you wait before the next try. The wait starts at 1 minute and doubles after every 3 more wrong tries, up to 24 hours. Restarting the Drive does not reset it.
If the lock screen shows This Drive has not received its unlock code yet, connect the Drive to the network so it can receive its code from Central Management.