This section covers the Settings and Configuration available for MetaDefender Drive with Smart Touch
Activation
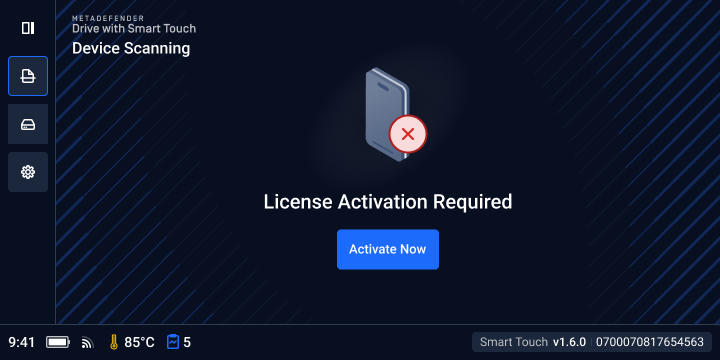
Please follow the steps in Activate License
The follow steps will walk you through the process to activate MetaDefender Drive with Smart Touch from within the Smart Touch
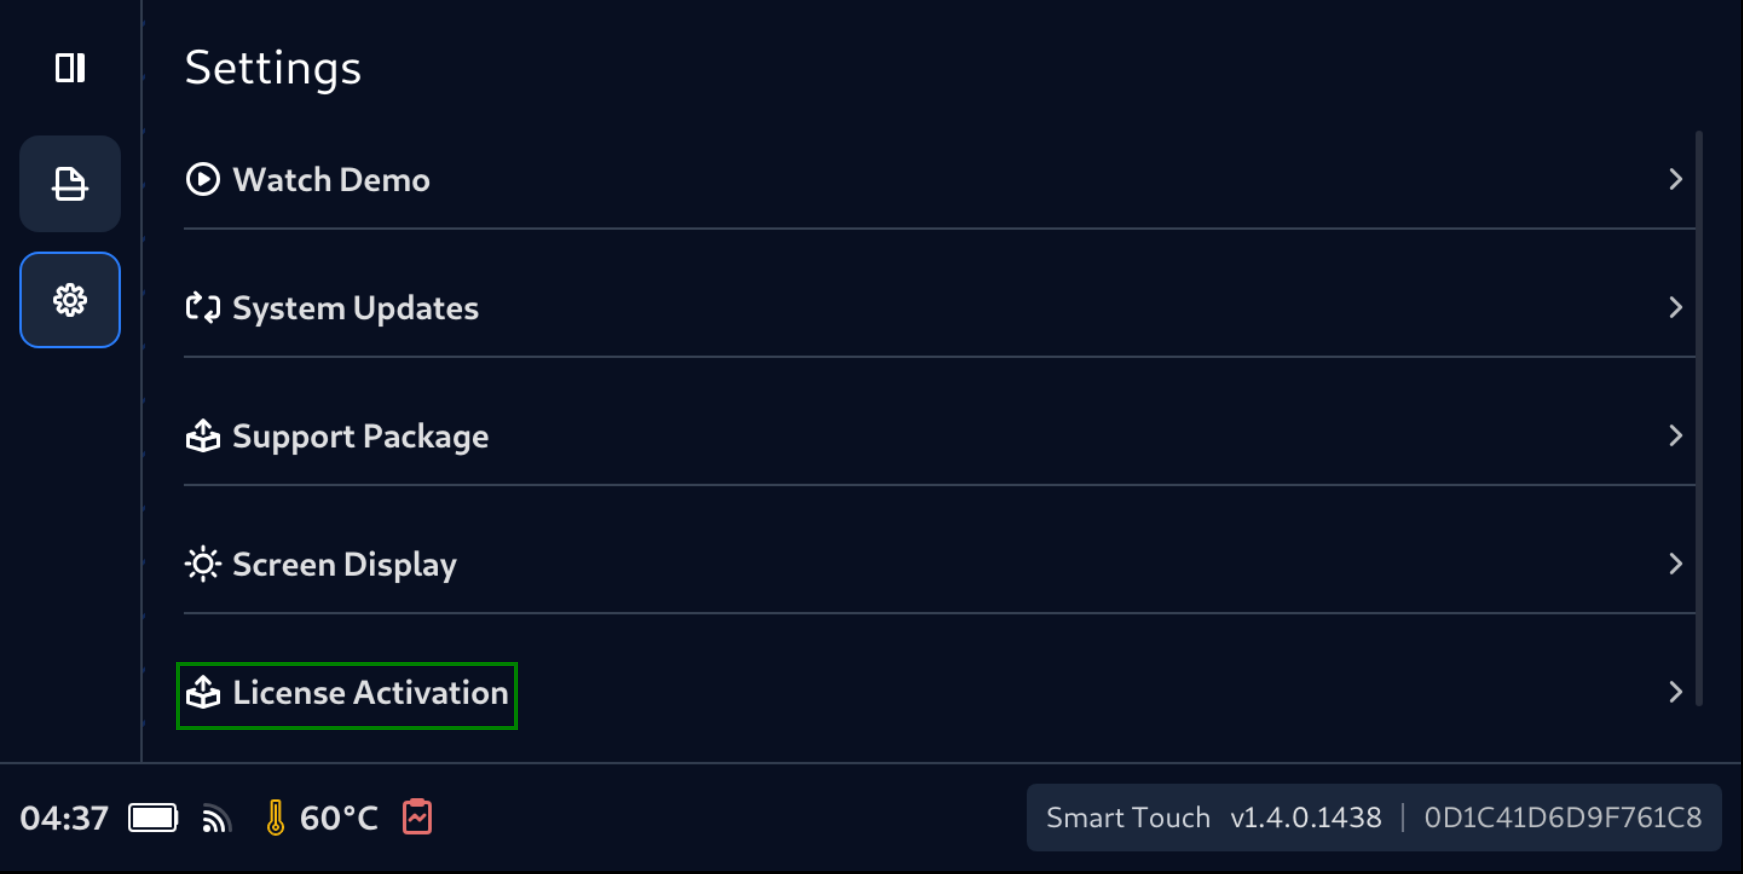
From anywhere, tap Settings (the Gear icon) on Navigation bar.
Tap License Activation
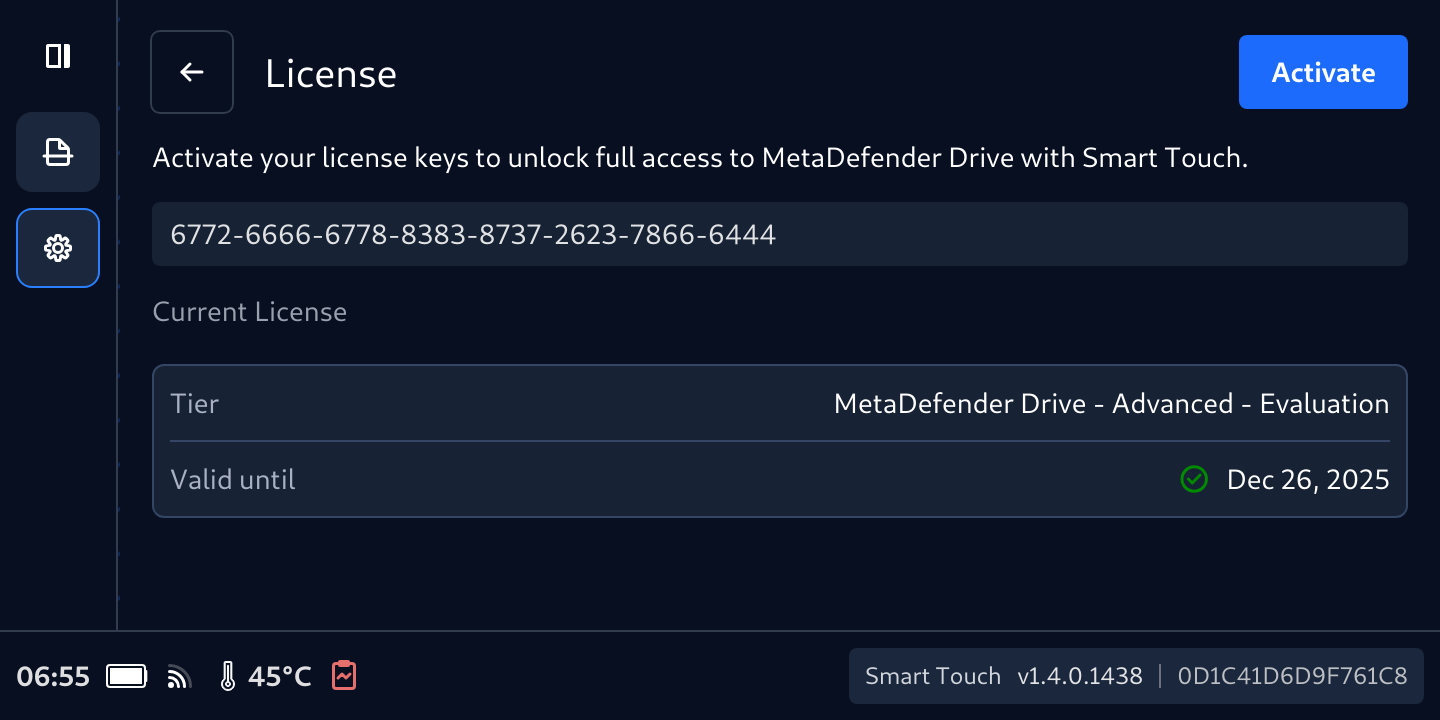
From this License screen, type in a valid license
Tap Activate button
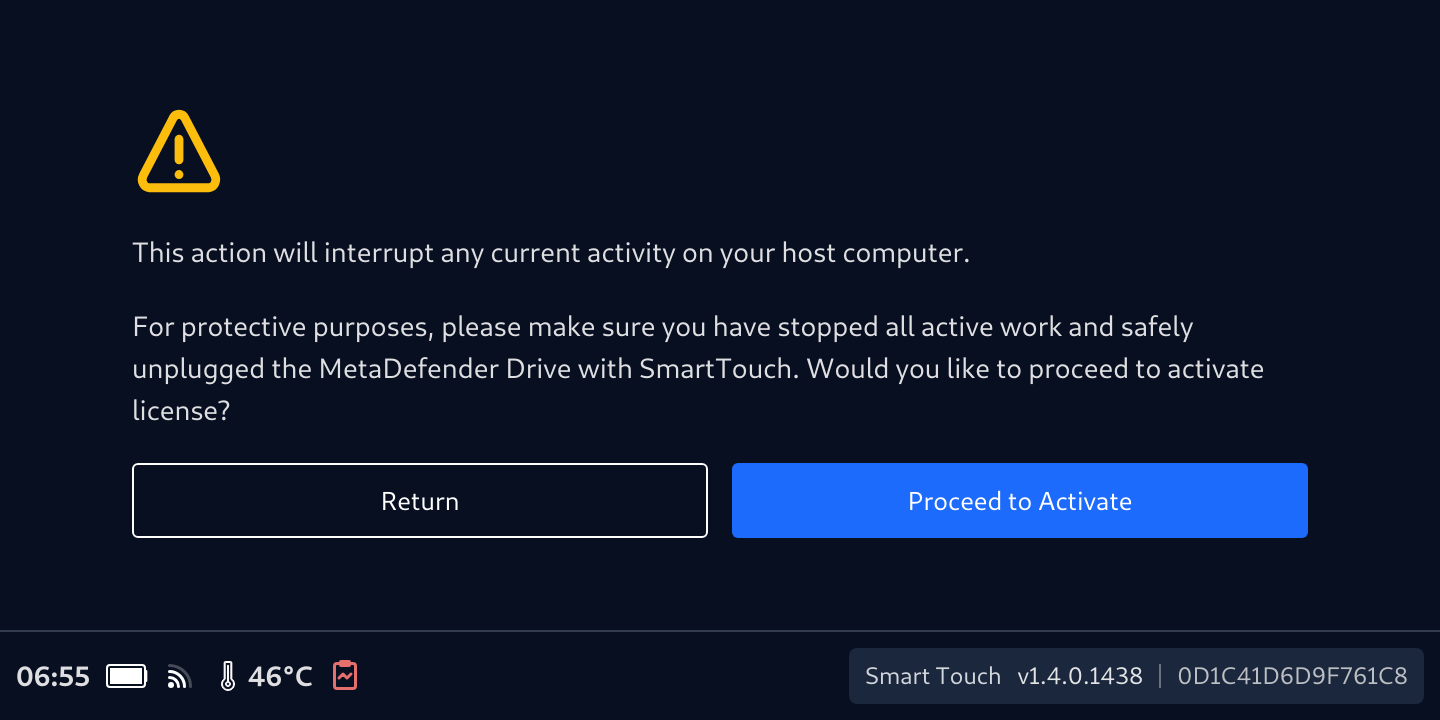
Make sure you don't currently have any activity on the host computer. Tap Proceed to Activate
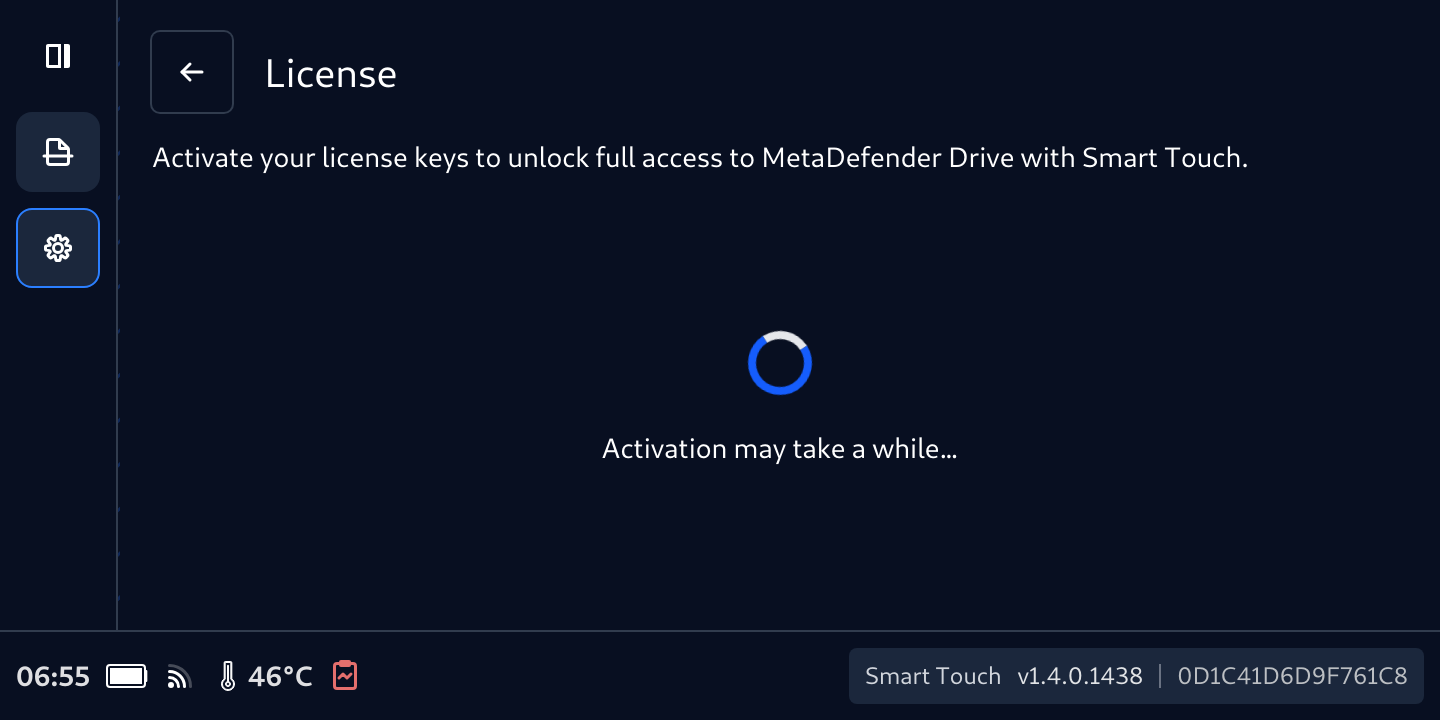
MetaDefender Drive with Smart Touch will validate the input license within 1 or 2 minutes
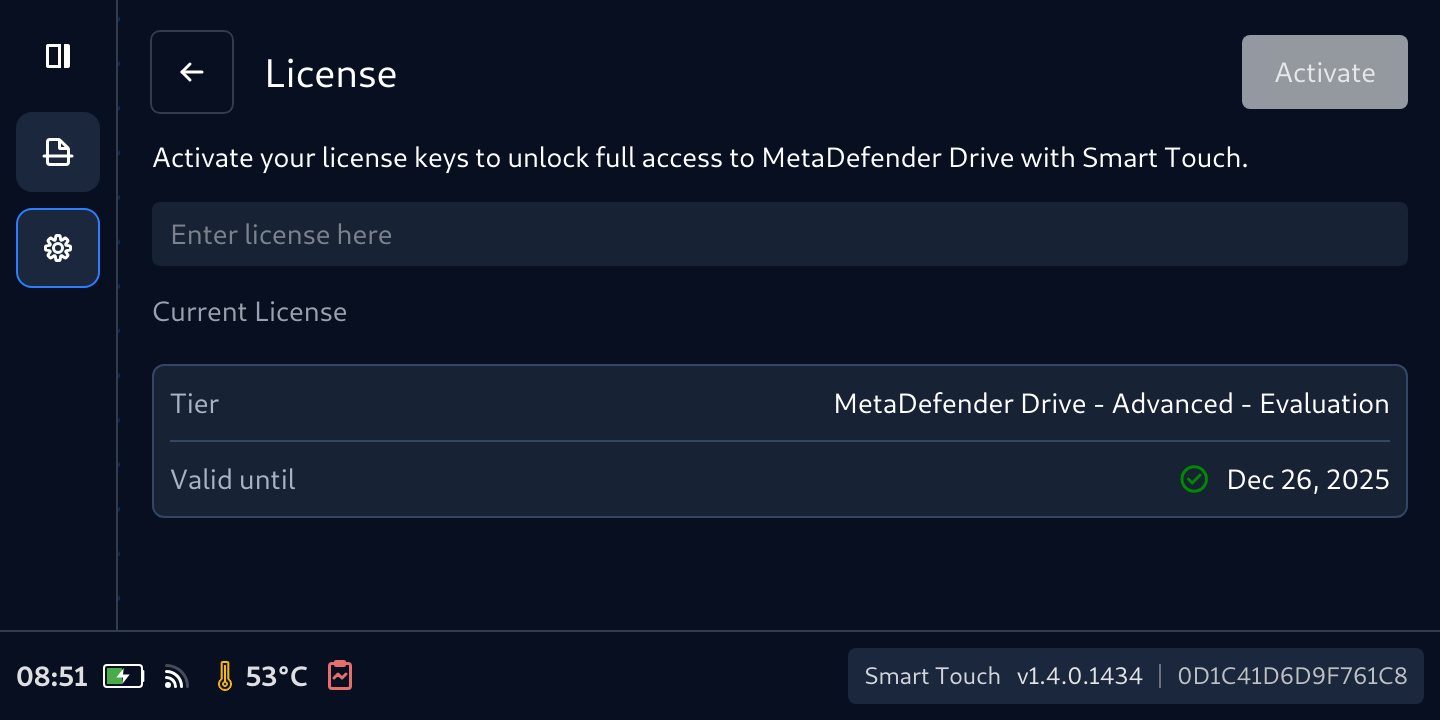
After all, the details of license will populate accordingly
Check for Updates
Despite MetaDefender Drive shipping with the latest software version, it is always a good practice to check for updates before use.
From anywhere, tap Settings (the Gear icon) on Navigation bar.
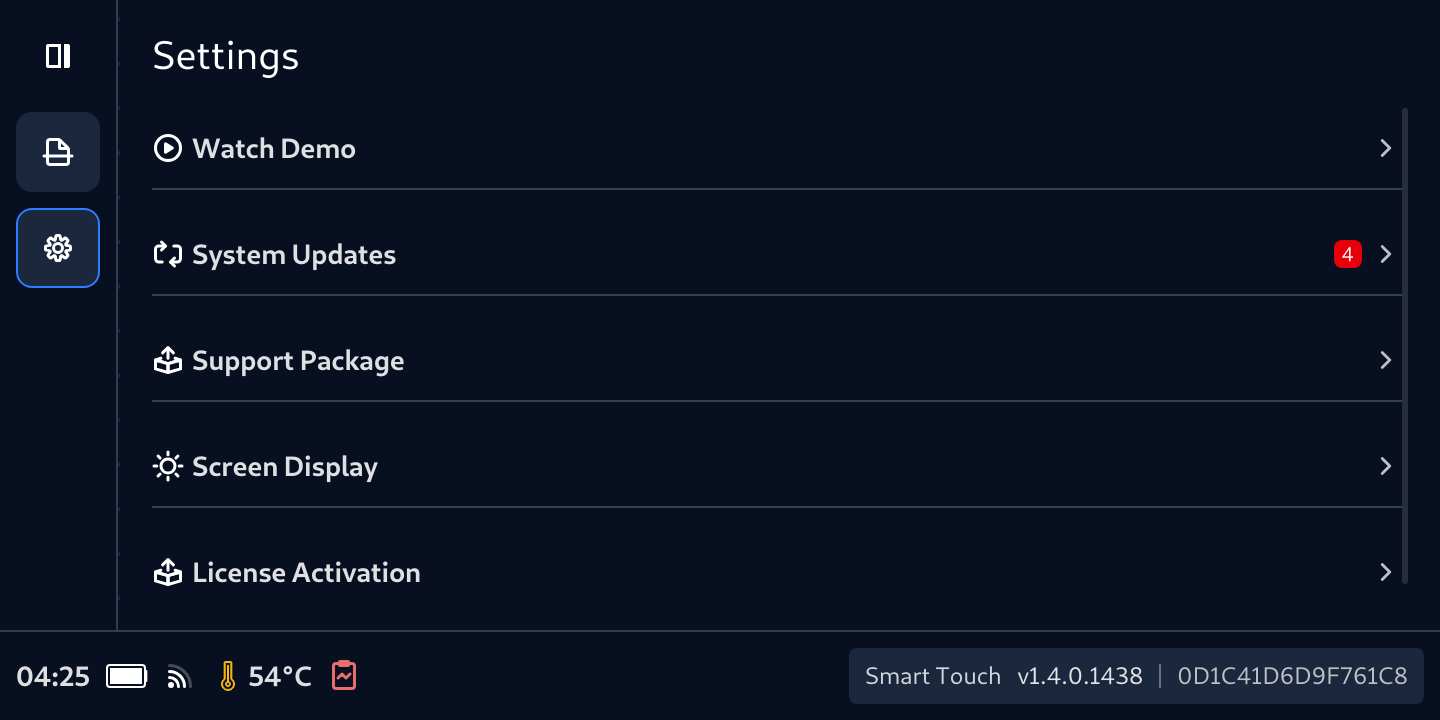
Notice the red dot displays next to System Updates notifying about any updates available for Smart Touch
Wait for MetaDefender Drive with Smart Touch to check for available updates.
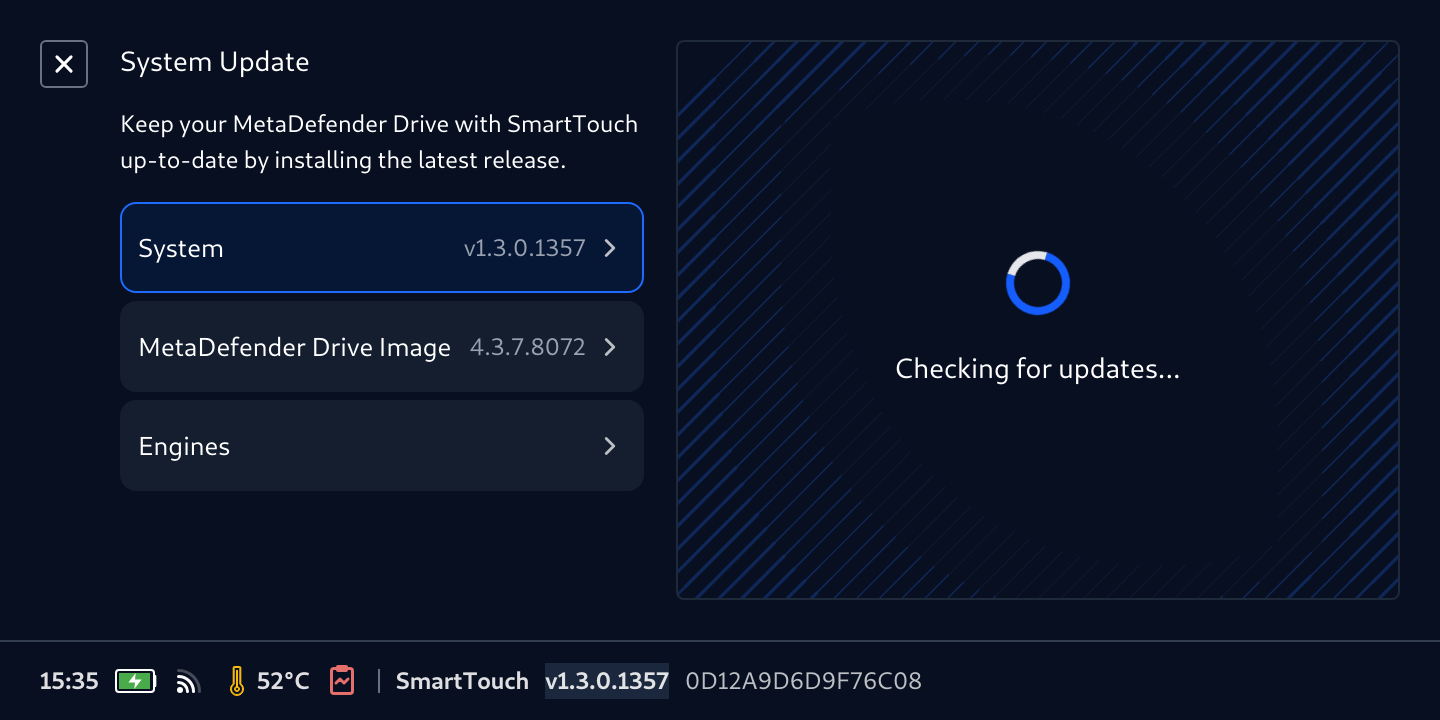
If new updates are found, a red dot will be displayed by the System, MetaDefender Drive Image, and Engines tabs
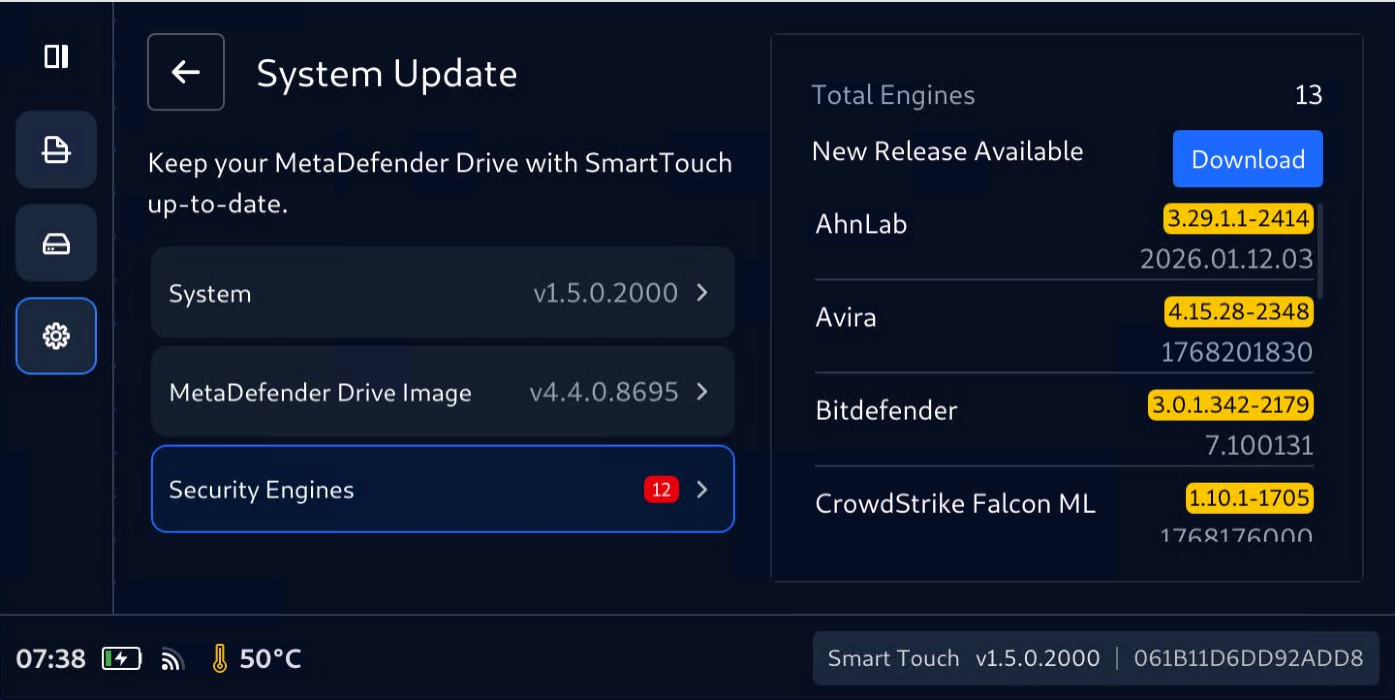
Perform System, Image, and Engine Updates
The experience is almost the same for the three types of updates:
Select System Update screen, noticing that there are updates available, tap System, MetaDefender Drive Image, or Engines, then tap Download or Install, and wait for the new version of the application to be downloaded.
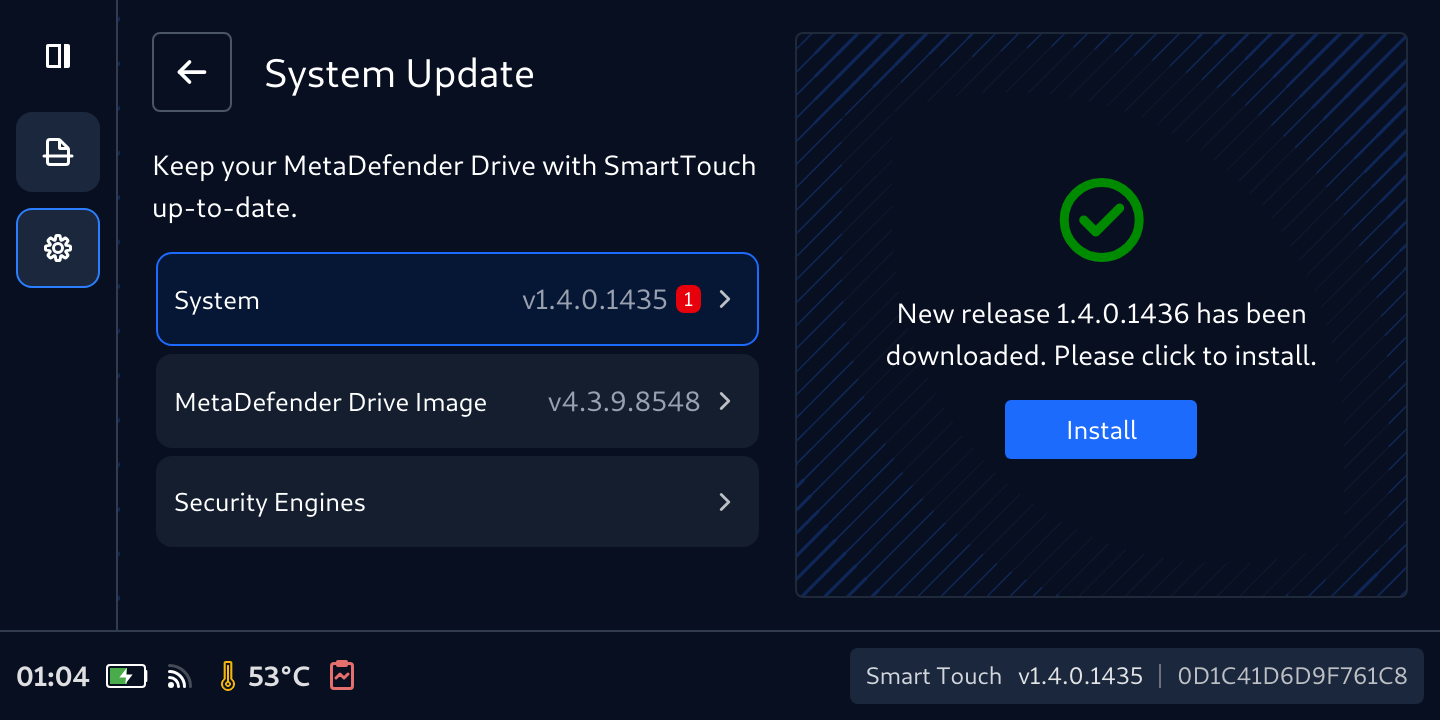
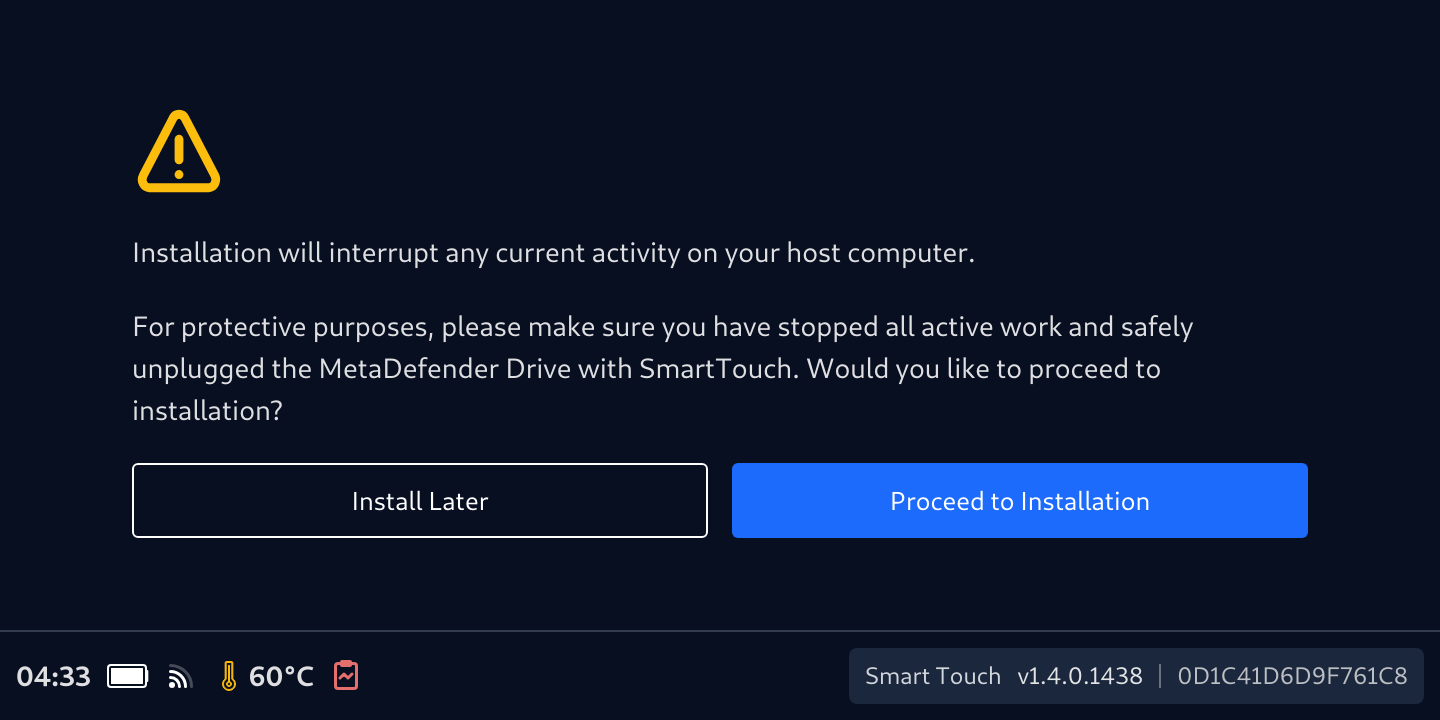
After the download is completed, a prompt will be displayed to confirm if you would like to proceed with the installation.
Monitor the Installation progress.
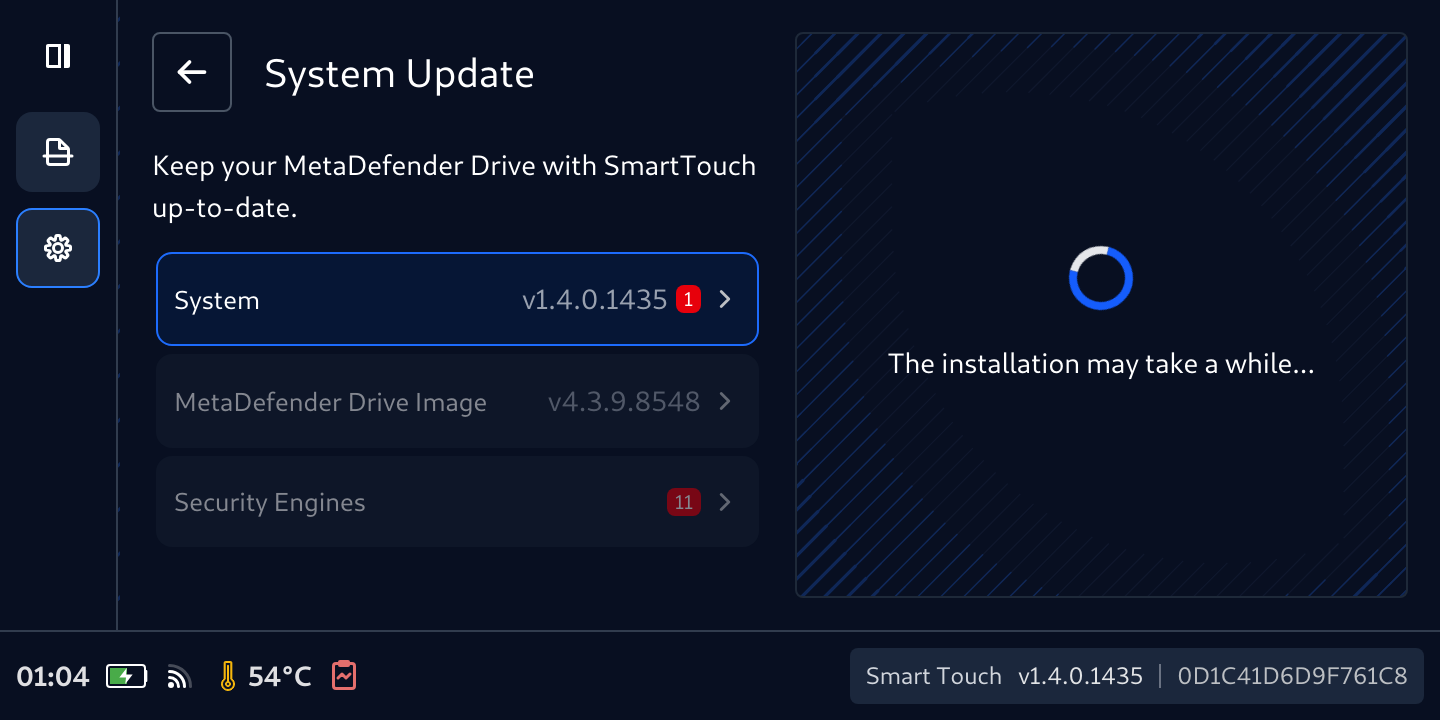
In case of system and image updates, MetaDefender Smart Touch will restart. After rebooting, go back the the System Update page to confirm that all updates are installed.
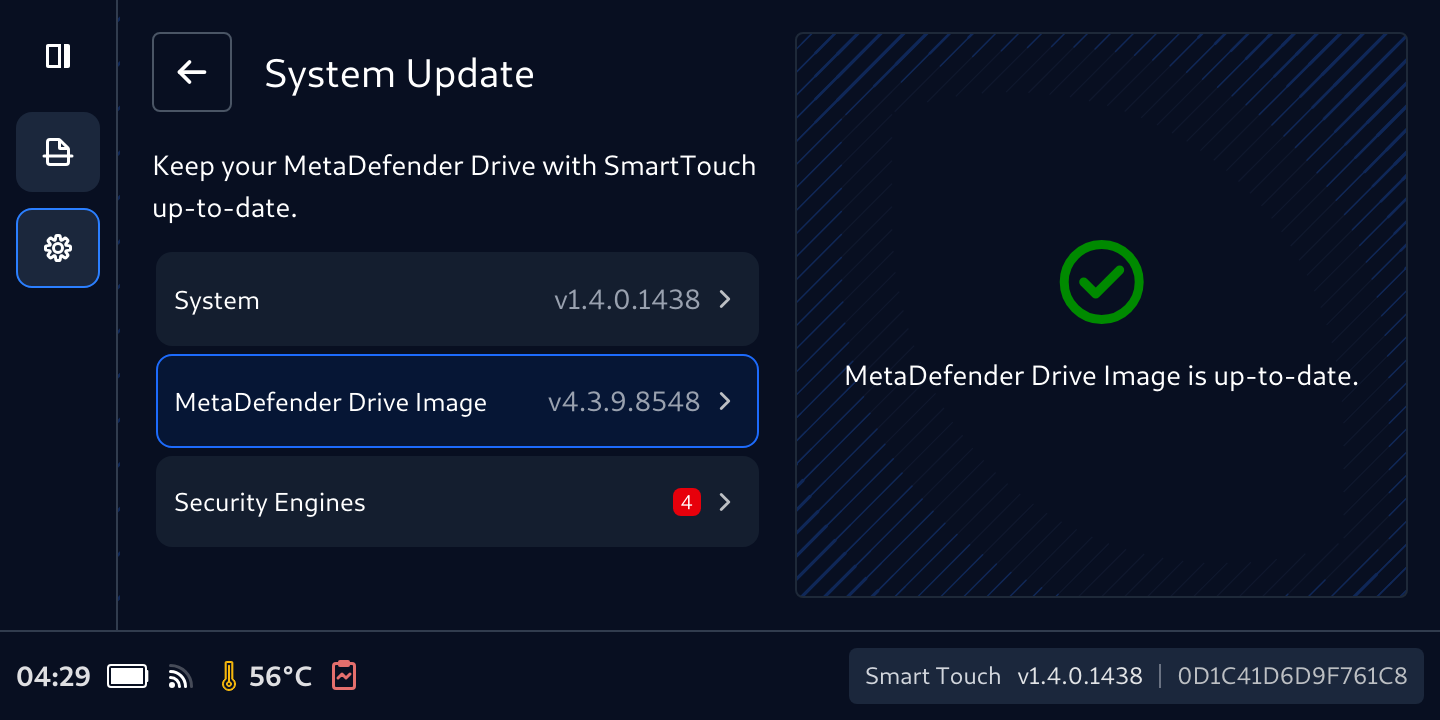
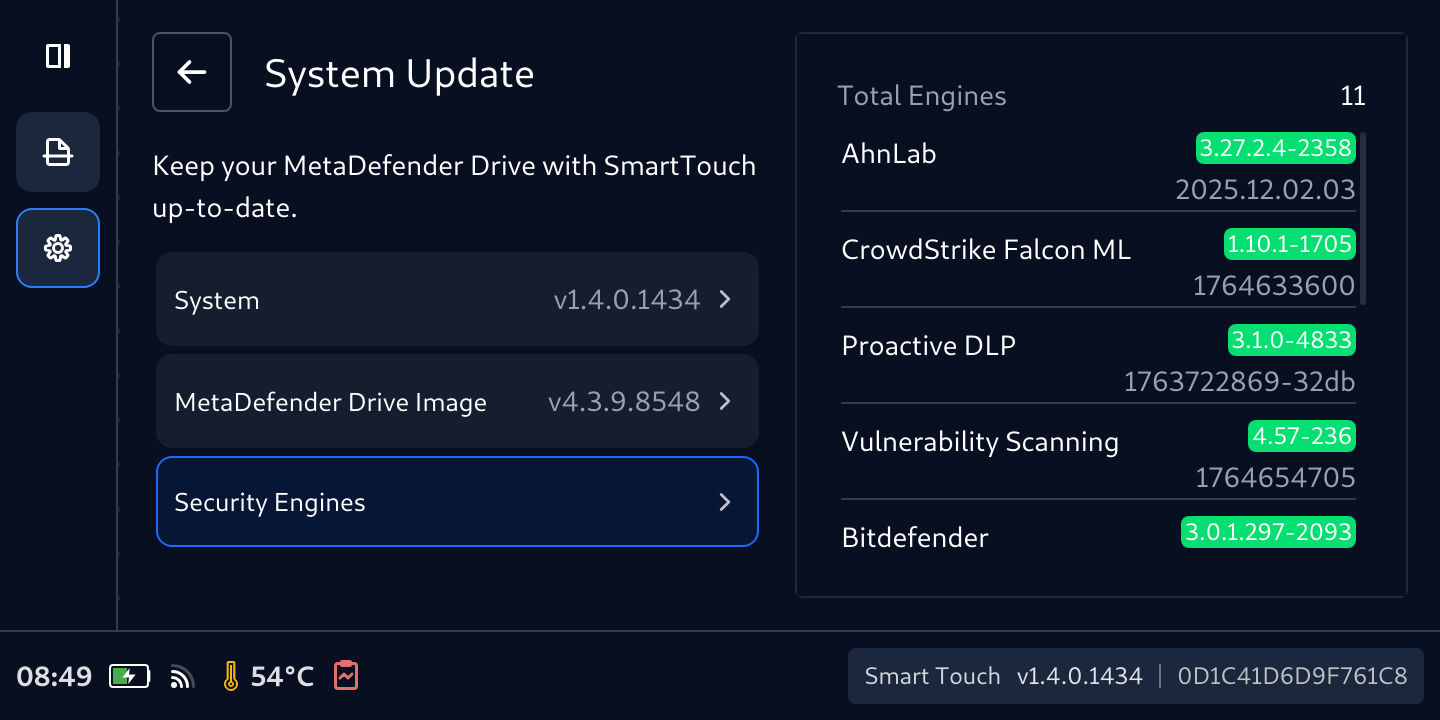
During the update process, MetaDefender Drive will not be ready to perform a scan.
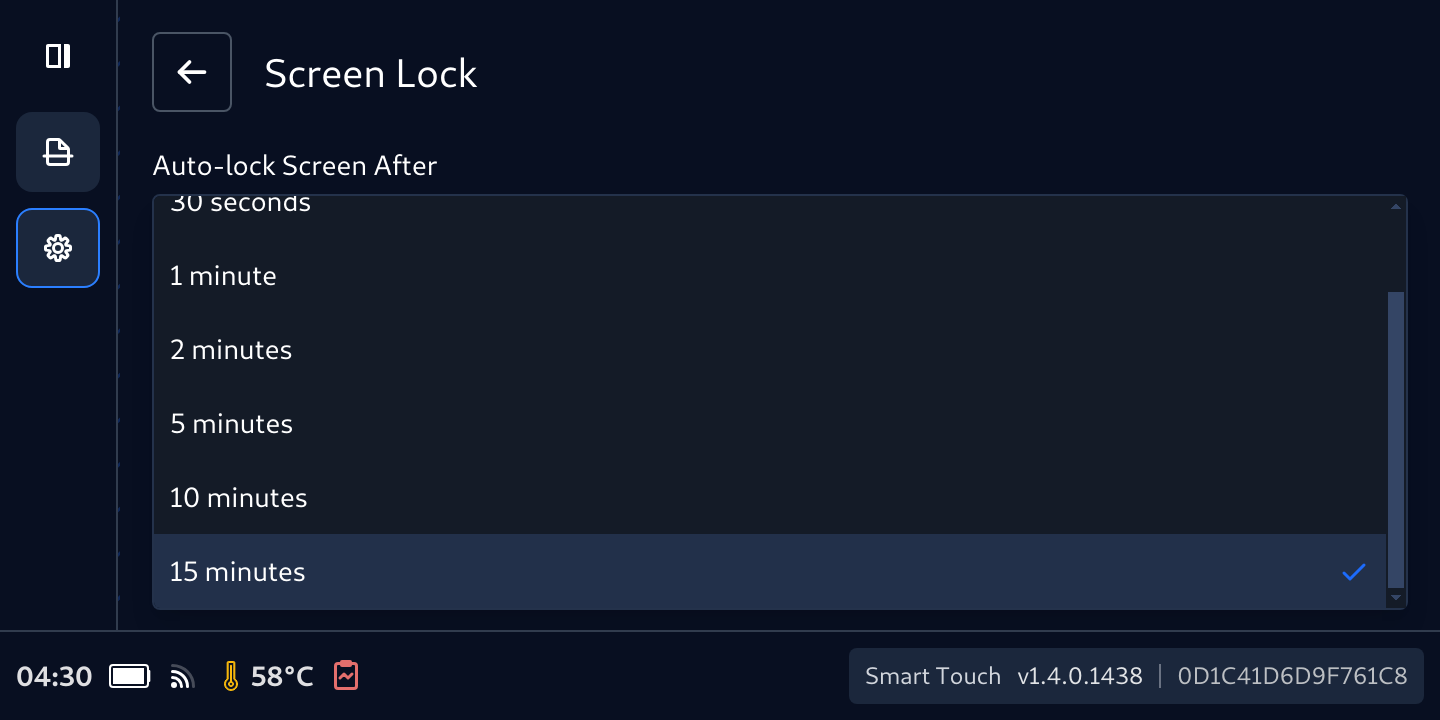
Change Screen Display Time-Out
To change screen lock time-out:
Tap the Settings icon, then Screen Display button
Select the desired time-out value
Change Date, Time and Time Zone
To set Date Time for Smart Touch
On MetaDefender Drive with Smart Touch, navigate to Settings → Date & Time
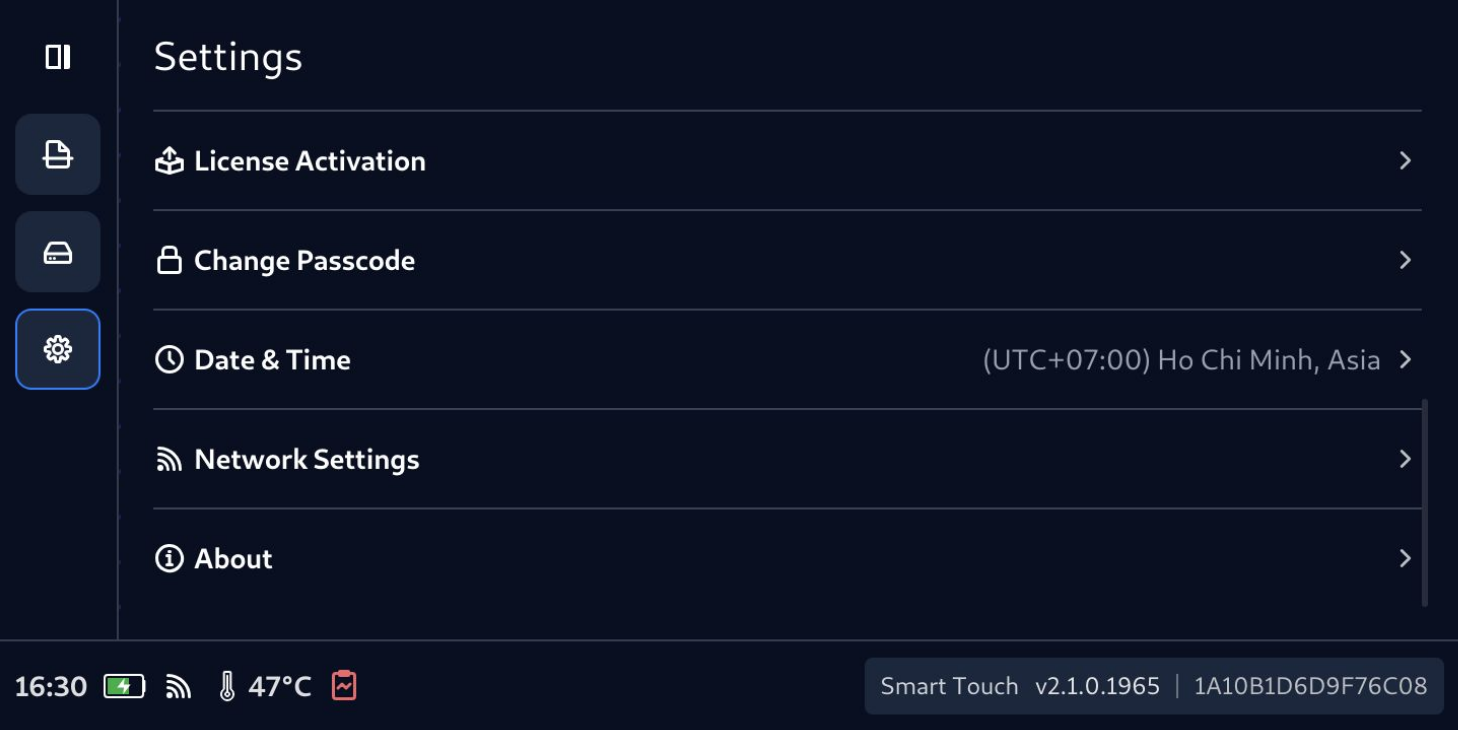
There are two method to set Date and Time for Smart Touch
Auto
Switch Set Automatically to ON then tap Sync Now
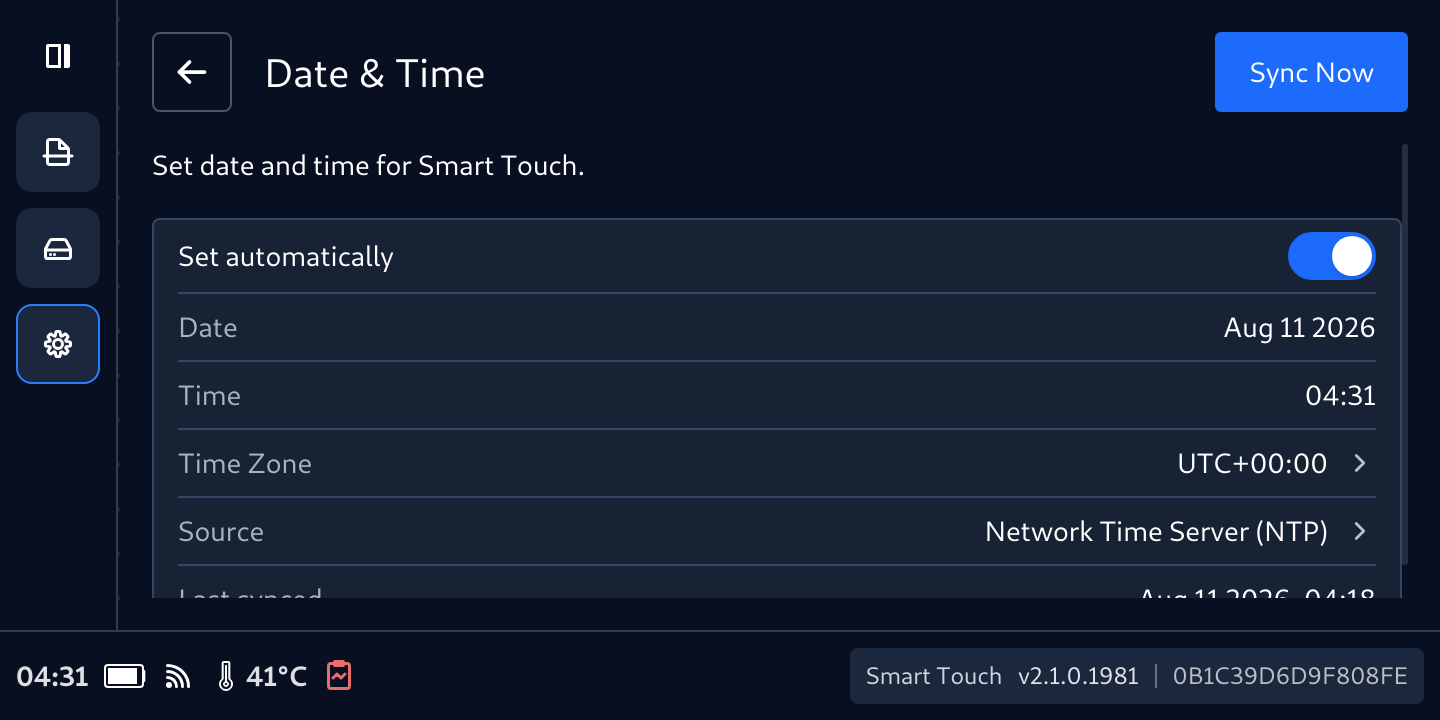
If Smart Touch is connecting to Internet, Date & Time will automatically be fetched and populated accordingly from Network Time Server
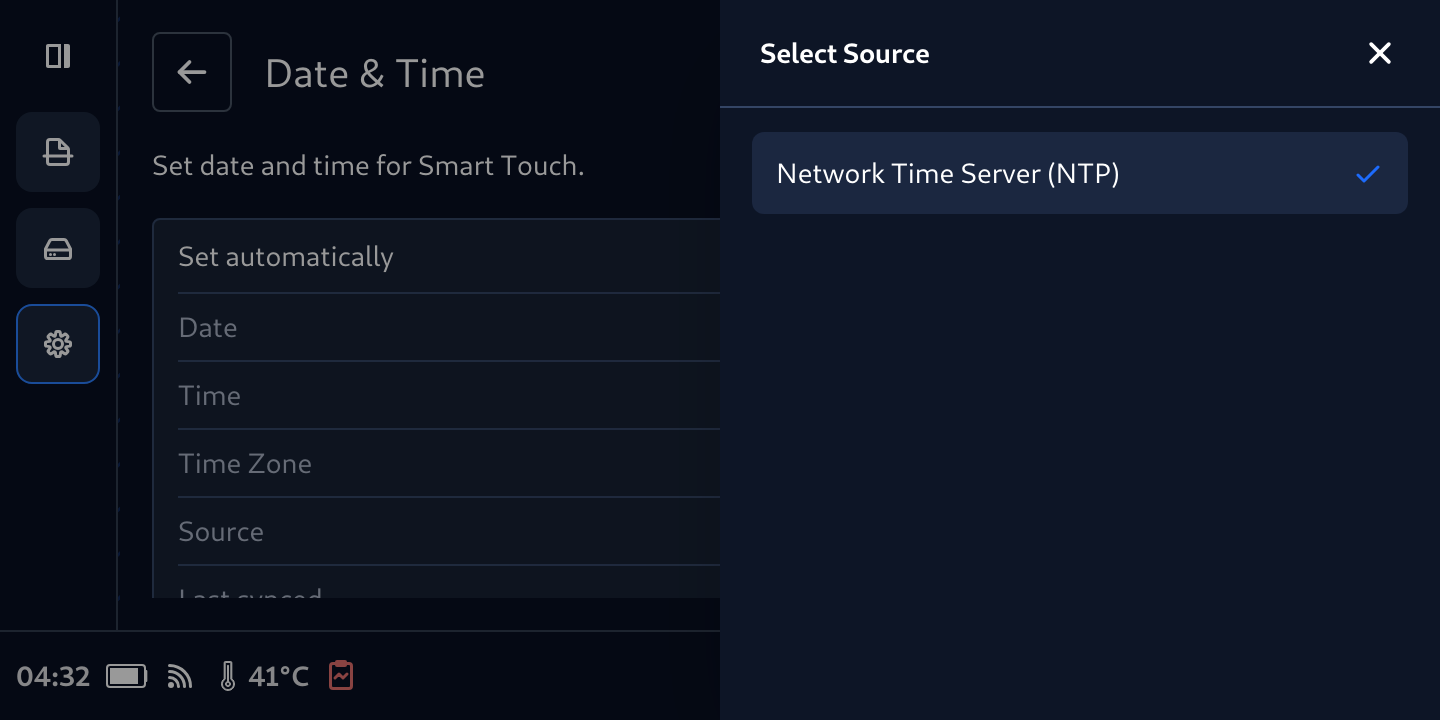
Manual
Switch Set Automatically to OFF
Manually set Date, Time and Time Zone for the device
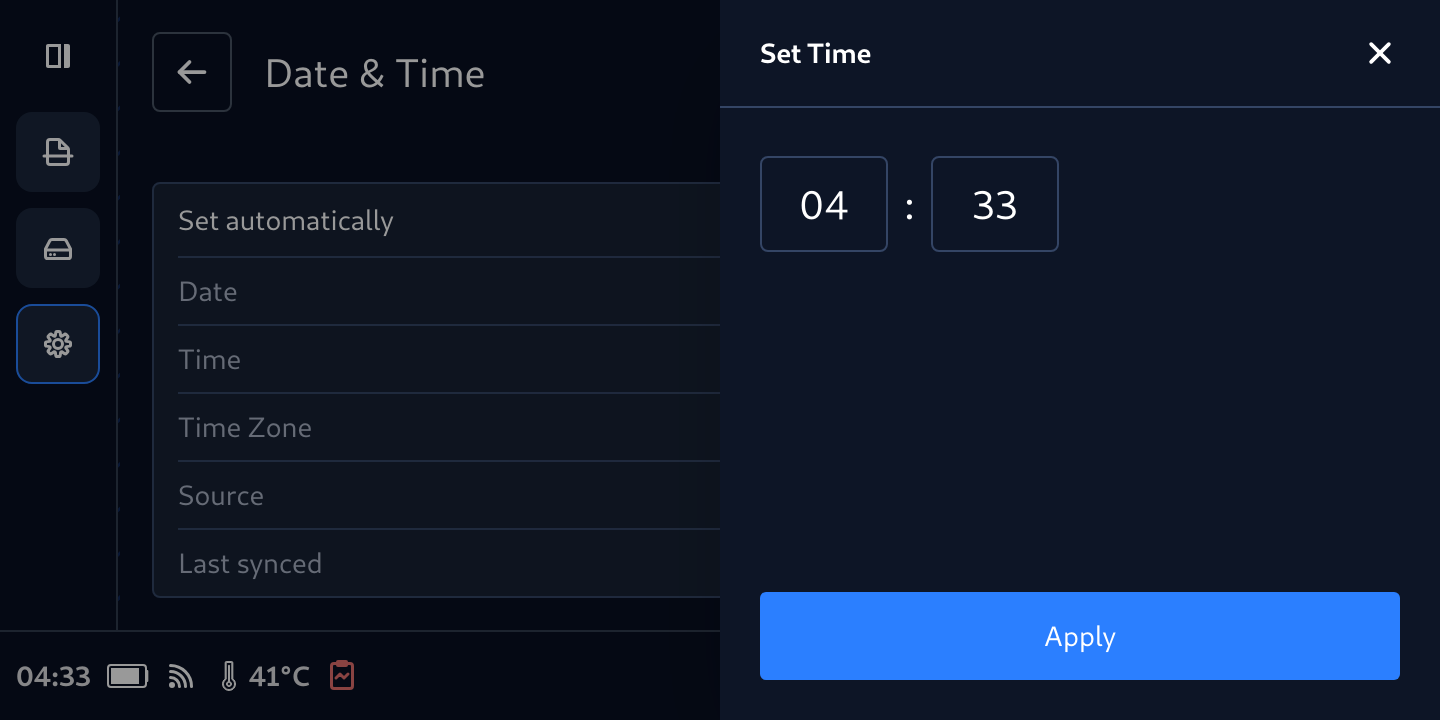
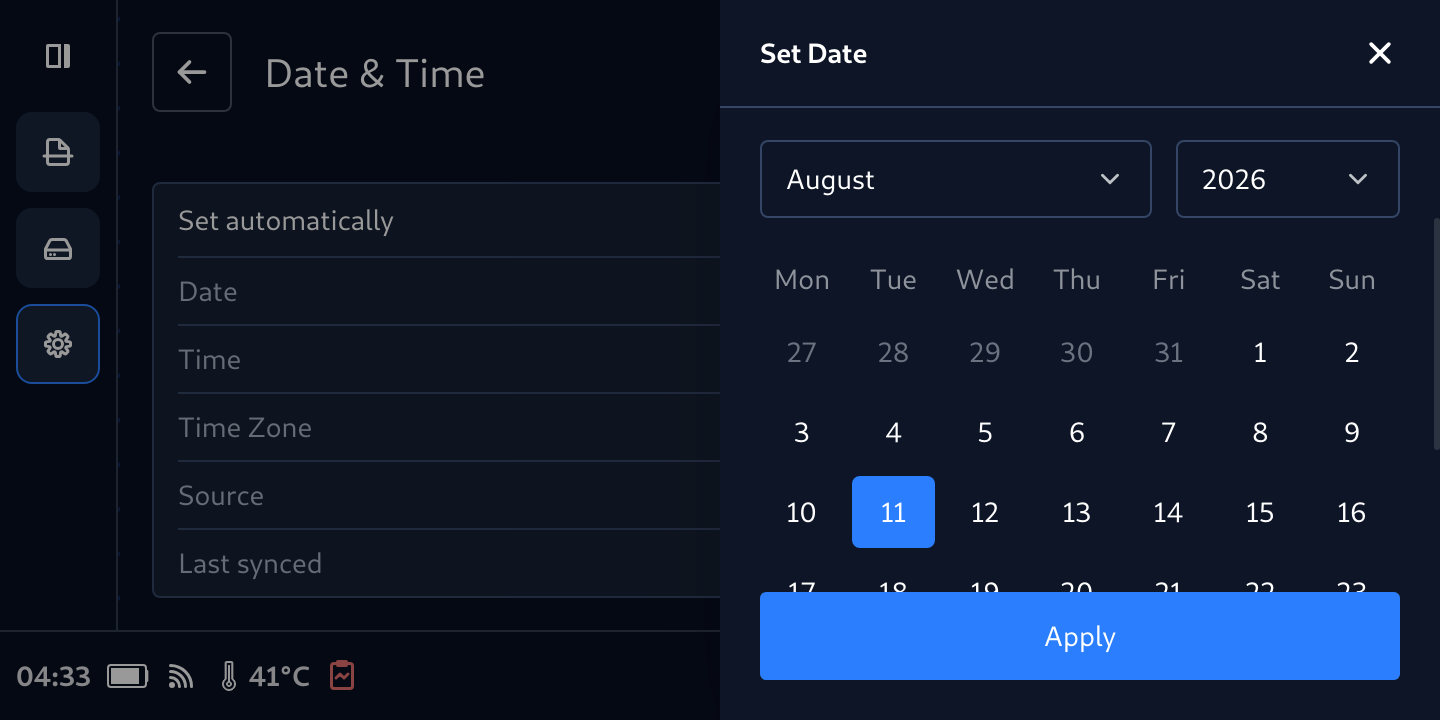
Press Apply to save
Change Pass Code
To change pass code
On MetaDefender Drive with Smart Touch, navigate to Settings → Change Passcode
Enter current pass-code then tap Enter (please be noted that the default pass code is 123456 (or 386135 for Smart Touch v1.6.0 and before] if you have not changed it
Enter New Passcode, then Confirm New Passcode
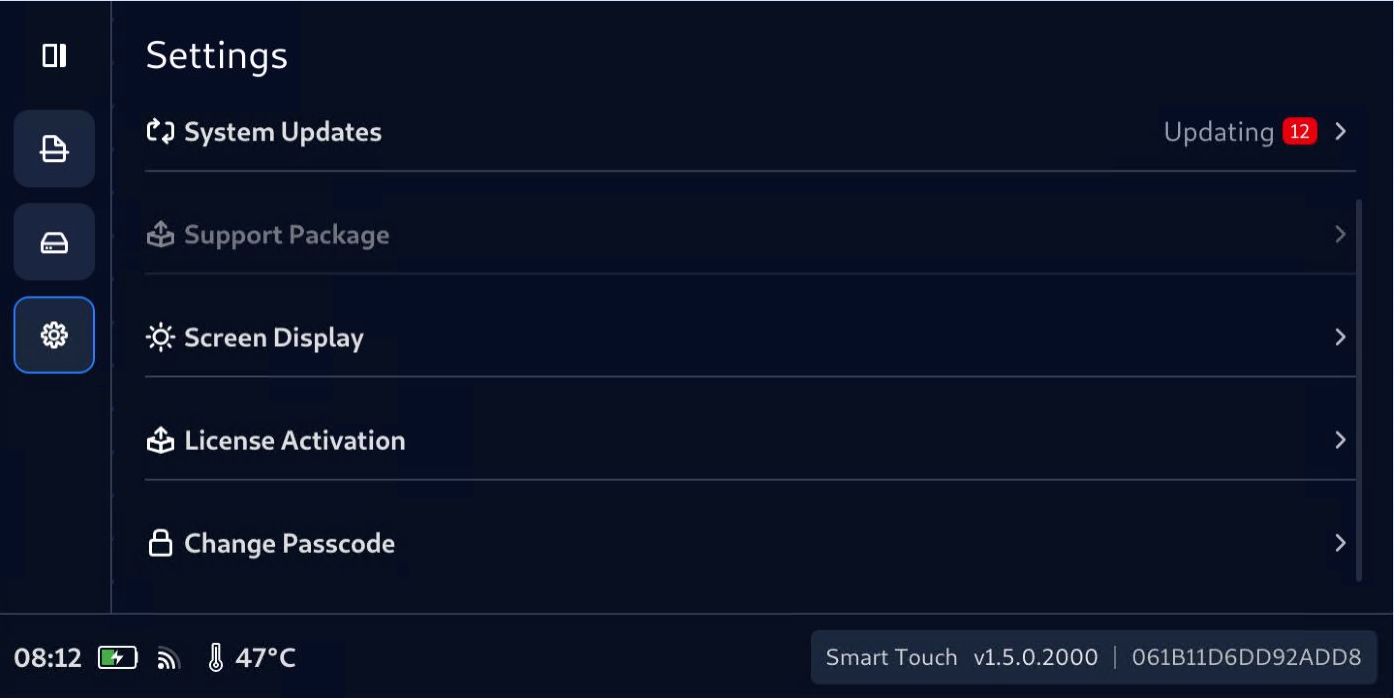
Network configuration for Smart Touch
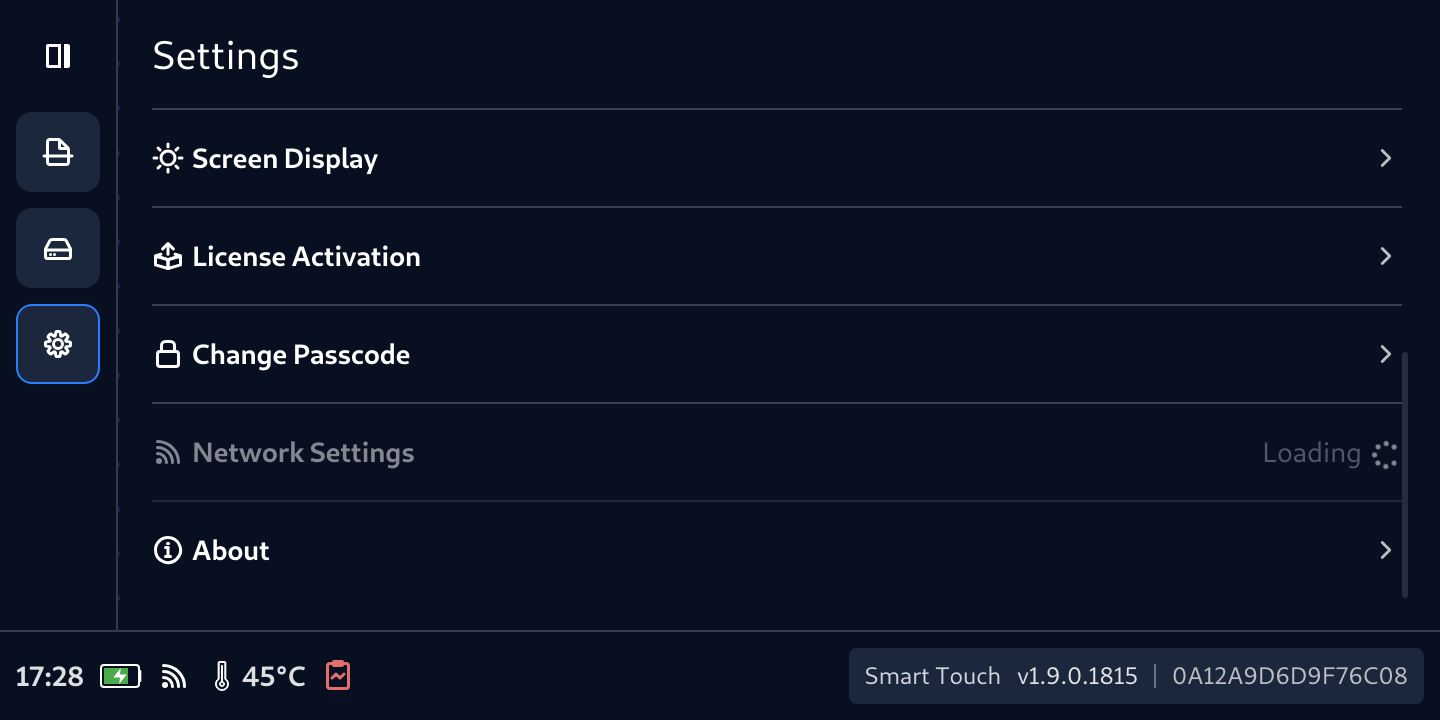
Tap Network Settings
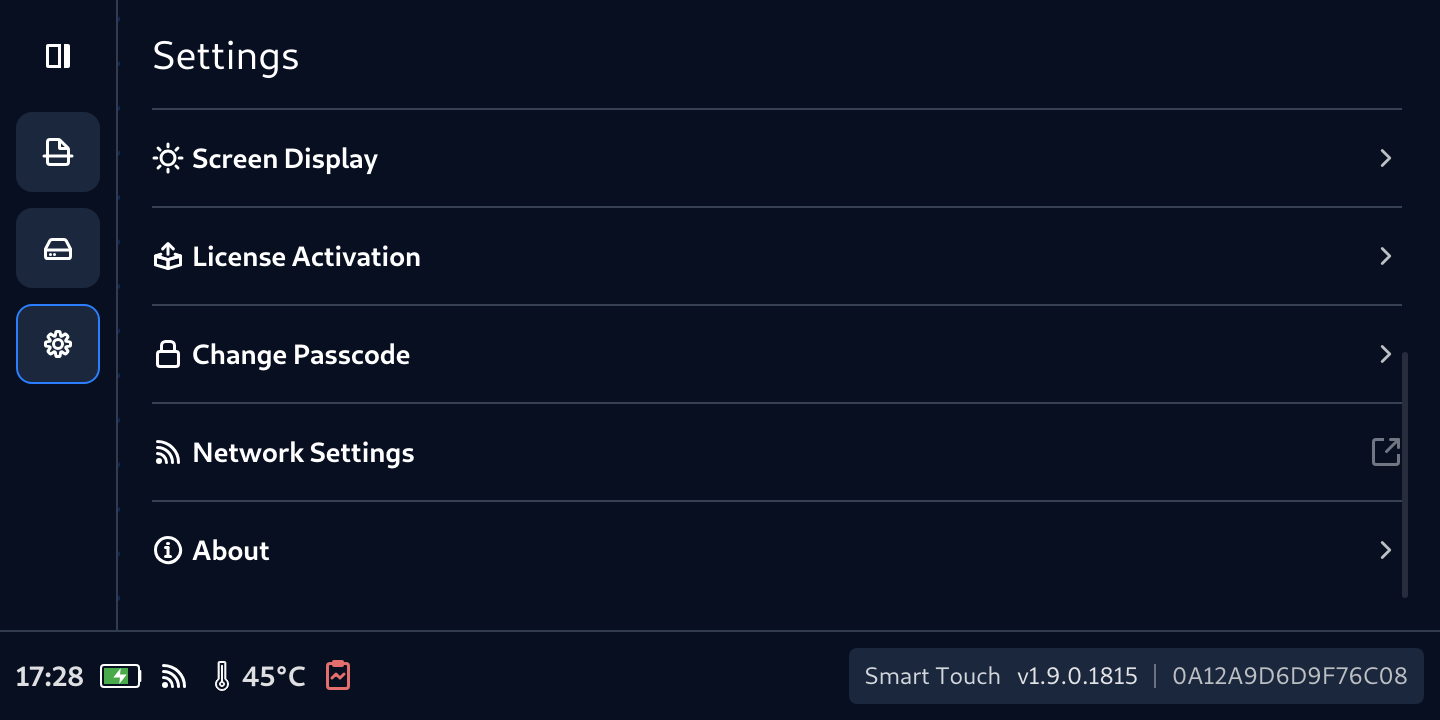
Wait for the network modal loading
Tap Refresh to scan for available networks. Each network is listed with the security type detected for it, and is labelled as in use for the network currently connected, or saved for a network whose credentials are already stored on the device.
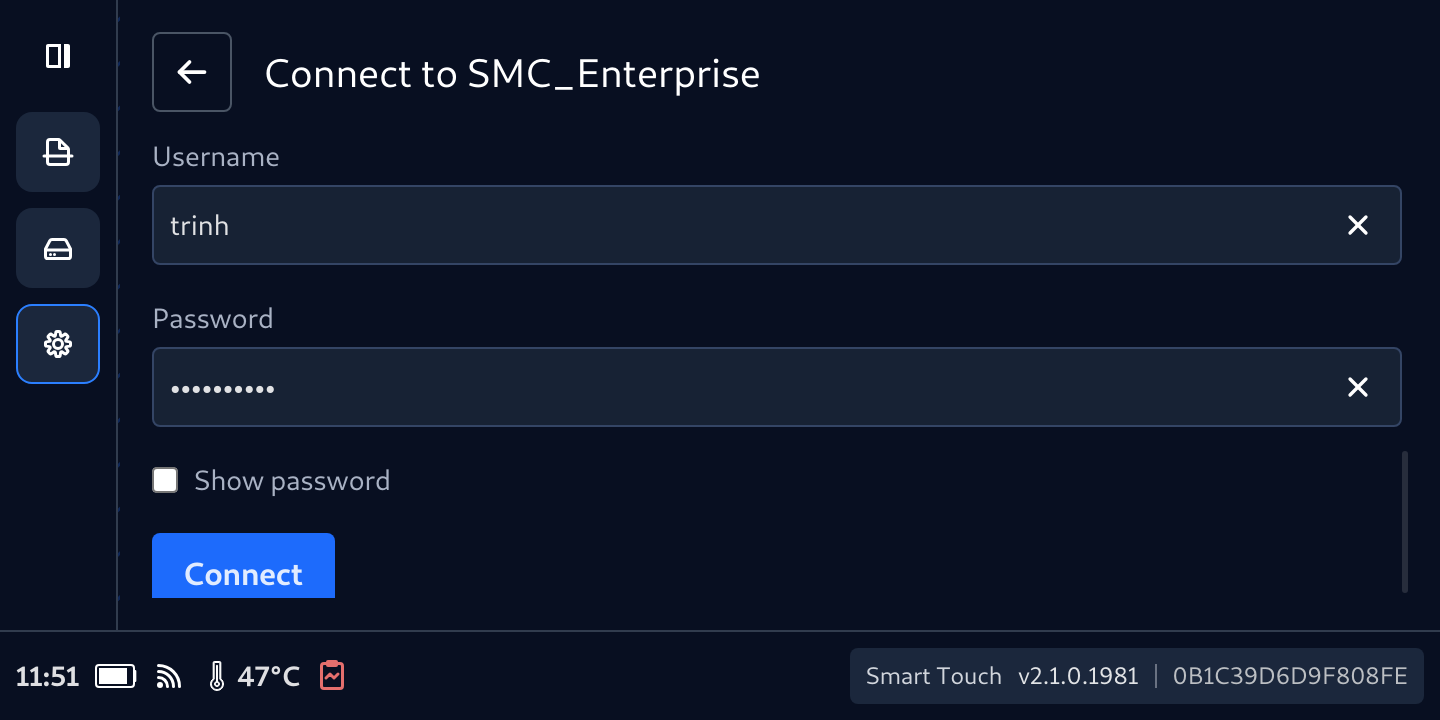
Tap the network you want to join, then enter its credentials: a Password for a WPA-Personal network, or a Username and a Password for a WPA/WPA2-Enterprise (PEAP/MSCHAPv2) network.
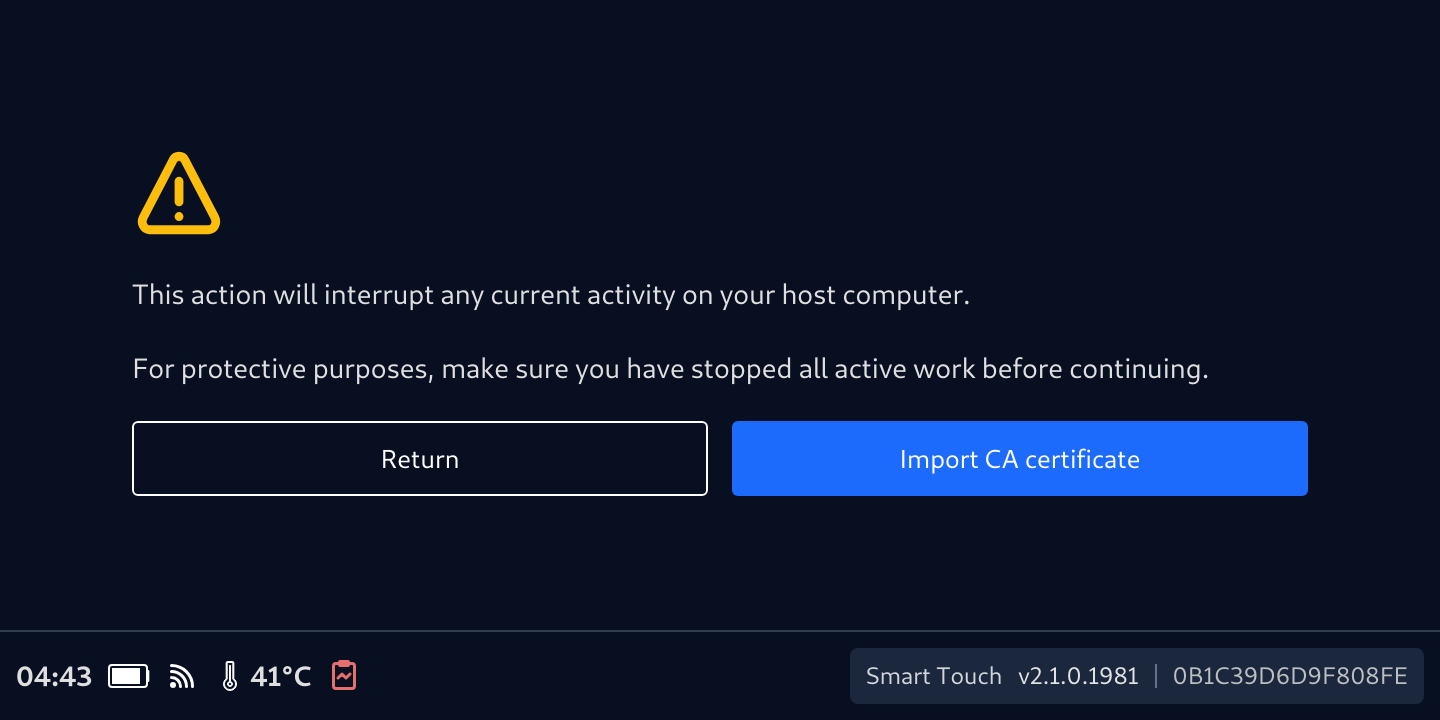
If the CA certificate is require, press Import CA Certificate then follow the on screen instructions
Make sure you are not scanning a device, and not using Secure Files Storage, then go ahead to press Import CA Certificate
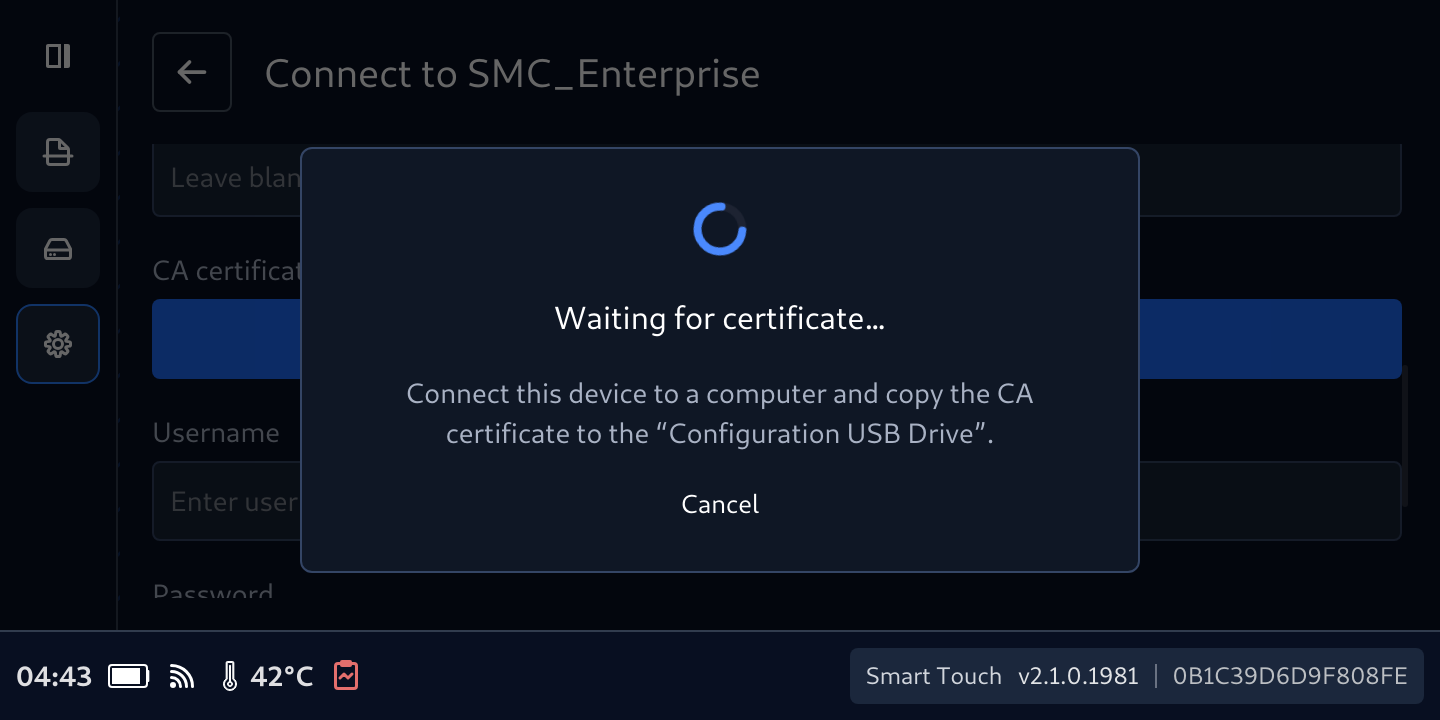
Prepare the CA Certificate on a computer and connect Smart Touch to the computer to copy the certificate to "Configuration USB Device"
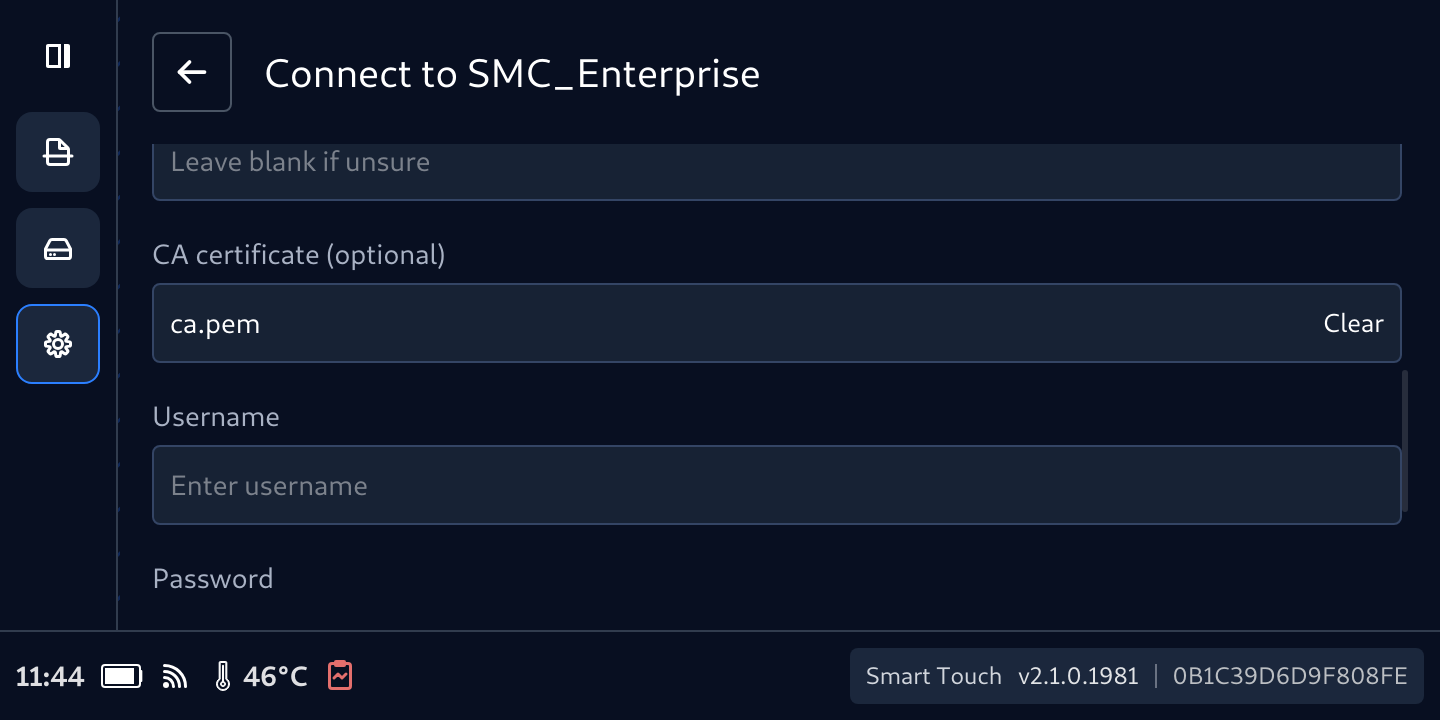
After copying and if the certificate is valid, the imported certificate will show
Enter Username and Password then tap Connect
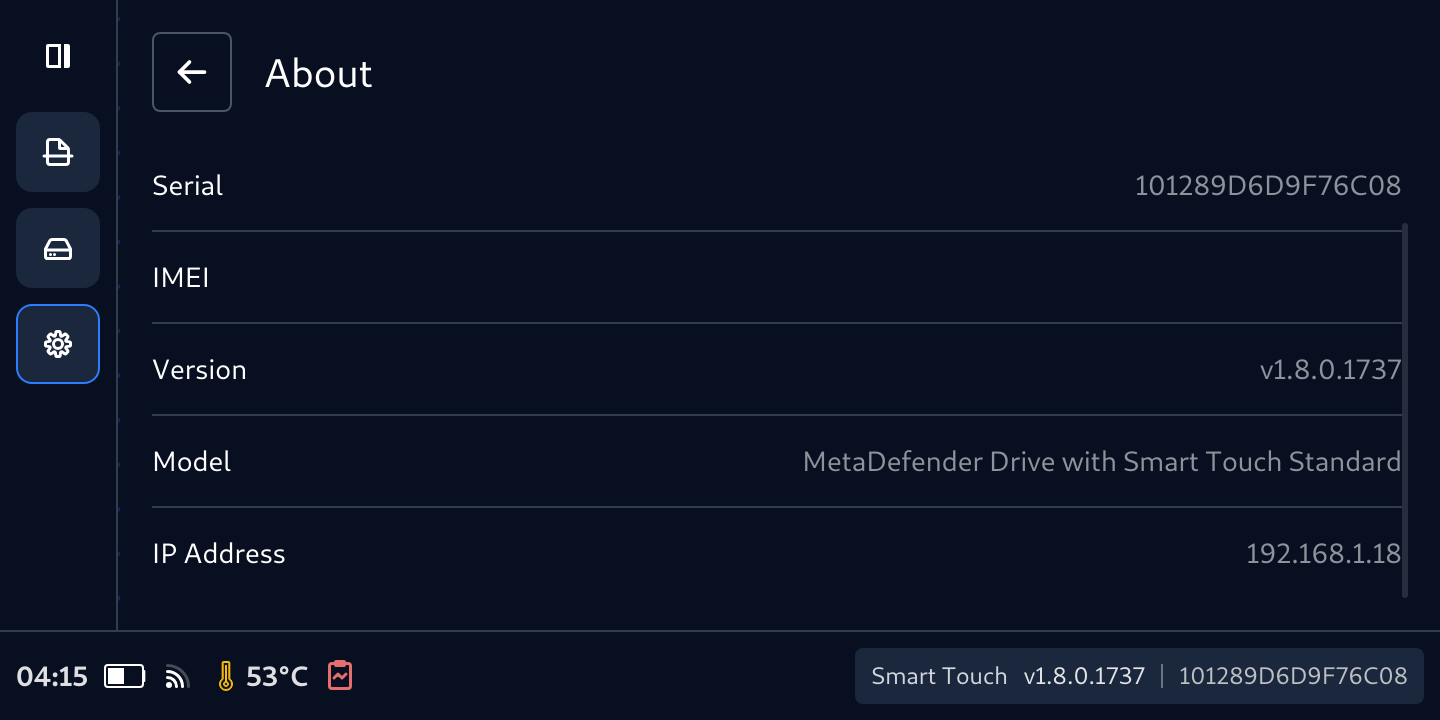
More information about the Smart Touch
Deployment ID and Serial
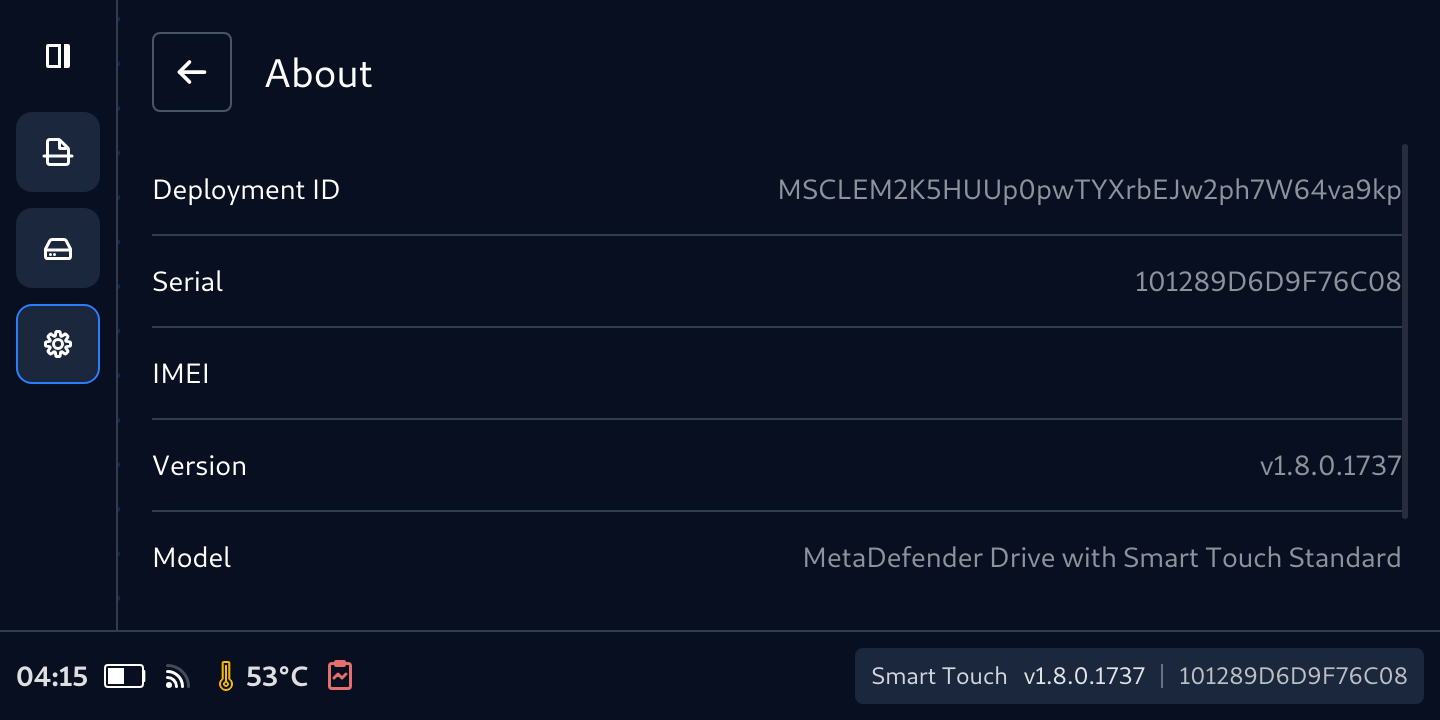
Scroll down for IP Address