The Advanced menu allows administrators to view and update information about the MetaDefender Security Gateway server to run diagnostics.
Diagnostics
Use the Diagnostics menu options to run tests on the MetaDefender Security Gateway server.
Ping Test
Click the Ping Test option to run a ping test. Enter the server IP address or hostname in the Target Address box and click the Submit button. The results from the ping display.
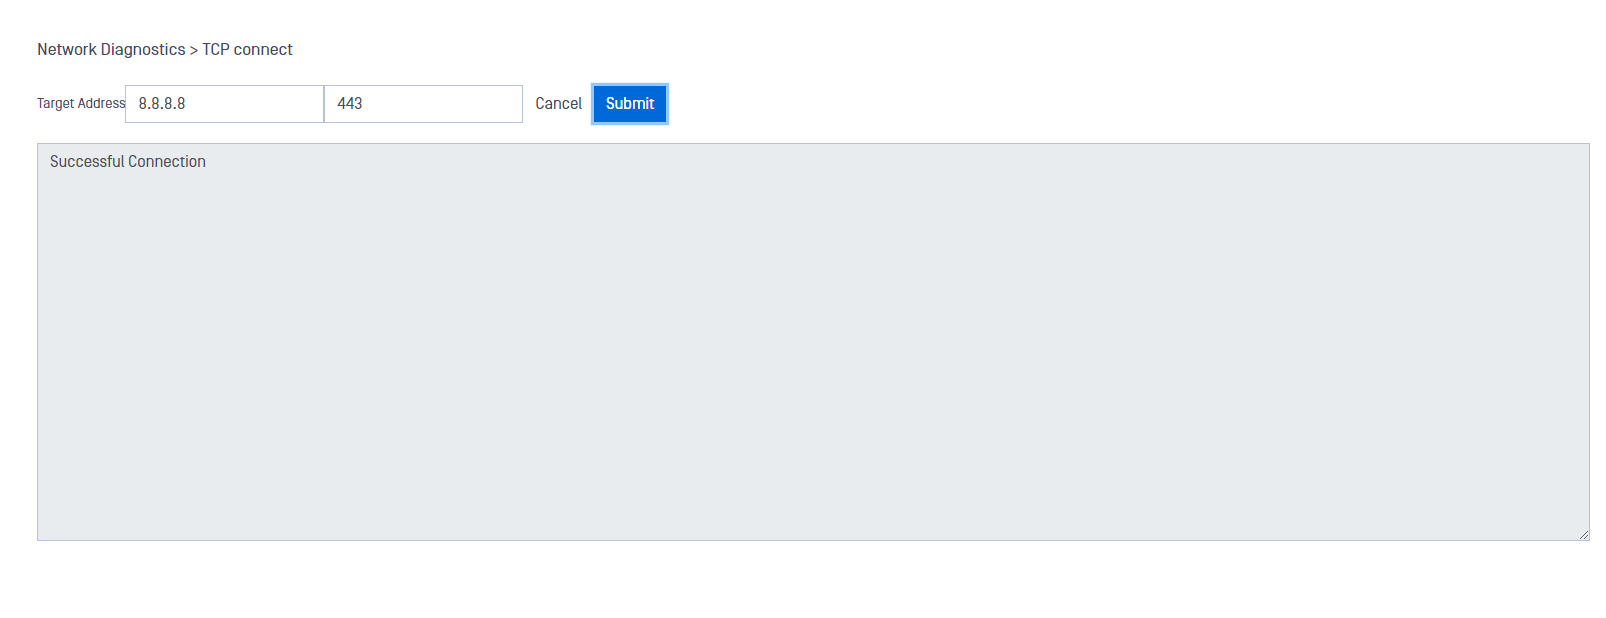
TCP Connect
Click the TCP Connect option to view the result of the handshake between the client and the server that’s listening.
1) Enter an IP address or hostname in the Target Address box.
2) Enter a port number (required).
3) Click the Submit button. The handshake results display.
Show Route
Click the Show Route option to view the route the packet took to get to its destination. Enter an IP address or hostname in the Target Address box and click the Submit button. The route displays.
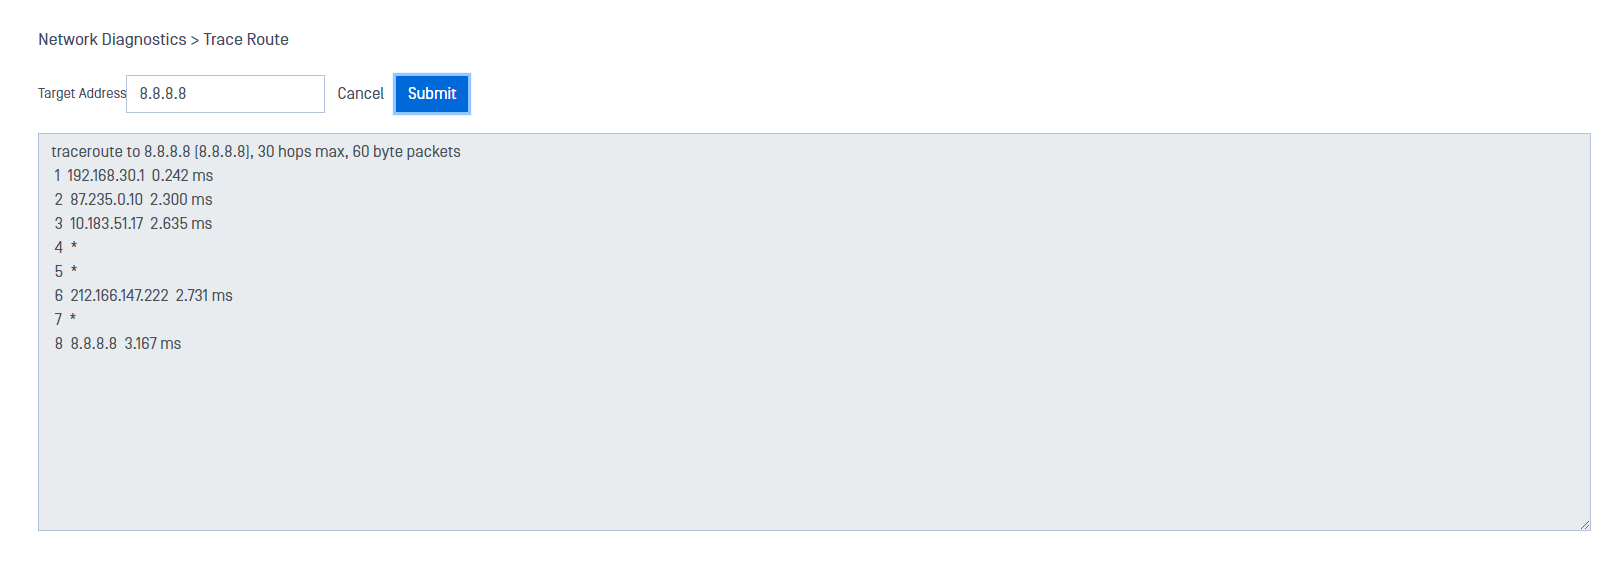
Trace Route
Click the Trace Route option to display the route and time the packet took to get to its destination. It will do a maximum of 30 hops at 60 bytes per packet. Enter an IP address or hostname in the Target Address box and click the Submit button. The route and time display.
DNS Lookup
Click on the DNS Lookup option to list DNS records for a domain. Type the target address or domain and click submit to obtain the list.

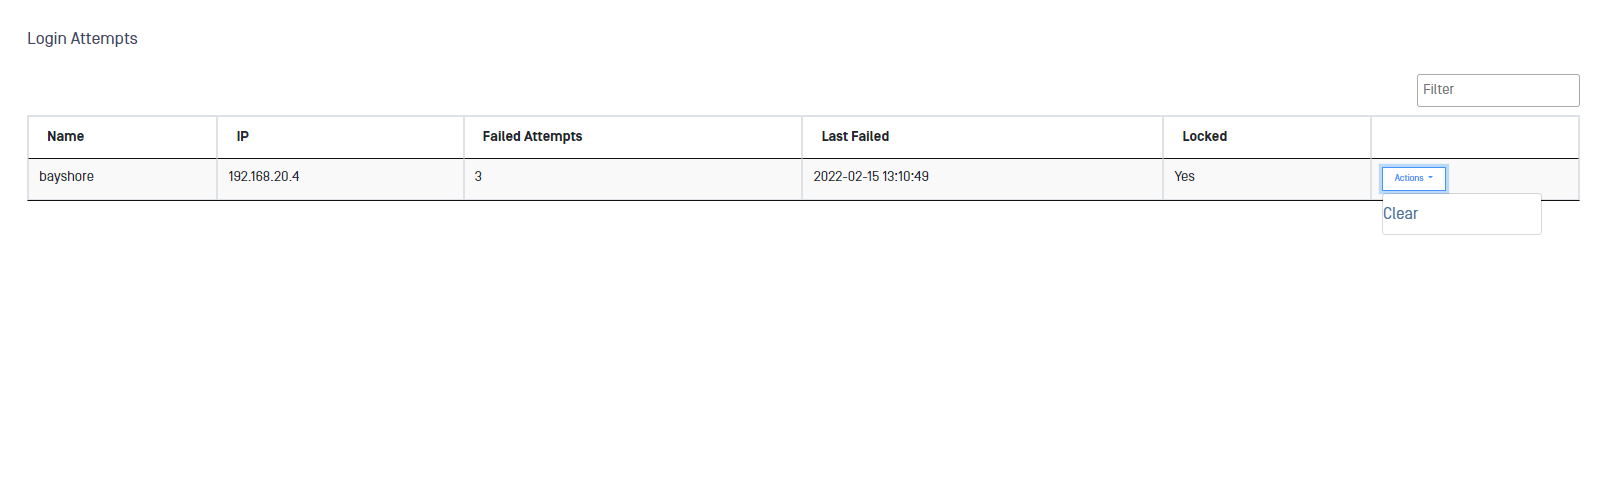
Login Attempts
Click the Login Attempts option to view the following information about locked-out users and unlock a user account (times shown are the appliance system time):
- Name: All users locked out of the appliance.
- IP: IP address that attempted to connect to the appliance
- Failed Attempts: Number of times the user tried to log on
- Last Failed: Last time the user tried to log on
- Locked: Time the system locked the user out
- Action: Procedures you can perform for this user
Select the user, open the Action menu, and click Clear to unlock the account for that user.
Login Lockout
Click the Login Lockout option to set the maximum amount of login tries before the system locks the account.
The login lockout prevents unauthorized users attempting brute-force attacks. You should let authorized users have a few tries for occasional errors. The default number for login lockout is three.
If your authorized users frequently log on incorrectly, you need to find and correct the root cause. We do not recommend you increase the login lockout number.
- Enter the maximum number of login attempts before the system locks the account in the Max Failed Attempts box.
- Enter the number of minutes the system keeps the account locked in the Locked Duration box.
- Click the Submit button. A green banner at the top of the page tells you the procedure succeeded.
To return MetaDefender Security Gateway server to their default values, open the Action menu and click Reset to Default Configuration.
To see users who are locked out of their accounts, open the Action menu and click Manage Locked Accounts. The Login Attempts page opens.
Support Package
For troubleshooting purposes, a "Support Package" can be generated to include all relevant configuration and system logs. A Support Package that can be sent to OPSWAT Customer Support to expedite issue resolution.
For most support issues, the OPSWAT customer support team will request that users provide a Support Package so it is highly recommended that they are provided with the initial customer support request.
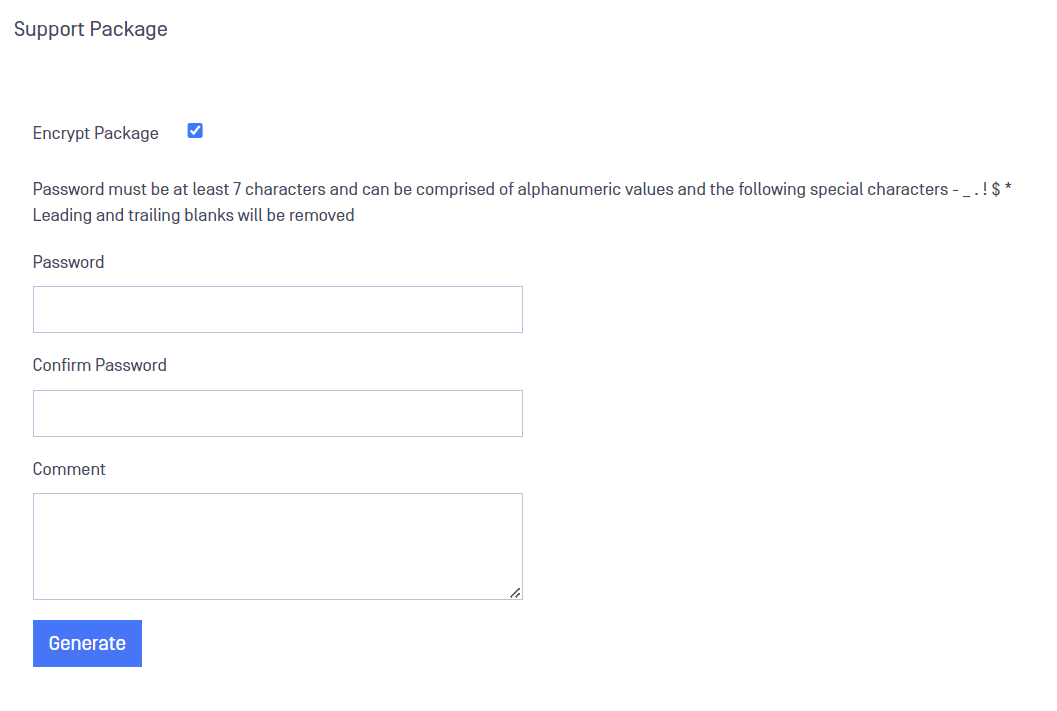
To generate the support package:
- Go to Advance -> Diagnostics -> Support Package.
- If the user wants to encrypt the file, check Encrypt Package box.
- Include the password to decrypt the file.
- Confirm the Password.
- Optionally, add a comment.
- Click on Generate button.
Networking
Use the Networking options to view information about interfaces, IP addresses, and L3 Routes for the MetaDefender Security Gateway server.
Port Bonding
The user can aggregate two different network interfaces to increase the throughput and resilience of the link providing redundancy.
Please, notice that only Interfaces with no IP Address assigned can be bonded.
Interfaces of the port bond must have the same speed.
To access this feature, go to Advances-> Networking-> Interfaces.
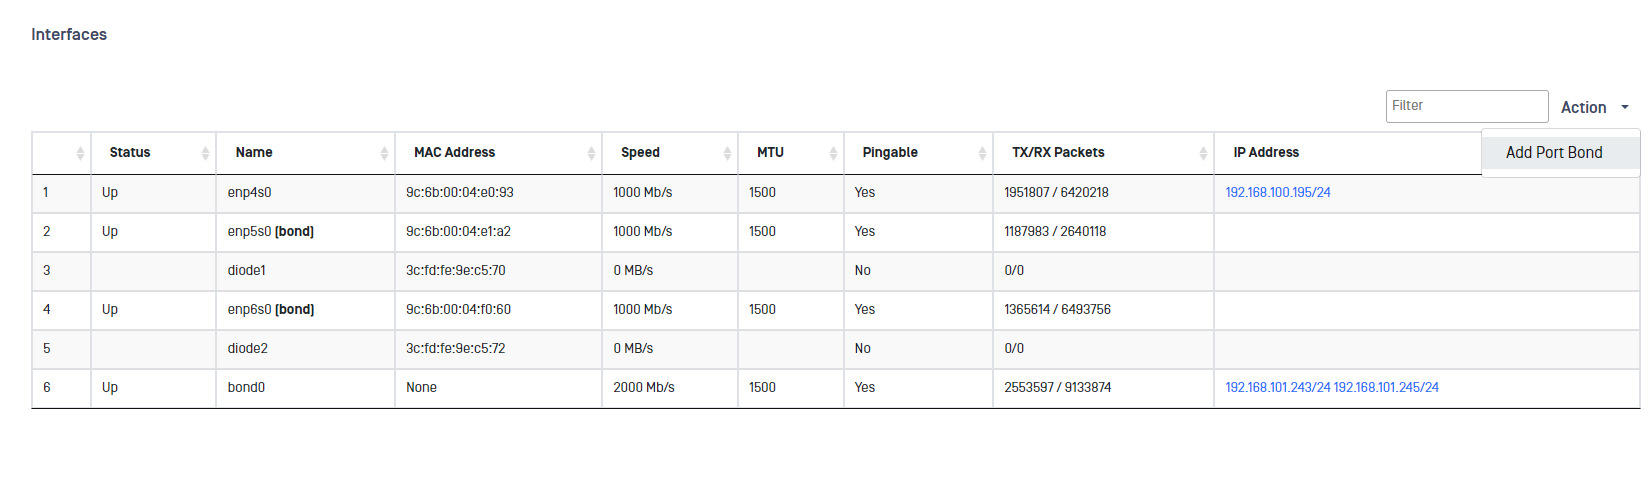
To bond two interfaces deply Action button and click on Add Port Bond.
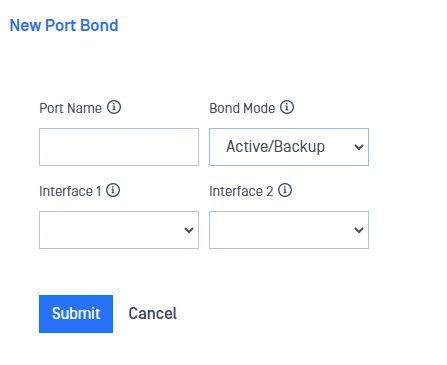
Fill in the fields presented in the New Port Bond menu:
Port Name: A name for the new port bond created. Length for this field is 2-12 characters.
Bond Mode: Deploy the dropdown list and select you preferred mode:
- Active/Backup: Only one port in the bond is active. The other port becomes active if, and only if, the active port fails.
- Broadcast: Transmits everything on all port interfaces. This mode provides fault tolarance.
- 802.3ad: Creates aggregation groups that share the same speed and duplex settings. Uses all ports in the active aggregator according 801.3ad specification.
Interface 1: Dropdown list of the interfaces eligible for port bonding. A bonded port can't be used for any other purpose so SPAN ports or interfaces with an assigned IP address will not be displayed.
Interface 2: Dropdown list of the interfaces eligible for port bonding. A bonded port can't be used for any other purpose so SPAN ports or interfaces with an assigned IP address will not be displayed.
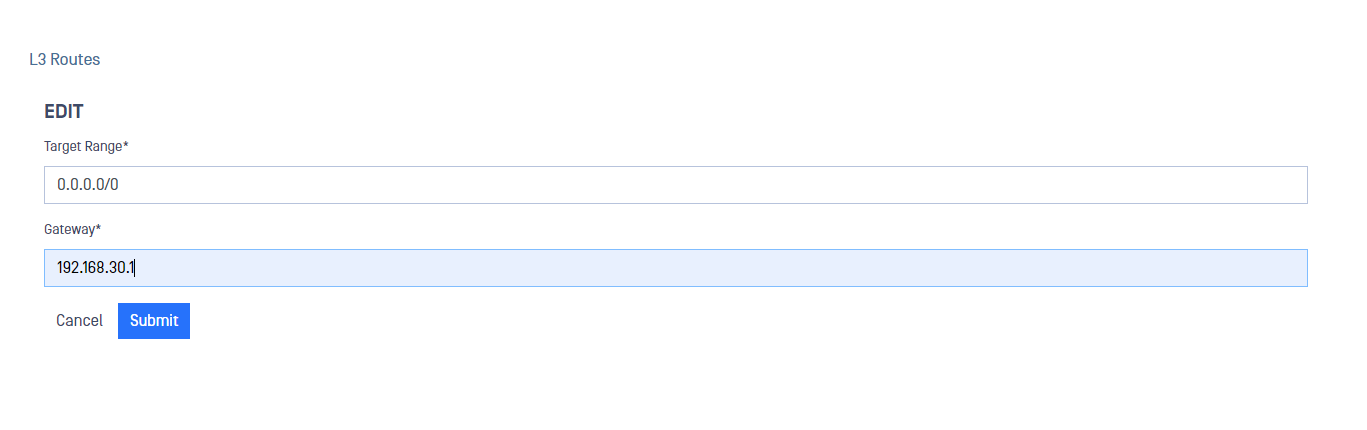
Add L3 Routes
You can add new L3 routes in Networking menu inside Advanced menu.
- Go to Advanced-> Networking-> L3 Routes.
- Deploy Action button and click on Add L3 Route.
- Fill in Target Range for the L3 route.
- Fill in Gateway IP
- Click on Submit button to save the changes
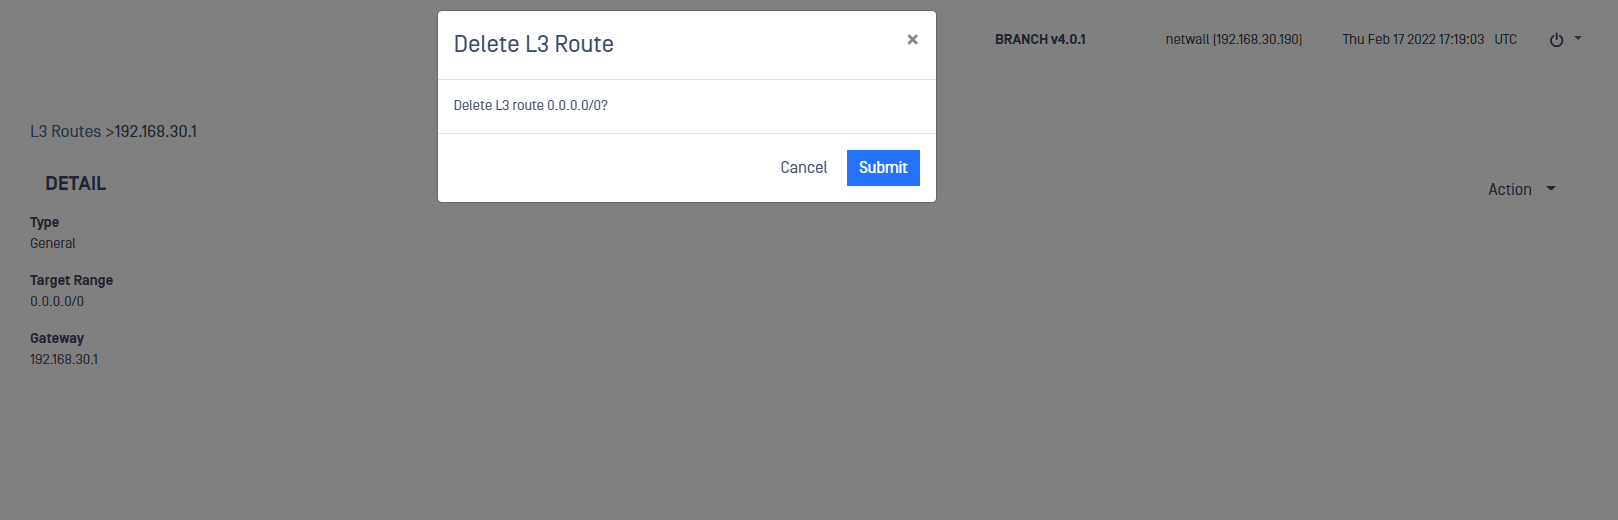
Remove L3 Routes
You can remove L3 routes in Networking menu inside Advanced menu:
- Go to Advanced-> Networking-> L3 Routes.
- Click on the L3 route you want to remove.
- Deploy Action menu and click on Delete.
- Confirm your selection in the pop up.
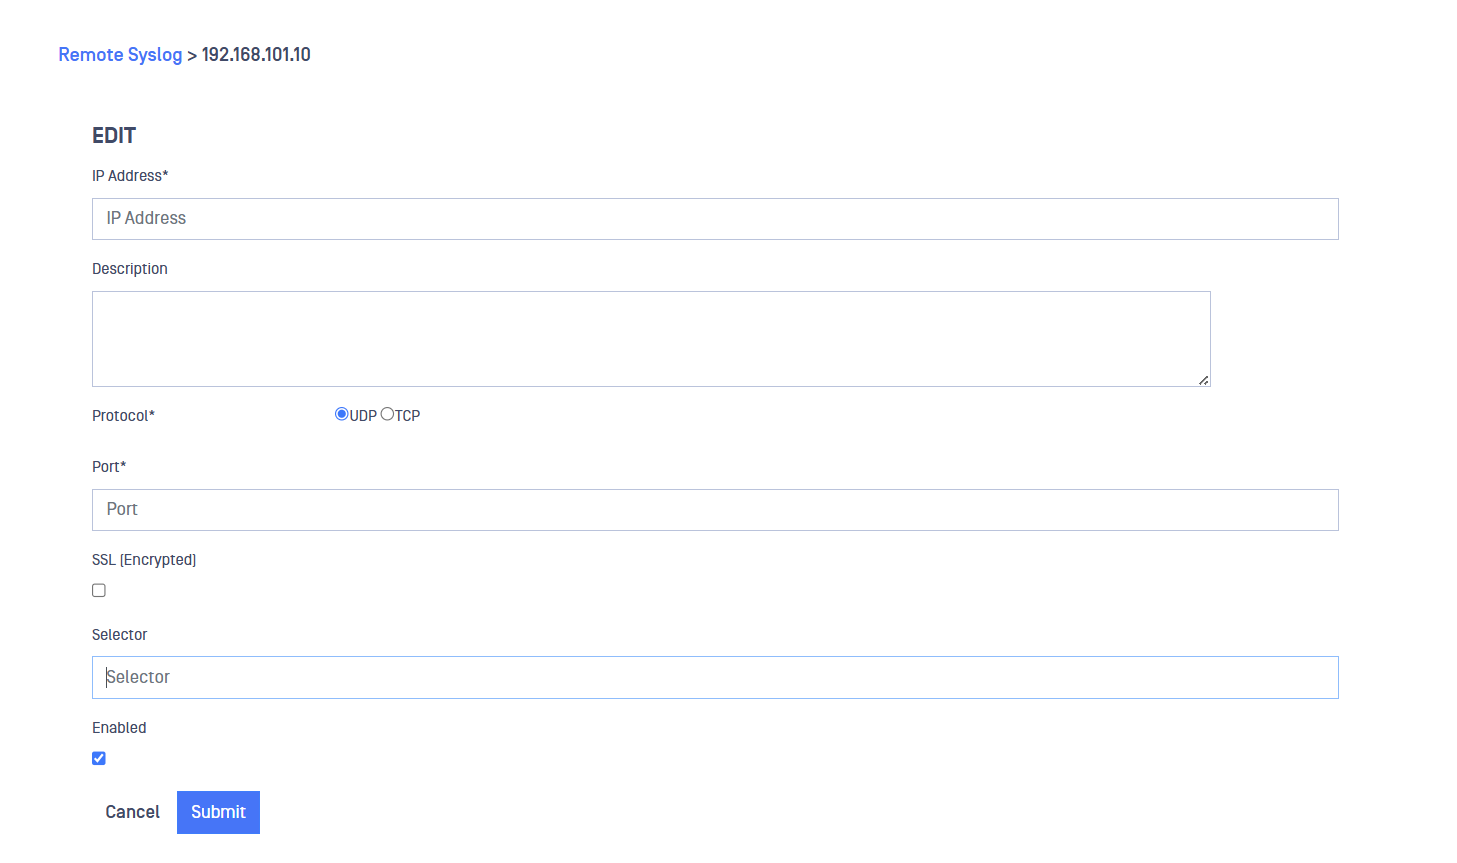
Remote Syslog
Use the Remote Syslog menu to configure a Syslog server to send NetWall syslog and store it. To configure Remote Syslog, please follow the steps:
- IP Address: IP Address of the syslog server where the logs are sent.
- Description: User friendly description.
- Protocol: Choose UDP or TCP.
- Port: Indicate the port used to forward the logs.
- SSL: Mark this checkbox to encrypt the information sent to the Syslog server.
- Selector: Indicate the selector to filter the messages to be sent
- Enable: Check this box to enable the logs forwarding
Once the mandatory fields (those with a star) are filled in, click on submit button.
Use the . (star, dot, start) selector to get all the messages.
SNMP
Use the SNMP menu to manage monitoring network devices using SNMP protocol. To add an SNMP System Manager to your MetaDefender Security Gateway follow the steps:
Once in SNMP menu, deploy Action button and click on Add System Manager
Fill in the following fields:
- Source Address Range: IPV4 address (including the mask) indicating the source address range we want to monitor.
- Description: User friendly description for the defined system manager.
- Community String: Hidden string for the system manager.
- SNMP MIB-2 MIBS: Tick the corresponding checkbox depending on system manager's Management Information Base.
- UCD MIBS: Tick the corresponding checkbox depending on the UCD Management Information Base you want to expose.
- OPSWAT MIBS: Tick the corresponding checkbox depending on the OPSWAT Management Information Base you want to expose.
- Enabled: Tick this checkbox to enable/disable the System Manager.
Click on Submit button to save the changes.
Encryption
Use the Encryption options to view and update SSL/TLS credentials and X509 certificates associated with the MetaDefender Security Gateway server.
SSL/TLS Credentials
Click the SSL/TLS Credentials option. The SSL/TLS Credentials pane displays. Use the Action menu to perform one of the following:
- Create a local keypair.
- Import a keypair.
- Set SSL key for admin GUI.
You can update an existing credential by selecting it, then using the Action menu on the resulting detail pane to:
- Add, edit, export or delete an individual certificate
- Delete all associated certificates
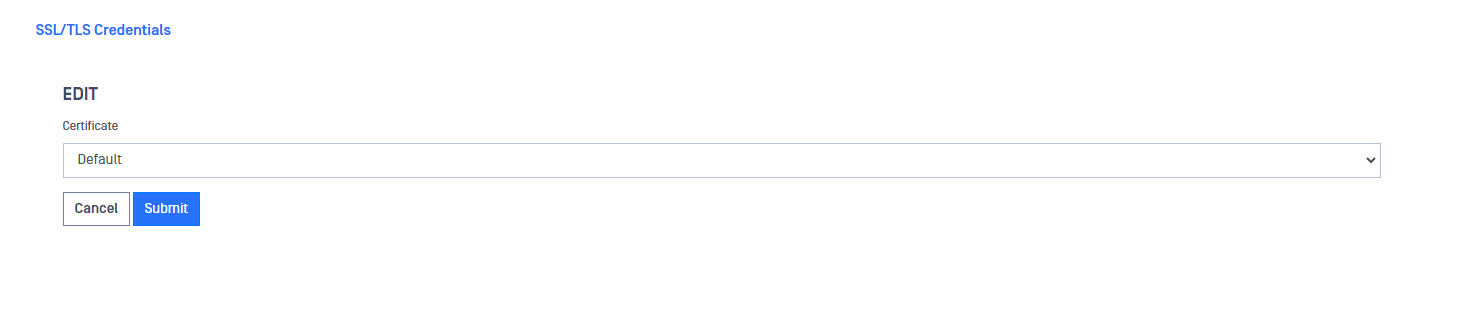
Set SSL key for Admin GUI
Access to "Set SSL key for admin GUI, deploying the Action button as mentioned before. Once there, a drop down list with all the available certificates will be displayed. Just choose the certificate and click Submit button.
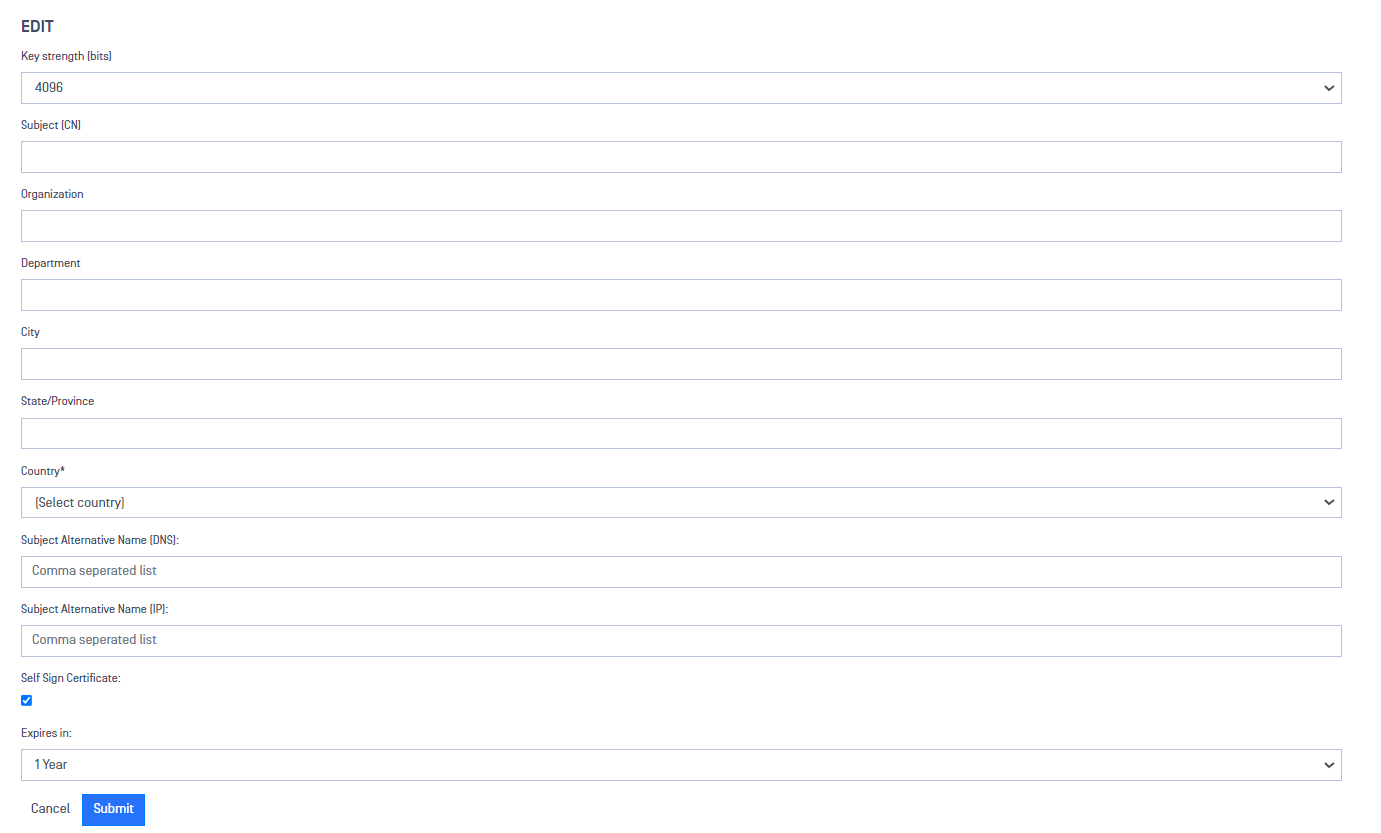
Self-signed certificates
To create a self-signed certificate:
- Deploy Action menu and select Create a local keypair
- Fill in the form
- Check the Self Sign Certificate checkbox and select the expiration period in the dropdown list
- Click on Submit
X509 Certificates
Click the x509 Certificates option. The X509 Certificates pane displays. Use the Action menu to import an X509 certificate.
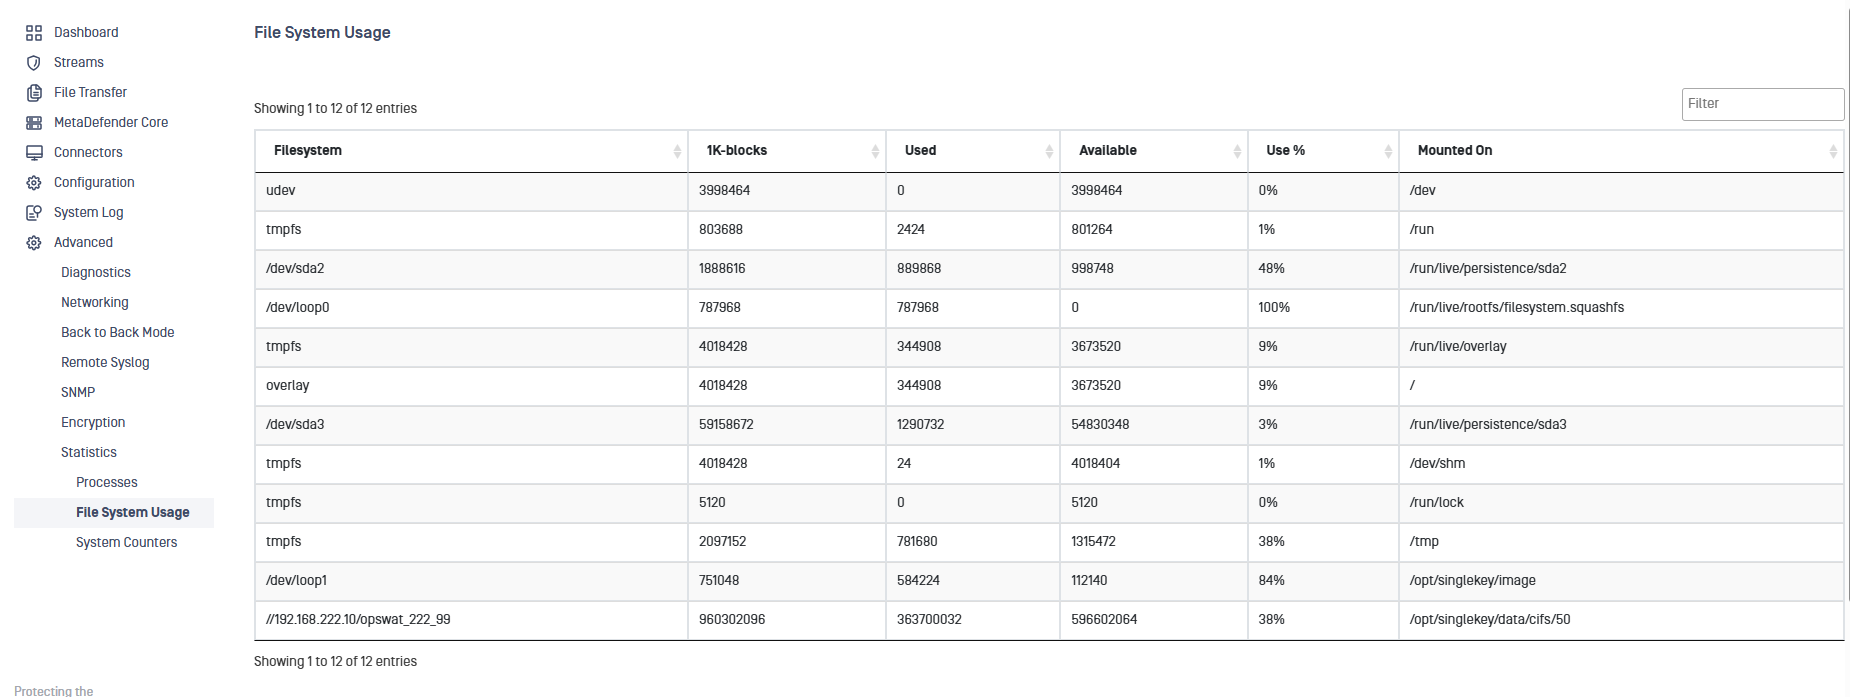
Statistics
Use the Statistics options to view information on Processes, File System Usage, Memory Statistic and System Counters on the Security Gateway.