Using a Certificate Signed by a Certificate Authority
Follow the CA instructions to install your certificate on your server.
Once a valid certificate is installed, export it in PKCS12 format and convert it to PEM format using a tool like "openssl."
Instructions for Exporting an Existing Certificate
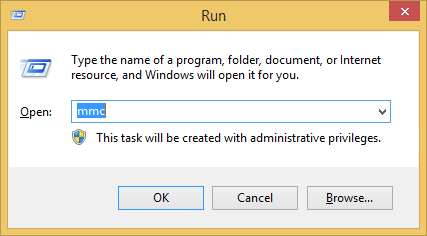
Open "mmc" in "Windows Run."
Select "File" → "Add or Remove Snap-ins."
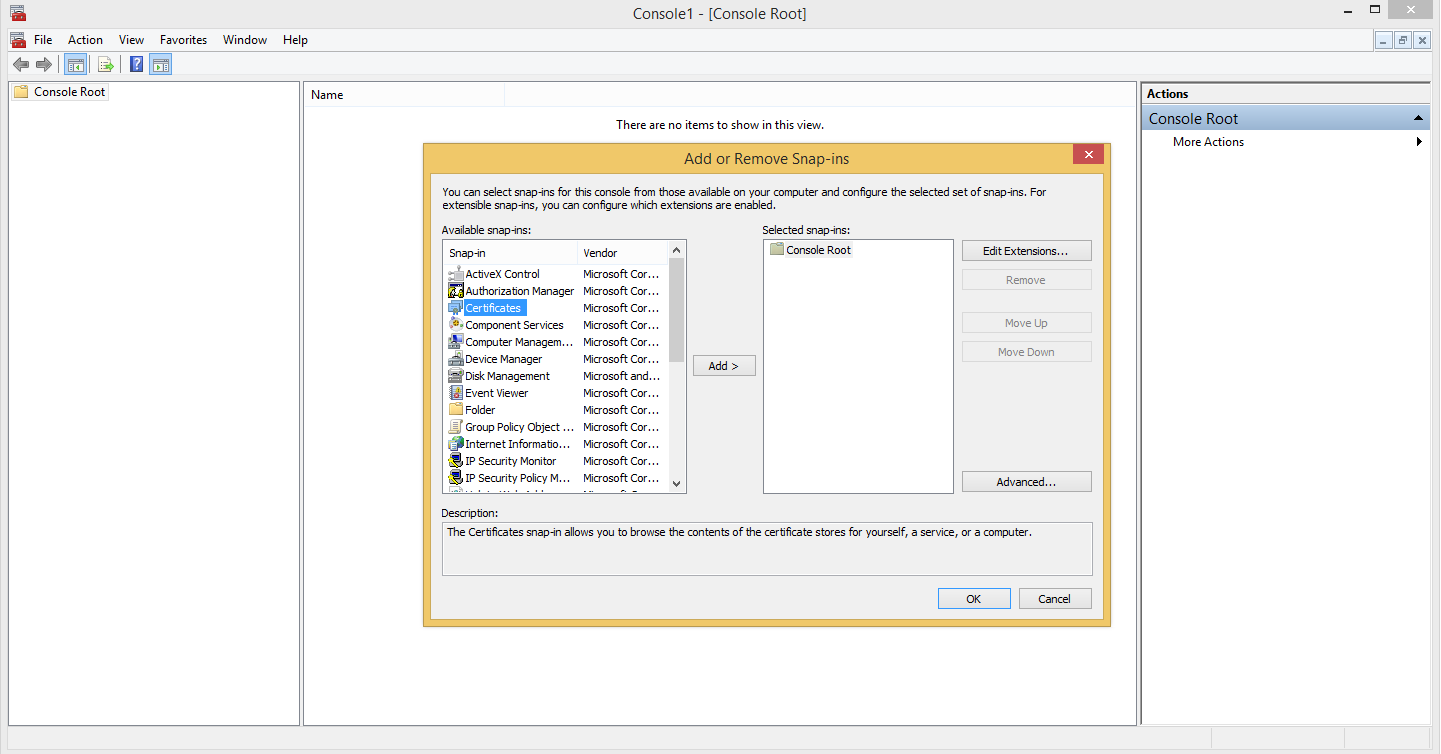
Add certificates → choose "Computer Account" → click "Next" → click "Finish" → click "OK."
Navigate to the folder where the certificate is installed.
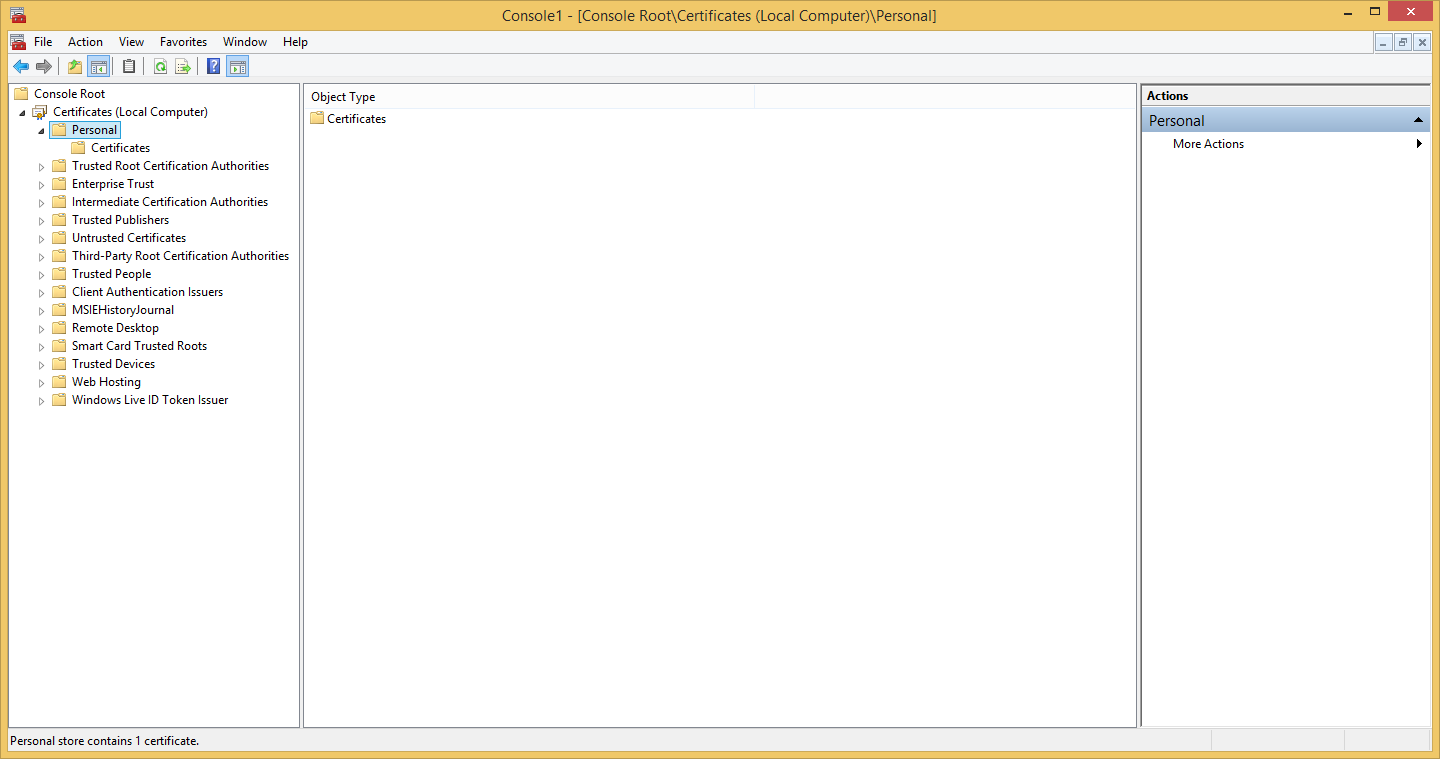
Right click the certificate and select "All Tasks" → "Export" to launch the "Certificate Export Wizard."
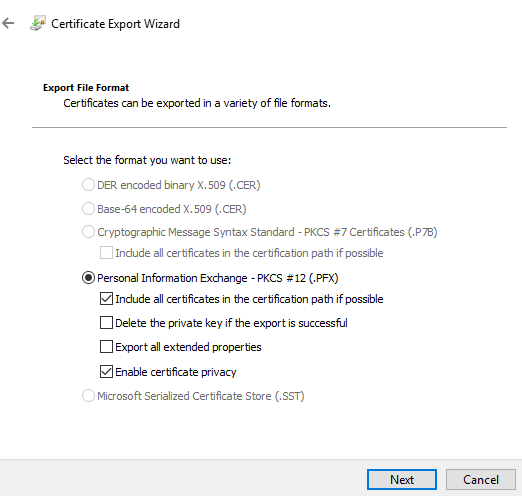
Choose to export the private key with the certificate.
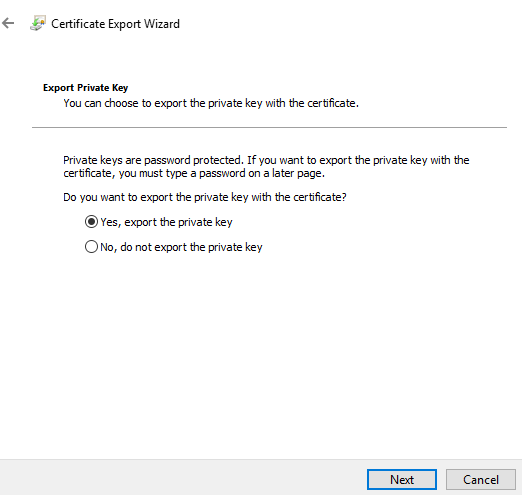
Save the certificate and private key in the PKCS12 (.PFX) format.
Protect the private key to a security principal or by using a password.
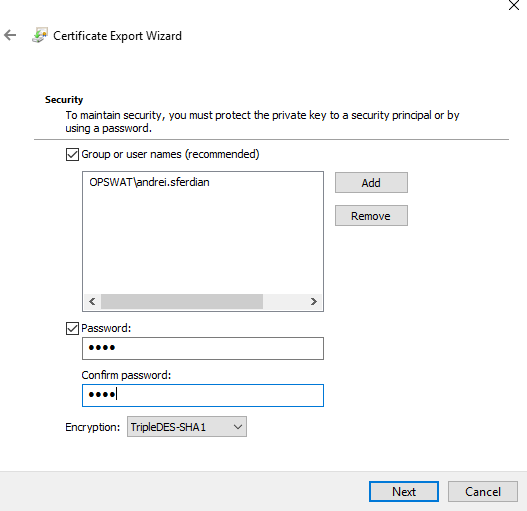
Enter a certificate name then click "Next" and "Finish."
Converting a PKCS12 Certificate to PEM
(Optional) Install the openssl command line utility.
Open a command prompt and type the following command, replacing the certificate names and password:
Import Password is the password used to encrypt the PKCS12 private key. The PEM passphrase is the password used to encrypt the key in PEM format.
Save it as plain text for configuring TLS/SSL. If no passphrase was used then the "-nodes" argument must also be passed.
openssl pkcs12 -in testcert.pfx -out testcert.pem -nodes
Enter Import Password:
Generating a Self-Signed Certificate with openssl
Open a command prompt and type the following command, replacing the inputs with valid local paths:
Note: The entries starting from "Country Name" may be ignored.