Secure Image
Follow the steps to create a bootable flash drive containing the Kiosk Secure Image to facilitate the efficient deployment of MetaDefender Kiosk on various Kiosk hardware models
- A PC running Windows 7/8/8.1/10 or 11
- A USB flash drive (USB 3.0 or above) with a storage capacity of at least 32GB.
Step 1: Download Secure Image Deployment Wizard and Image Package
- Download the Secure Image Deployment Wizard: WINPEBootable.vhd
- When licensed, you can see the MetaDefender Kiosk Secure Image download section inside the MetaDefender Kiosk download page on MyOPSWAT Portal

Download page of MetaDefender Kiosk Secure Image on My OPSWAT Portal
Step 2: Create bootable flash drive
Download Rufus tool (version 4.5 is recommended) to format and create bootable USB flash drive by the following steps:
- Open Rufus and insert the USB drive.
- Select your USB drive under "Device".
- Click SELECT and select the downloaded WINPEBootable.vhd.
- Click START.
- The drive now has the WINPE partition for booting to the WinPE environment for deployment
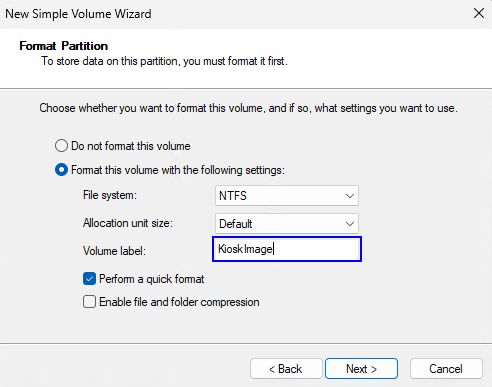
- Using Windows Disk Management to format the Unallocated space of the USB Driver and name it KioskImage. This partition will be used for storing the Secure Image package.
The USB flash drive will now be formatted, so any data on the drive will be lost.
Step 3: Copy Secure Image to the flash drive
- Input the flash drive to the computer.
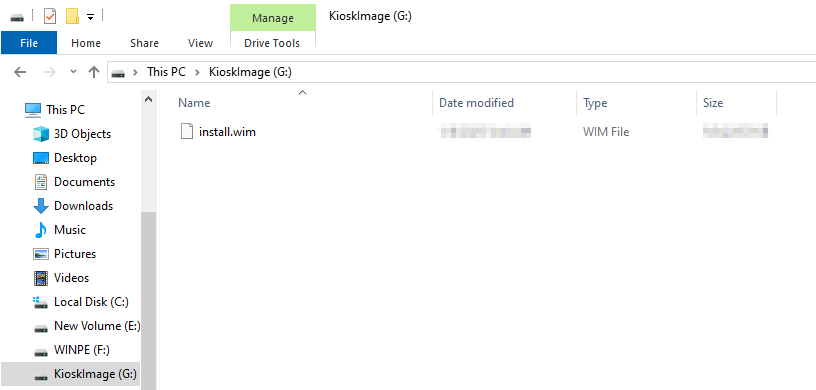
- Copy the file install.wim which downloaded from the Step 1 to the KioskImage partition.
* WINPEBootable.vhd
- MD5: 7F4C6B37D941D073039AF291834B78C0
- SHA-1: 1F359A80C412720EE8C6B5902329B7E3AB174548
- SHA-256: C4B770AB55755575BE3C1C97107C0E8CF5D3C261F7671177C861AF5A7770E9B7
Was this page helpful?