
This article applies to all MetaDefender Core V4 and V5 releases deployed on Windows and Linux systems.
Creating a Network Attached Storage
In our example, we will use a Windows Machine to create a remote shared directory where we will store the logs of MetaDefender Core from a different machine.
Step 1: Open the File Explorer and create a folder that is going to be shared.
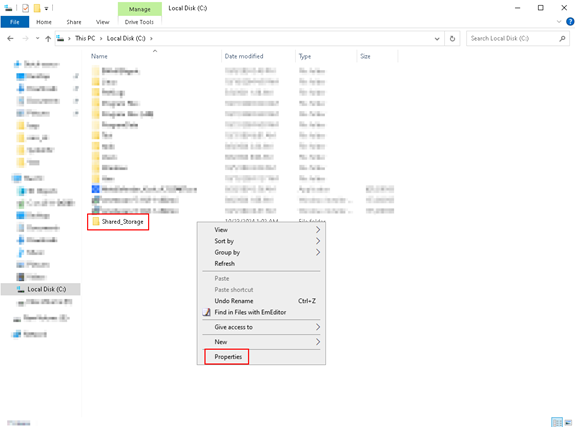
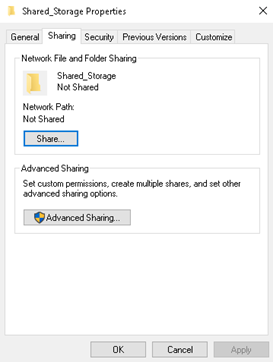
Step 2: Right click the created folder, open Properties and under Sharing tab click button Share…
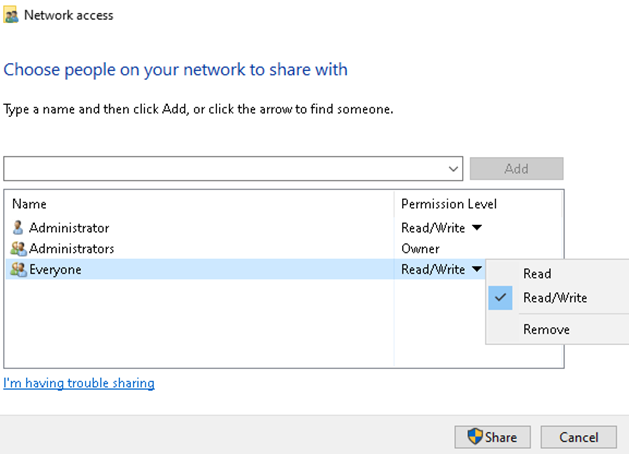
Step 3: A Network Access tab will pop-up. Here you can add any users and set the permissions as needed
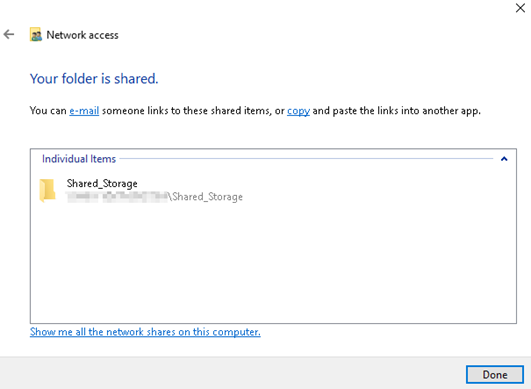
The folder is now accessible over the network:
Now let’s configure MetaDefender Core to send the logs to this storage.
Linux:
Step 1: We will need a tool to allow us to mount the Network Attached Storage. Run the following commands to install cifs-utils:
sudo apt-get install cifs-utils
Step 2: Create a directory where you want to mount the storage, along with the log file:
sudo mkdir /core_logs
sudo touch /core_logs/core.log
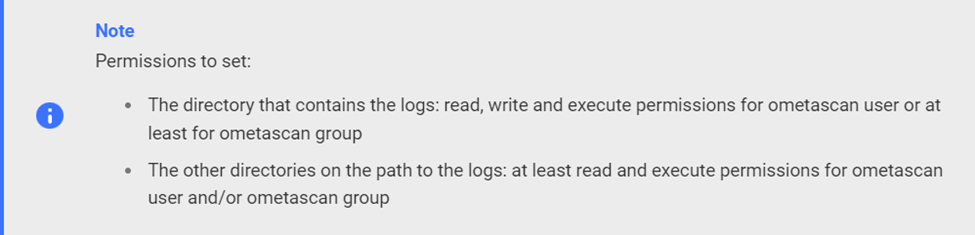
Step 3: Mount the Windows Share, considering the minimum permissions ometascan service user will need:
Step 4: Modify /etc/ometascan/ometascan.conf file to send the logs to the desired directory.
a. Open the file:
sudo vim /etc/ometascan/ometascan.conf
b. Change the logfile path to the configured one:
logfile=/core_logs/core.log
Step 5: Restart the MD Core Service:
service ometascan restart
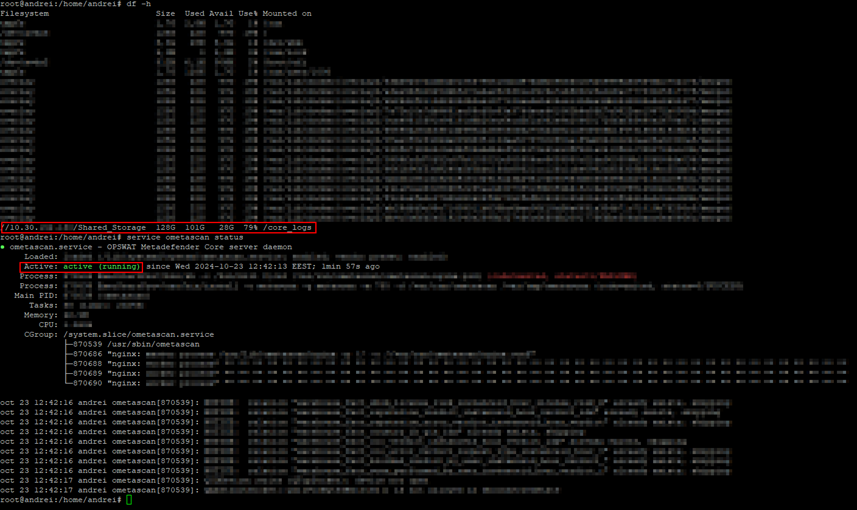
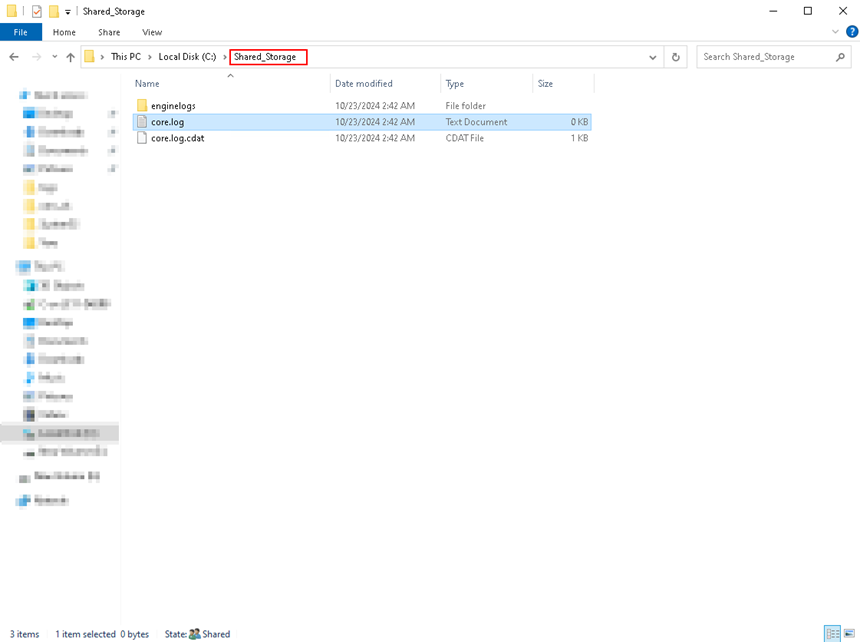
Core will now send all the logs to the Network Attached Storage:
Windows:
Step 1: In order to save logs to a mapped drive, the mapped drive must first be created under the SYSTEM account.
To do this, please follow the instructions below:
Download the psexec.exe.zip file from Microsoft’s Sysinternals Security Utilities suite by visiting this Webpage, then extract it and delete the original zip file.
Now, place the psexec.exe tool on the machine where you want the mapped drive to be created (e.g. C:\PSTools\psexec.exe).
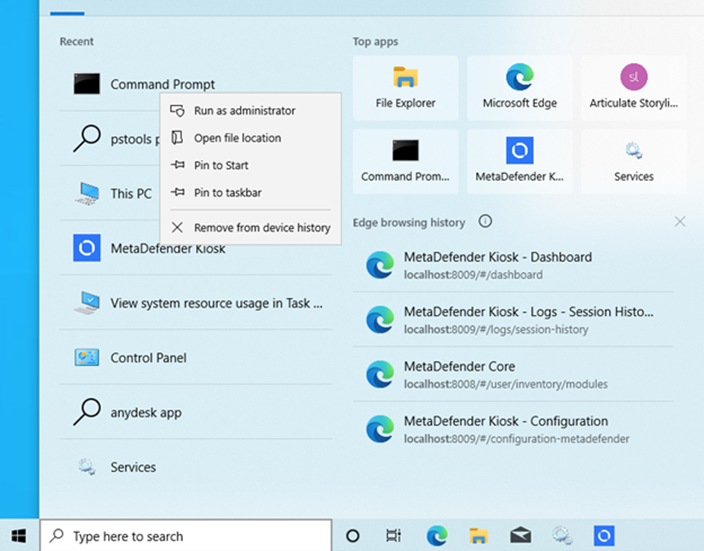
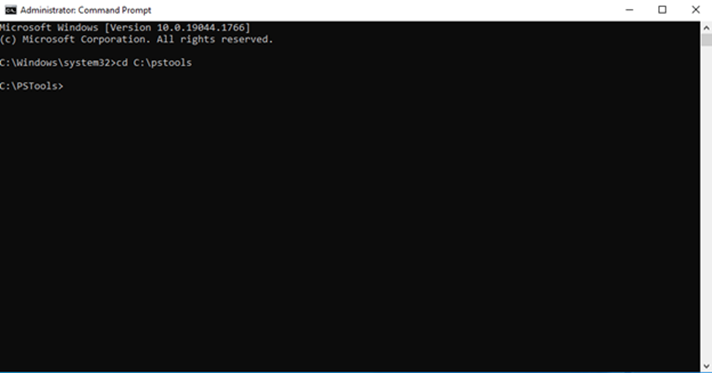
Open the command prompt, right click and select: Run as Administrator.
In the command prompt, navigate to the directory where psexec.exe was copied (e.g.
cd C:\pstools, as illustrated in the screenshot below).
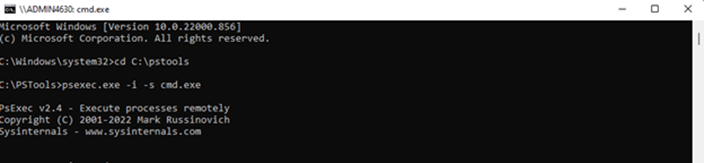
Enter the following command
psexec.exe -i -s cmd.exe, as illustrated in the screenshot below:
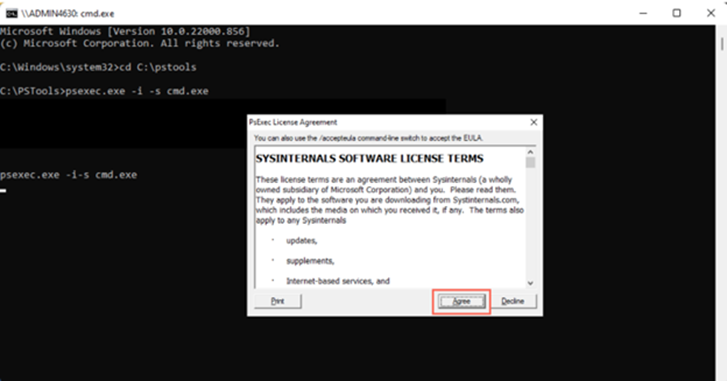
If the Sysinternals pop-up appears, click Agree, as illustrated in the screenshot below.
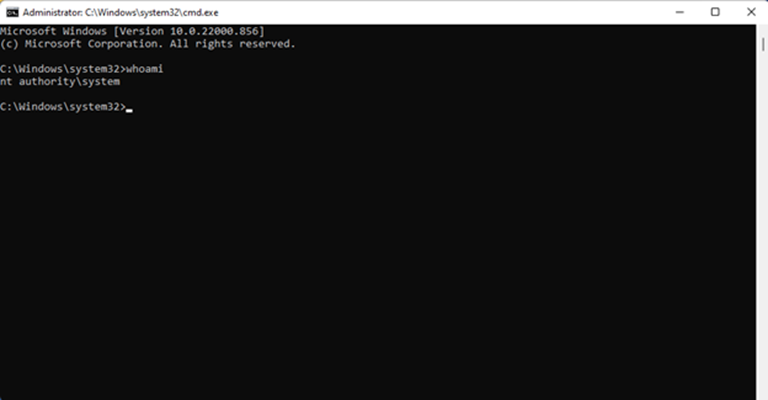
An elevated command prompt window will open.
Enter the command: whoami to confirm that the new command prompt is running as: nt
Enter the following command to mount the mapped drive: use <desired drive letter> <UNC path to map the drive to> (e.g. net use Z: \file-server-1\share).

Step 2: Now that we have mapped the Shared_Storage, we have created a new core_logs folder under which we have created core.log file, where we are going to send the logs.
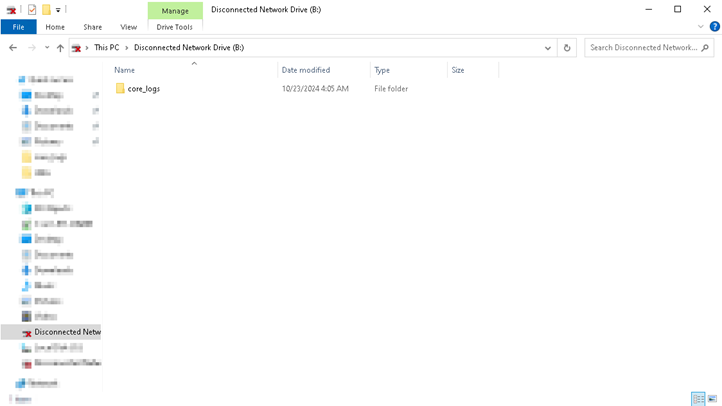
Step 3: Open Registry Editor and navigate to the following path:
Computer\HKEY_LOCAL_MACHINE\SOFTWARE\OPSWAT\Metascan\logger
Here you will need to change the logfile value to the path we have just configured:
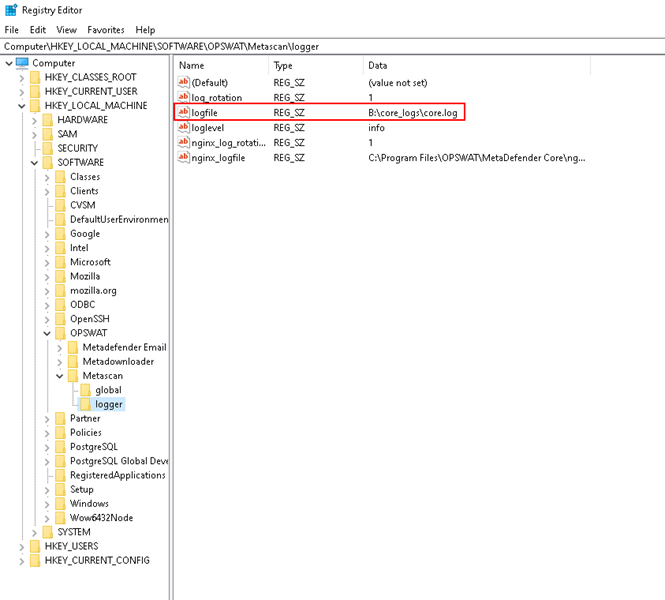
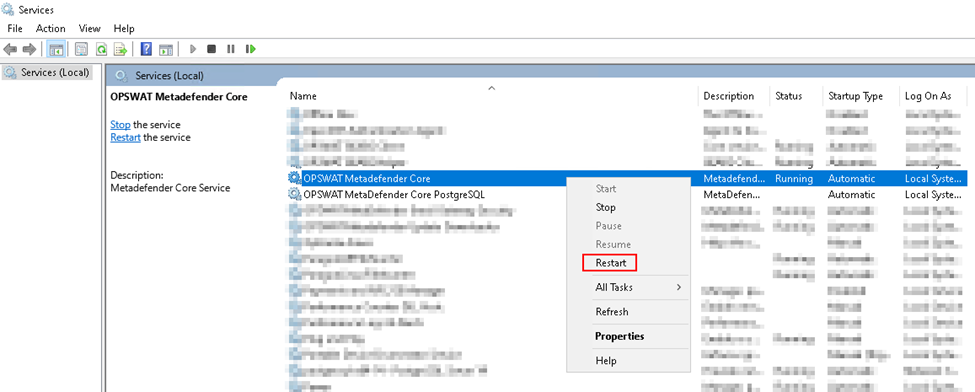
Step 4: Open Services and restart OPSWAT MetaDefender Core service for the changes to take place:
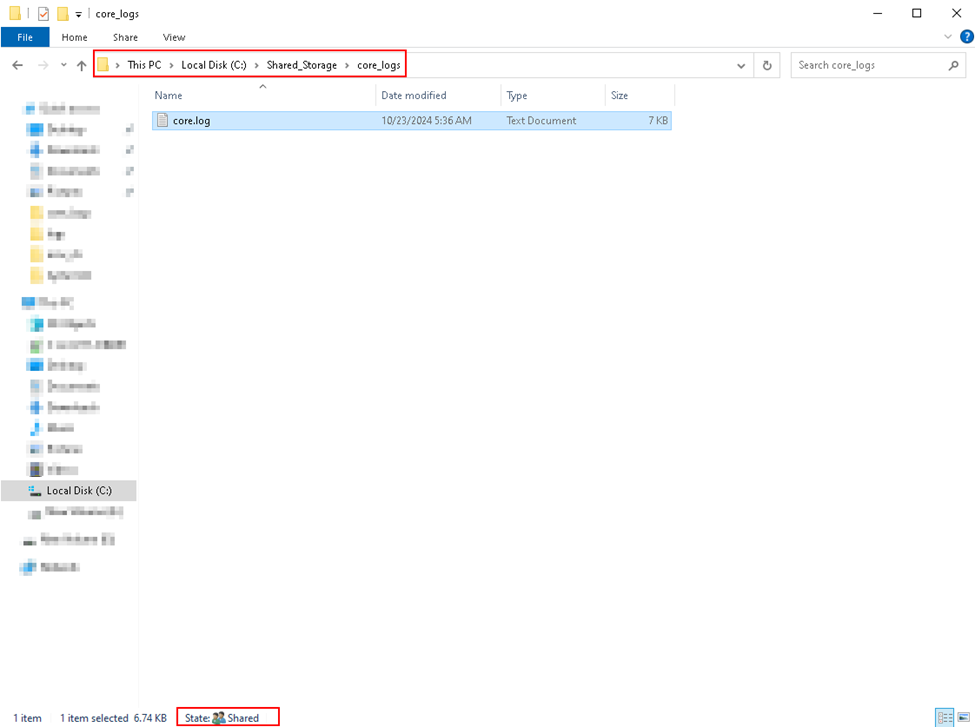
MetaDefender Core will now send the logs to the configured NAS ( Network Attached Storage Path ):
If Further Assistance is required, please proceed to log a support case or chat with our support engineer.