1. Prerequisites
In order to Add a Wasabi storage in MDSS, you will need the Wasabi Service URL, Access Key Id / Secret Access Key and the bucket name. If you want to enable path style addressing for the bucket, tick the checkbox.
2. Obtaining the Service URL
Login: Sign into your Wasabi account at https://console.wasabisys.com/
Find Bucket Region: In the bucket management section, note your bucket's region.
Construct URL: Format your service URL as
https://s3.<bucket-region>.wasabisys.com, replacing<bucket-region>with your bucket's actual region.
3. Obtaining Access Keys
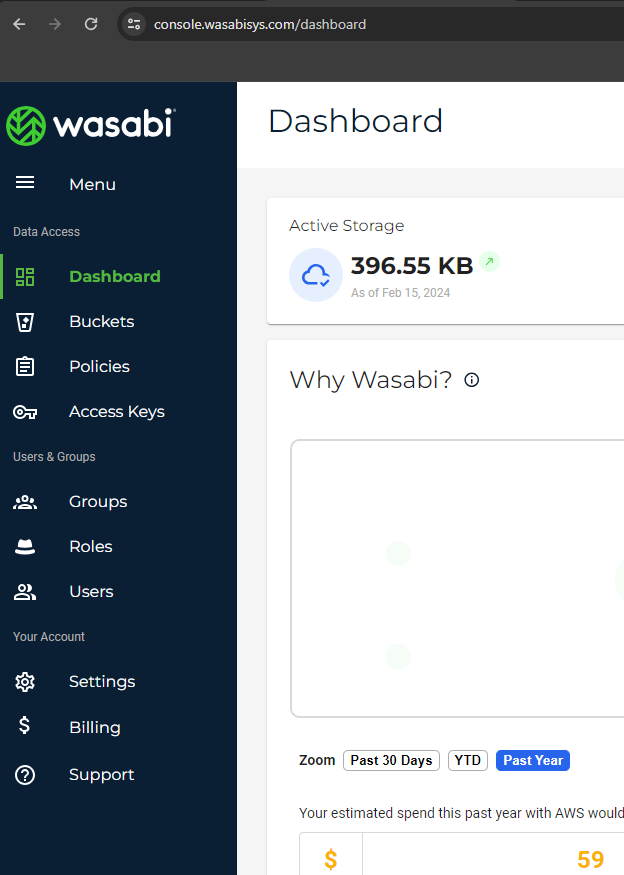
Access Console: Go to the Wasabi console dashboard.
Find Access Keys: Look for "Access Keys" in the main menu (https://console.wasabisys.com/access_keys/)
Generate Keys: Create a new set of keys, following any provided guidelines.
Record Keys: Securely note down your Access Key ID and Secret Access Key.
4. Obtaining the bucket name
Login: Sign into Wasabi and navigate to the dashboard.
Go to Buckets: Locate the "Buckets" section (https://console.wasabisys.com/file_manager/)
Identify Bucket: Find your bucket in the list and note its name.
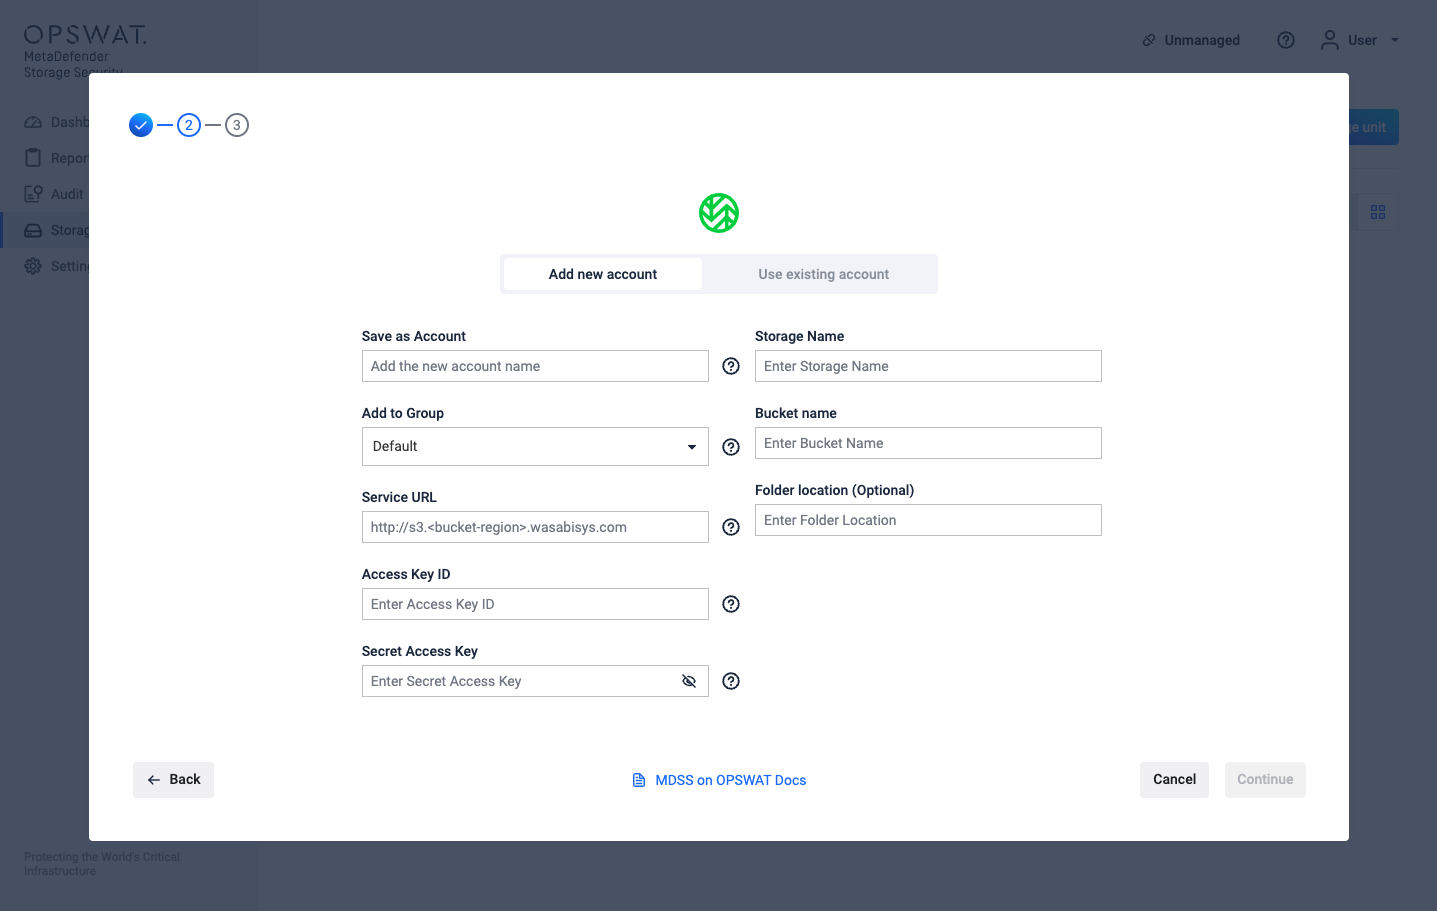
5. Adding Wasabi storage in MDSS
Once you have the details above, go to your MDSS web page, Storage Units page, click Add storage unit, choose Wasabi and fill the form.
Supports both virtual-host and path-based style addressing
6. Limitations
Due to a known issue with the Wasabi web interface, renaming a file does not change its "Last Modified" field. Consequently, MDSS cannot initiate real-time scans when files are renamed within Wasabi storage. This limitation stems from MDSS's reliance on detecting changes to the "Last Modified" field to trigger scans, which does not occur in this specific scenario with Wasabi storage.