OAuth is available to both Organization and Individual Users.
Why OAuth?
API Keys are used to authenticate users. While they are a good mechanism for that, adding OAuth in addition to authenticate user requests makes the requests even more secure.
How OAuth Works
Let's start with some terminology:
Client Credentials Grant
_MD Cloud API _- Meta defender cloud REST API Client APP - any application that requires access to our MD Cloud API resources OAuth Tenant - Dedicated Authorization Server for MD Cloud API
Here are the steps (plus a diagram below) that details how the OAuth authentication mechanism works:
The Client APP requests an access token from our OAuth Tenant
The OAuth Tenant validates the Application Id and Application Secret and generates an Access token
The OAuth Tenant sends the token information back to the Client APP
The Client APP can make requests to our MD Cloud API using the authorization token
The MD Cloud API verifies the JWT token
If the token is valid the MD Cloud API can process the request

How to Set Up OAuth in the MetaDefender Cloud UI
Example Code
Below are some code snippets to help you get started using OAuth
Authentication Request
POST https://api.metadefender.com/v4/oauth2/token
CLIENT_ID: application client id
CLIENT_SECRET_ : application client secret
Authentication Response
API Request
https://api.metadefender.com/v4/<endpoint>
API Error Response
Expired token
If you receive an expired token response please submit an authentication request again to receive a new token
Invalid token
How to Set Up OAuth in the MetaDefender Cloud UI for Individuals
First log into your account at metadefender.opswat.com and navigate to the security page
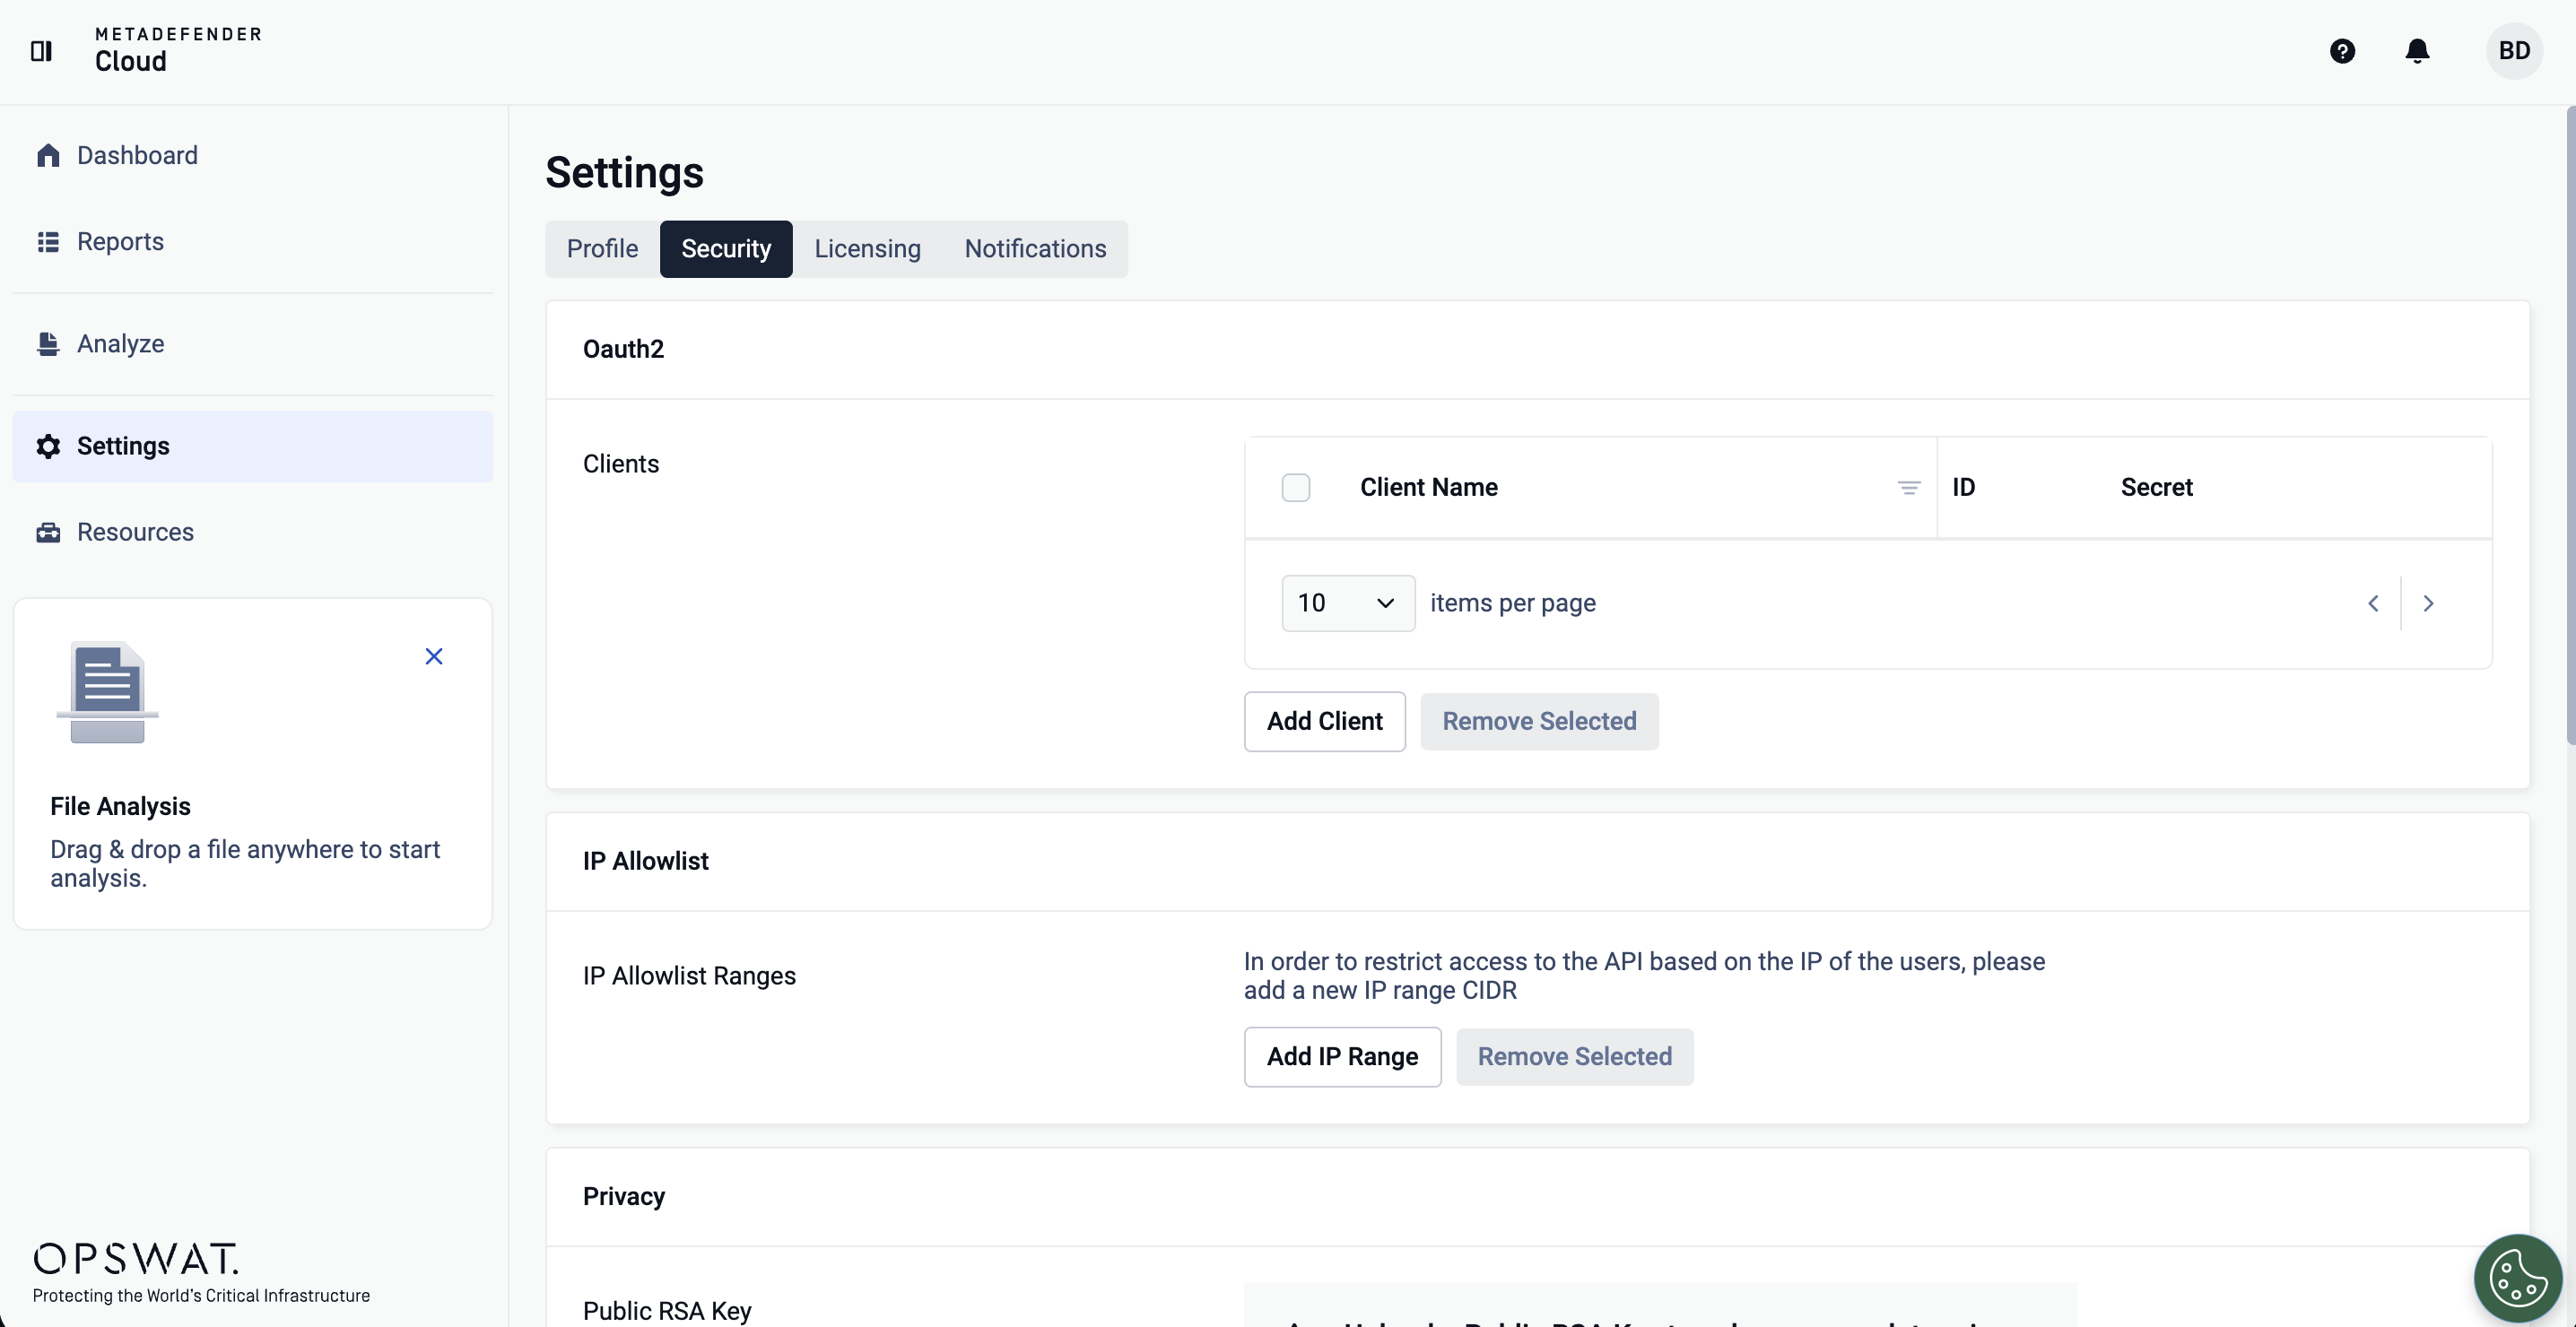
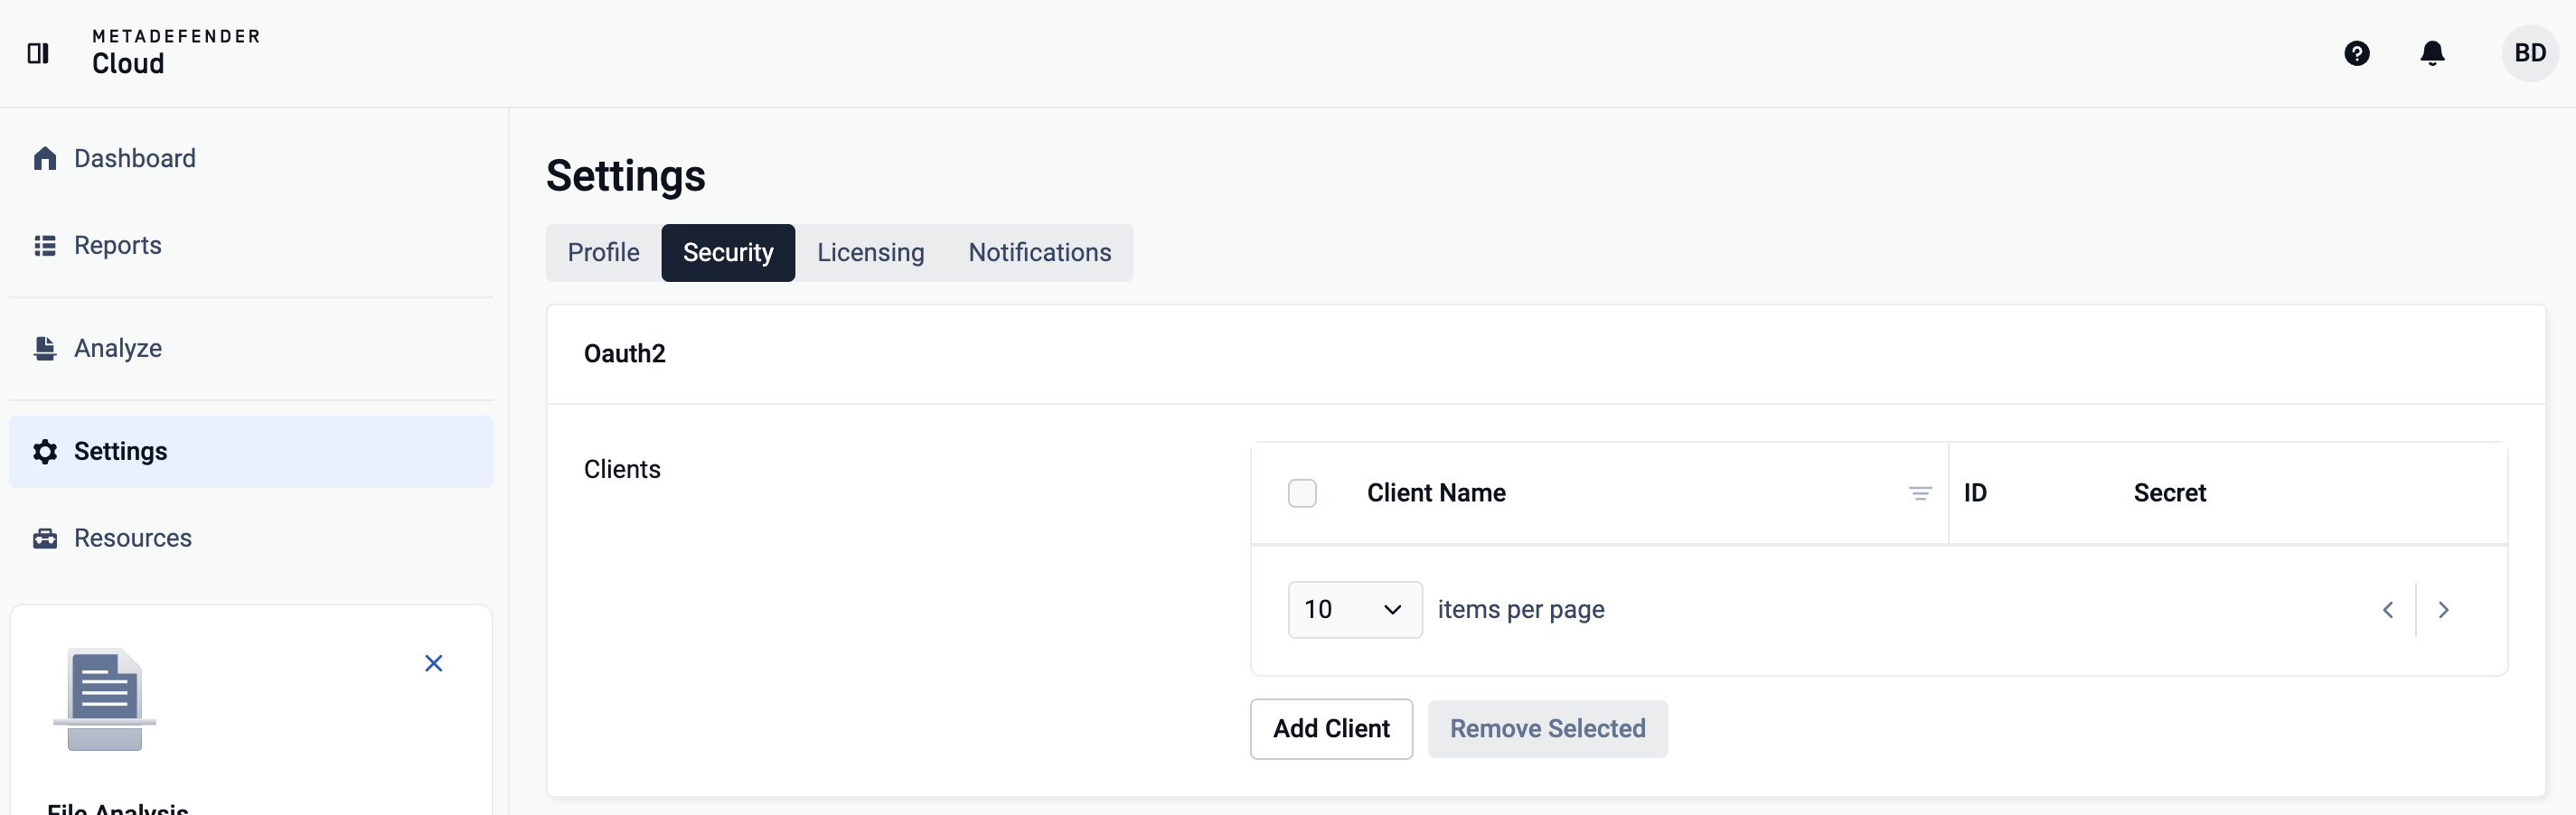
On this page you can configure your OAuth clients. Start by clicking "Add Client" as shown in the screenshot below:
From there, you can then name your first OAuth client. Once you have named your OAuth client, click the "add" button at the right of the text box
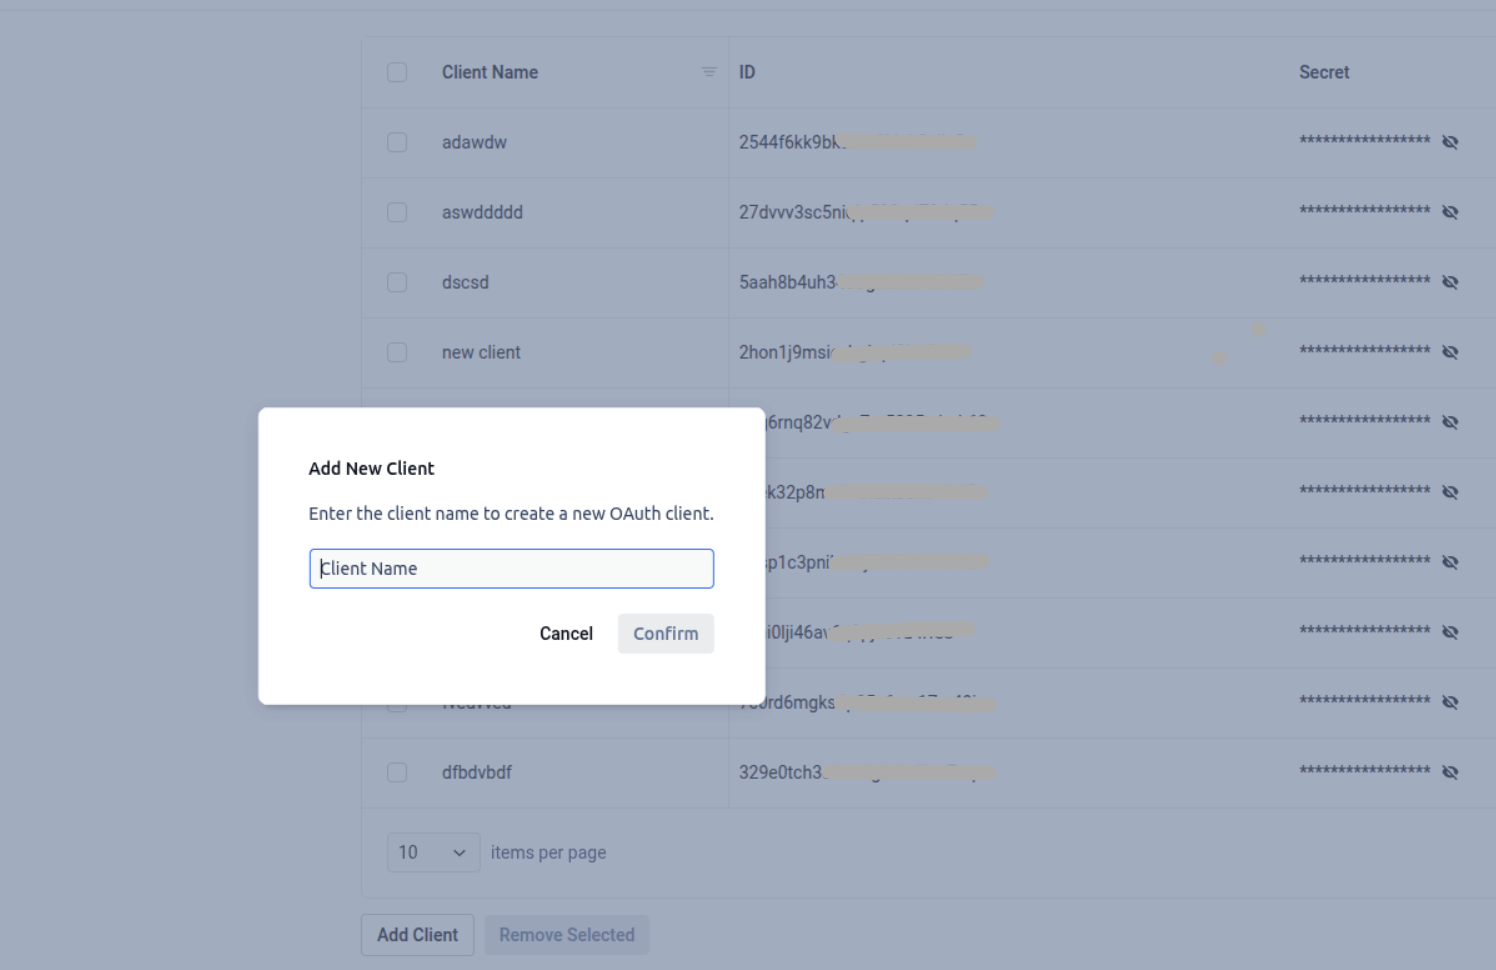
Once you have added your OAuth client name, you will be given a client ID.
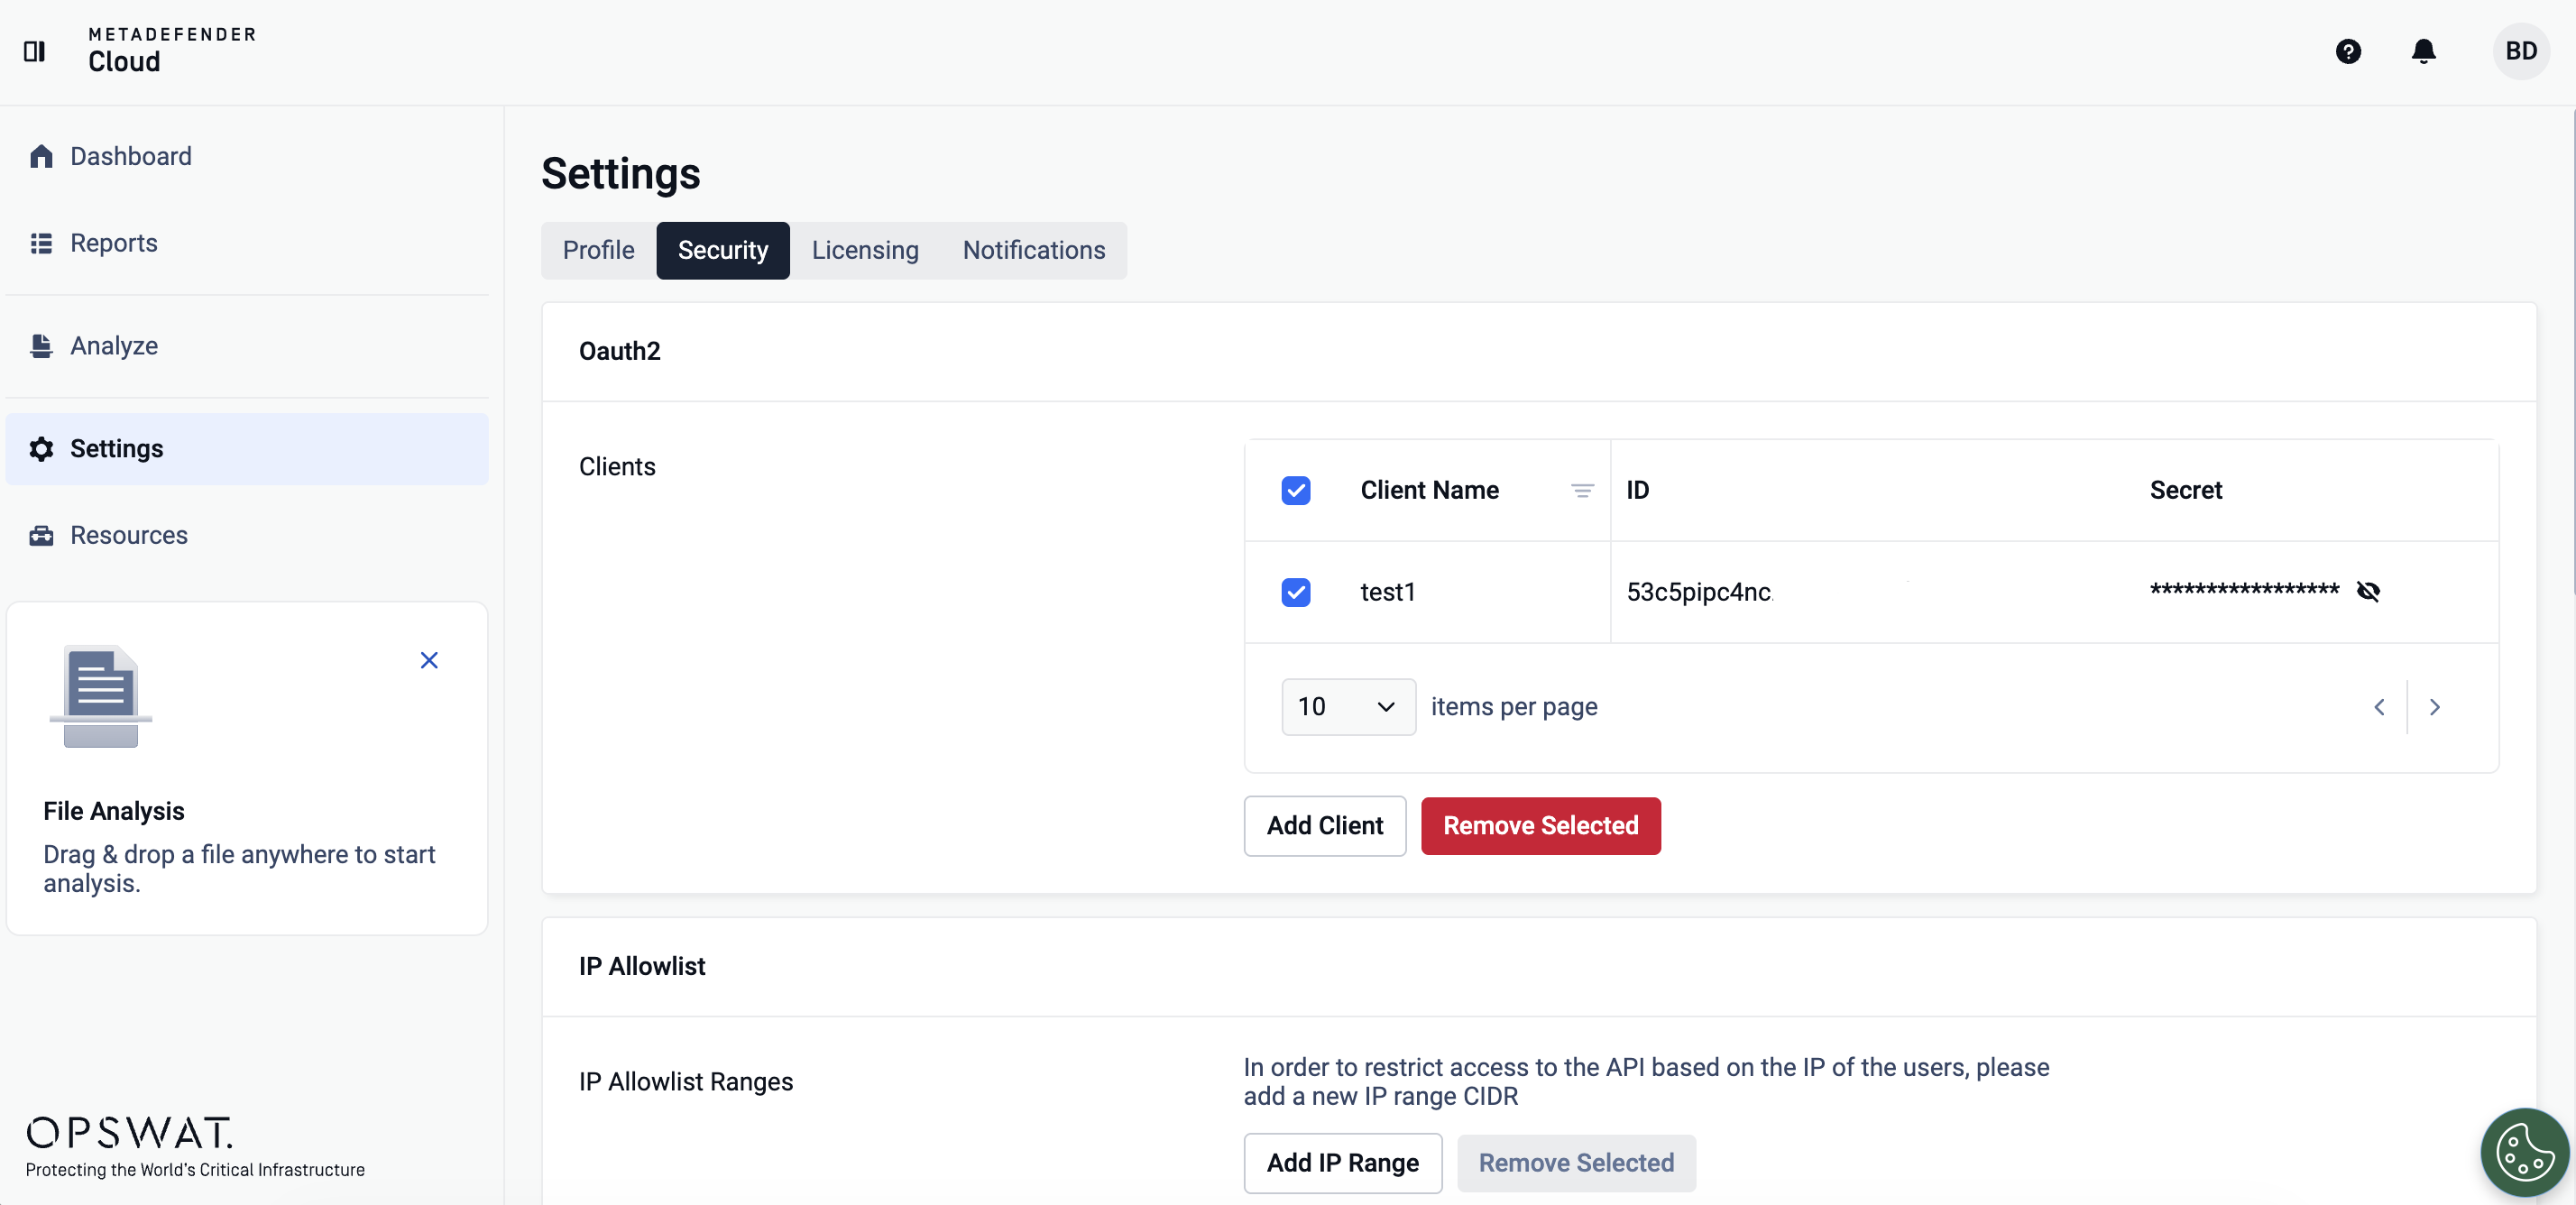
You can also remove OAuth clients if necessary by clicking the checkbox to the right of your client information and then clicking the red "Remove" button as shown below:
How to Set Up OAuth in the MetaDefender Cloud UI for Organizations
First log into your account at metadefender.opswat.com/settings/profile
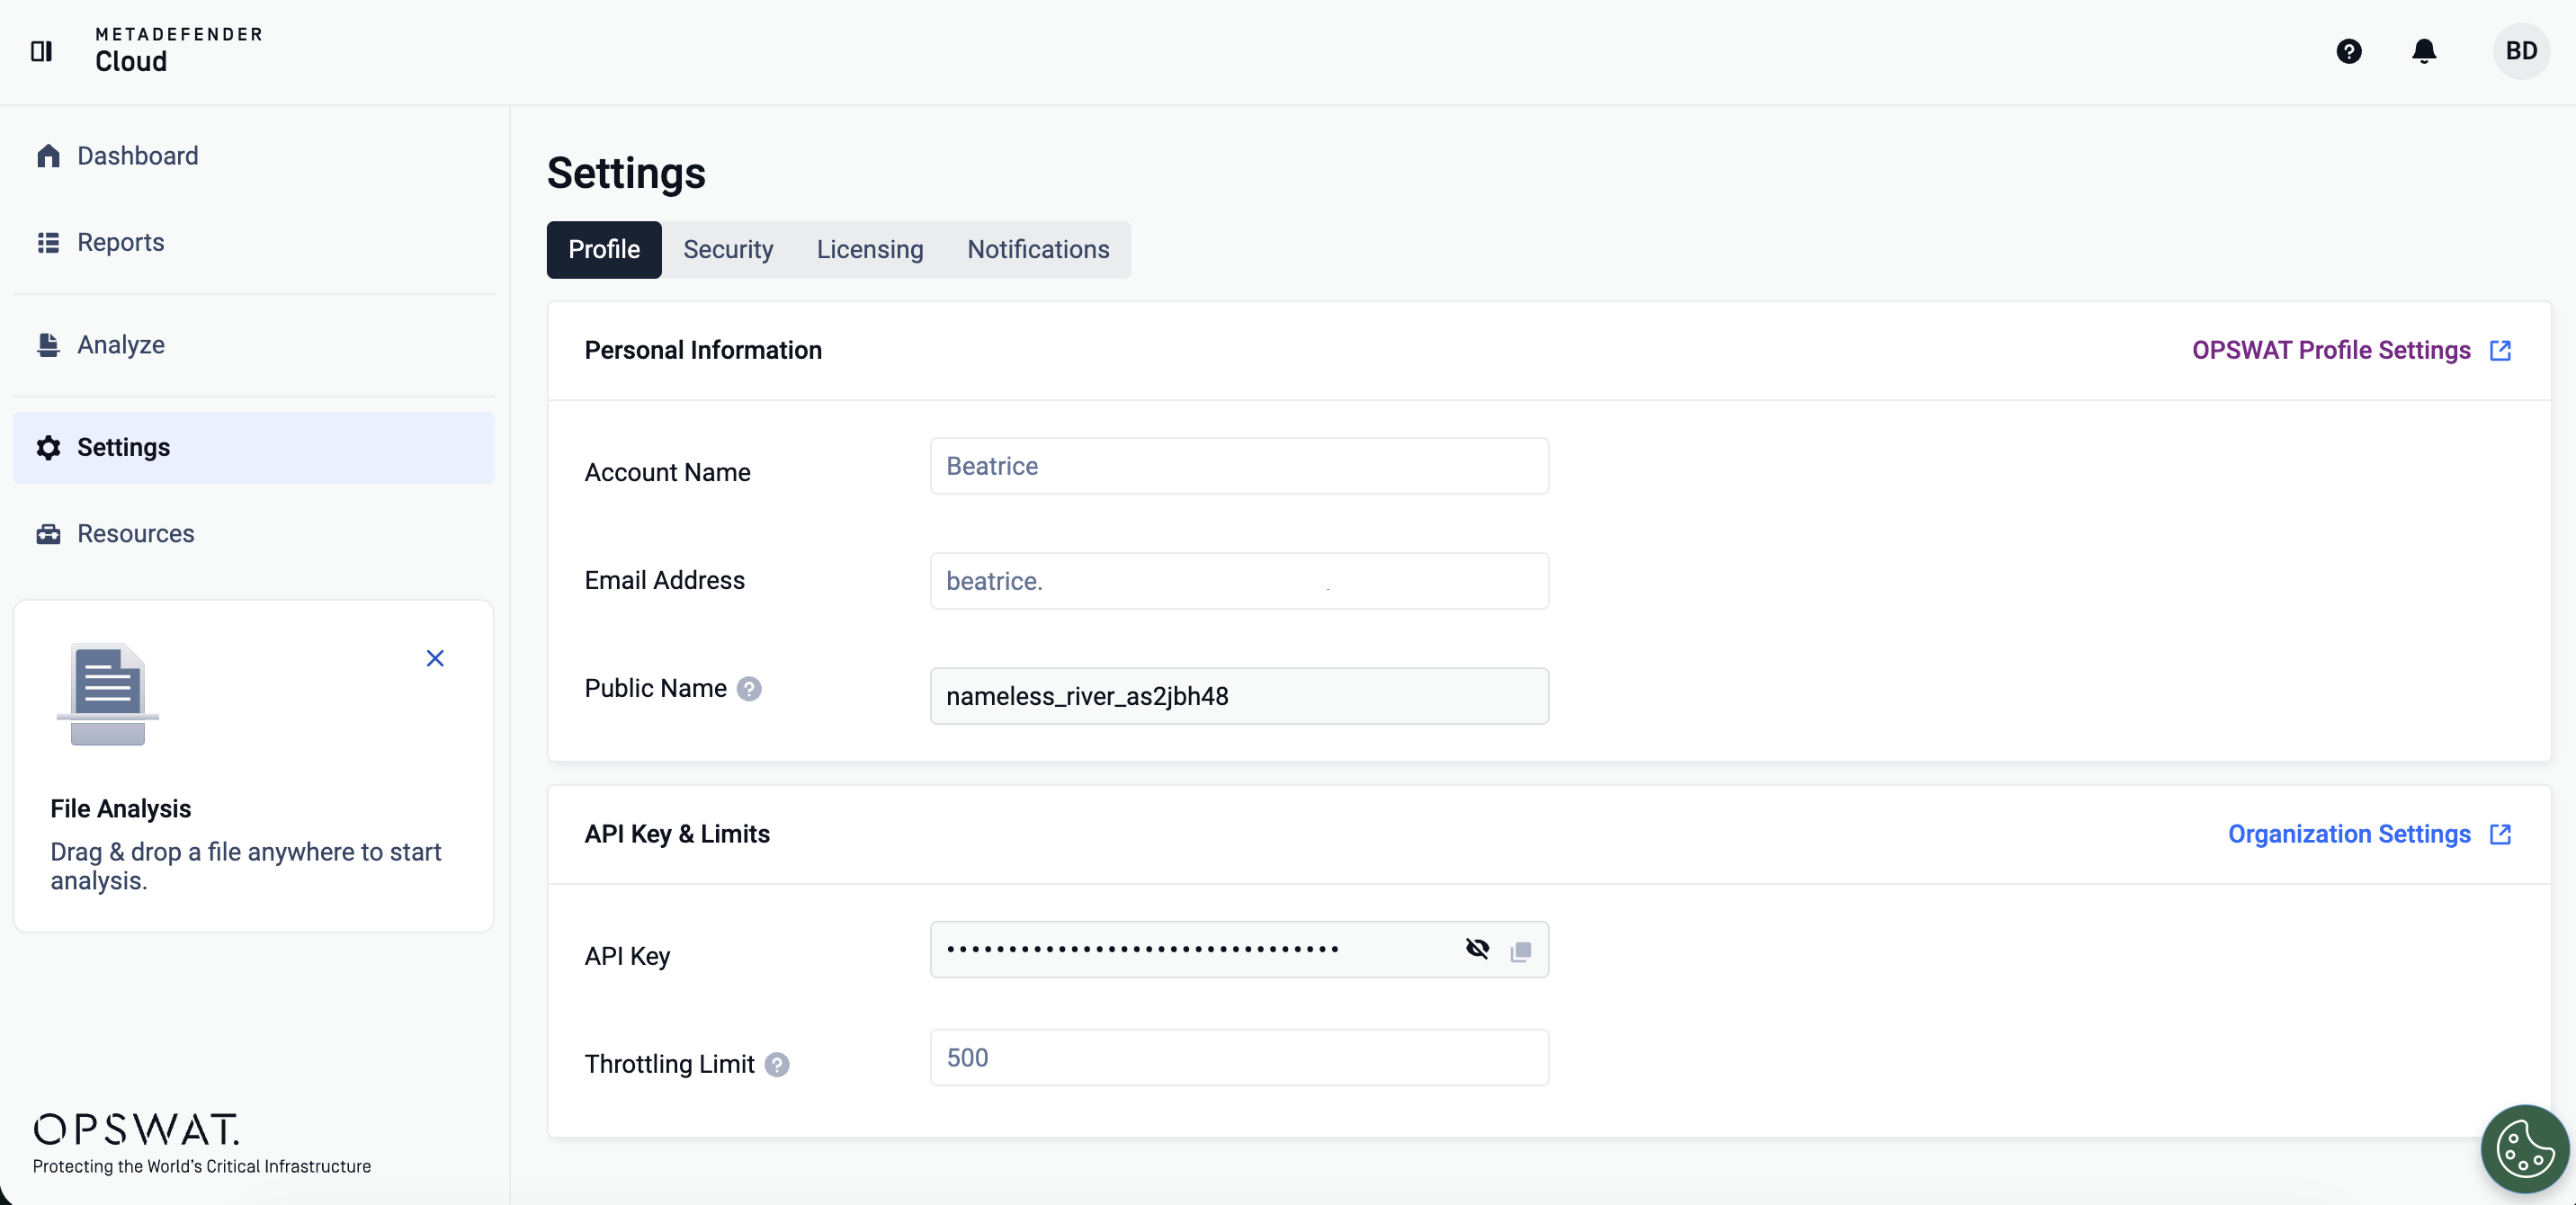
Click on Organization Settings then click on __Organization __ -> Security
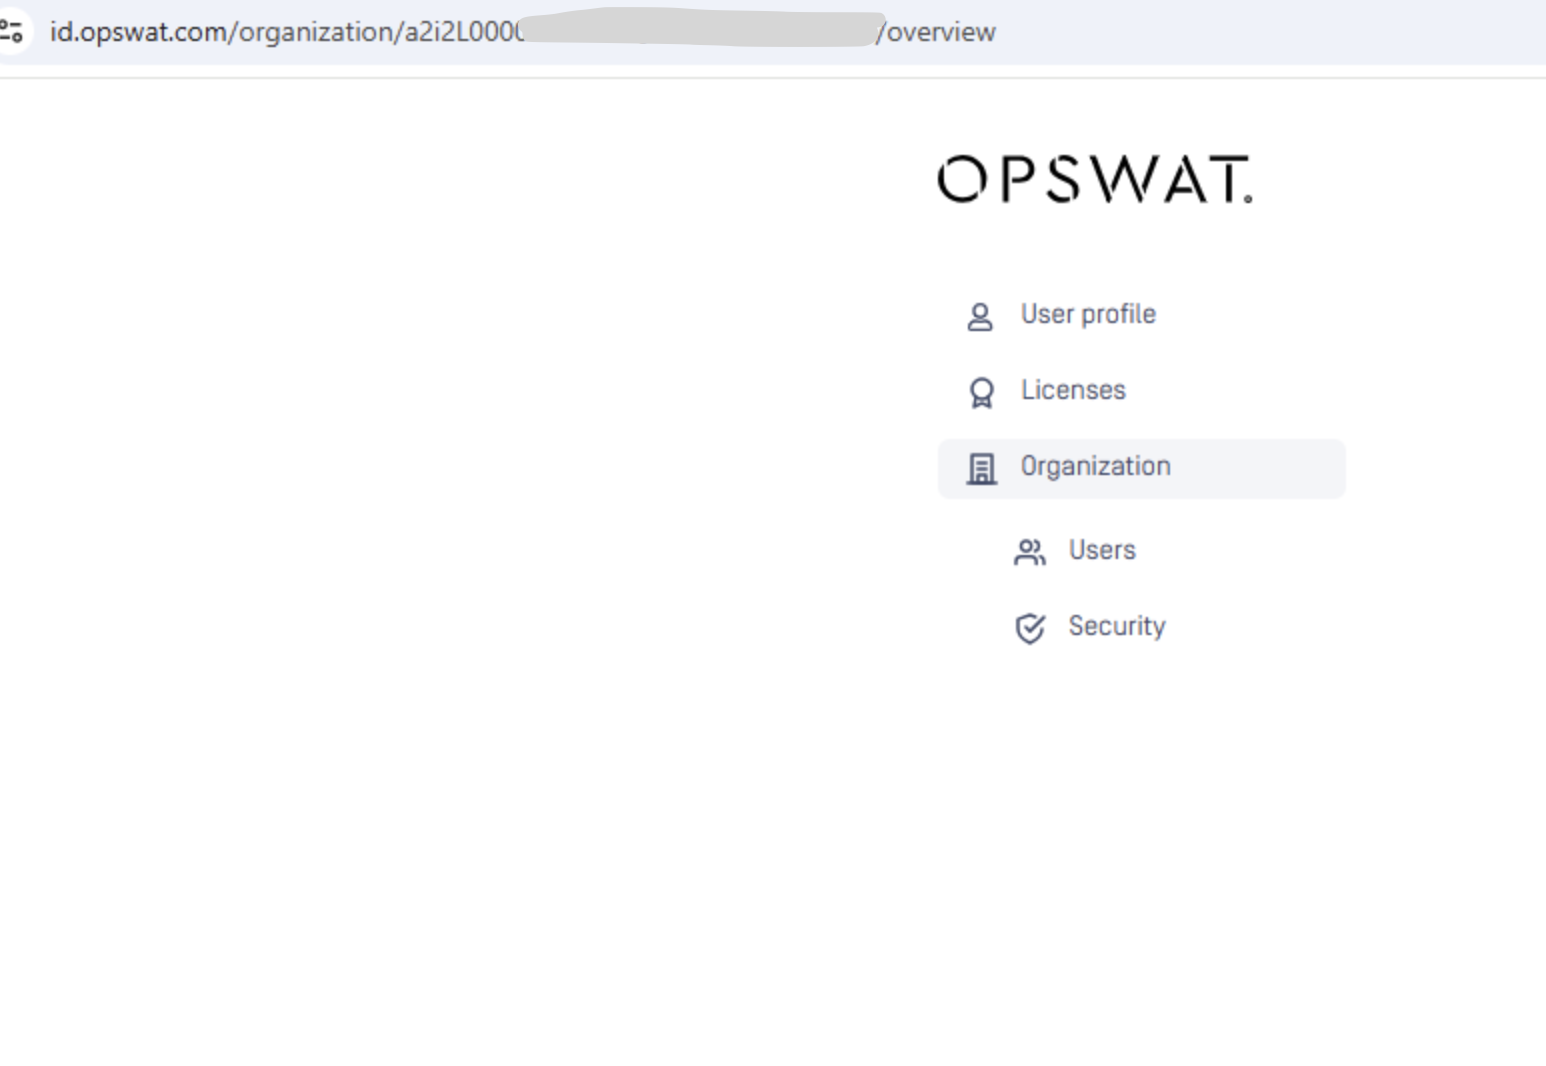
__ __
On this page you can configure your OAuth clients. Start by clicking Add Client as shown in the screenshot below:
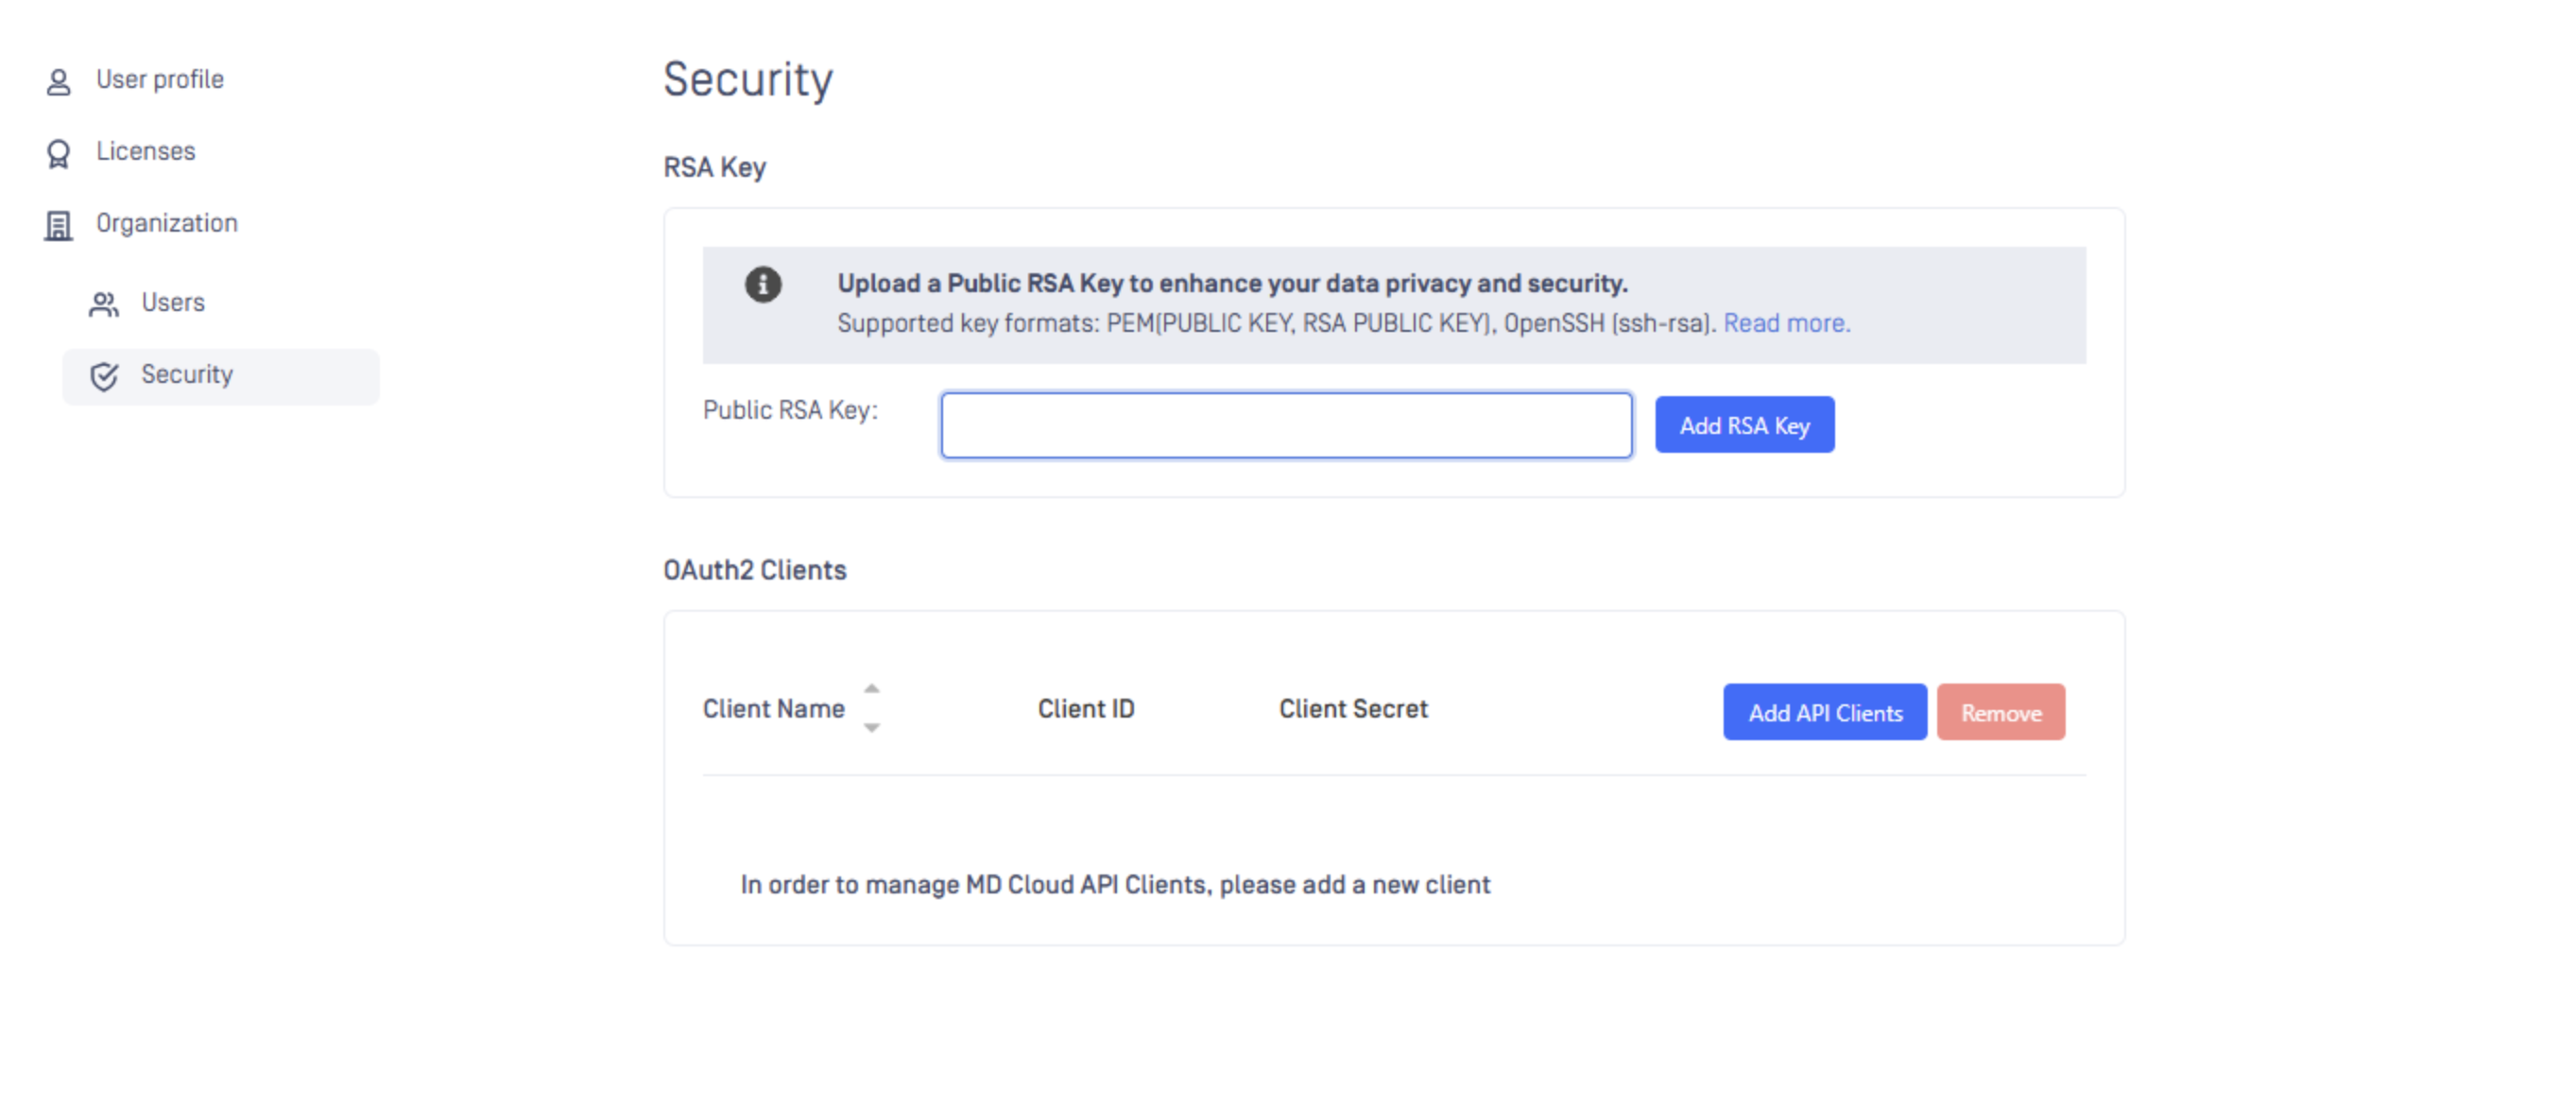
You can also remove OAuth clients if necessary by clicking the checkbox to the right of your client information and then clicking the red "Remove" button.