Introduction
The OPSWAT Screen View Connector allows the user to replicate the HMI screen in the BLUE zone of a Windows device to the RED zone.
The OPSWAT Screen View Recorder collects the data from the Windows machine in BLUE and provides an unidirectional transfer of that data (UDP packages) to the OPSWAT Screen View Player in the RED zone.
Screen View feature is not compatible with Remote Desktop application. If both applications are working at the same time and RDP session is disconnected, Screen View apps will be automatically terminated.
Supported features
OPSWAT Screen View functionality provides the following features:
Supports MPEG-1 video codec.
Supports MPEG-2 video codec.
Supports MPEG-4 video codec.
Supports H-264 video codec.
Configurable Frame Rate.
Configurable Caching.
Install Screen View
Prerequisites
You must have admin rights on any machine where you want to install OPSWAT Screen View components.
Windows 10, Windows 11 Operating Systems.
Supported resolutions are indicated in the table below:
Resolutions | ||
|---|---|---|
640x480 | 1280x800 | 1600x1200 |
800x600 | 1280x1024 | 1680x1050 |
1024x768 | 1366x768 | 1920x1080 |
1280x720 | 1440x900 | 1920x1200 |
1280x768 | 1400x1050 | 2452x1356 |
Install on BLUE Flanking Server
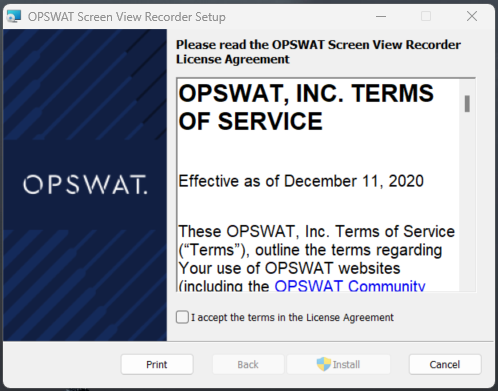
You will receive a folder containing the .msi files corresponding to both BLUE and RED side. Install OPSWAT Screen View Recorder.msi file on any machine in the BLUE zone where you want to stream the screen to the RED side.
Double-click OPSWAT Screen View Recorder.msi and accept the defaults until the installation is complete.

Install on RED Flanking Server
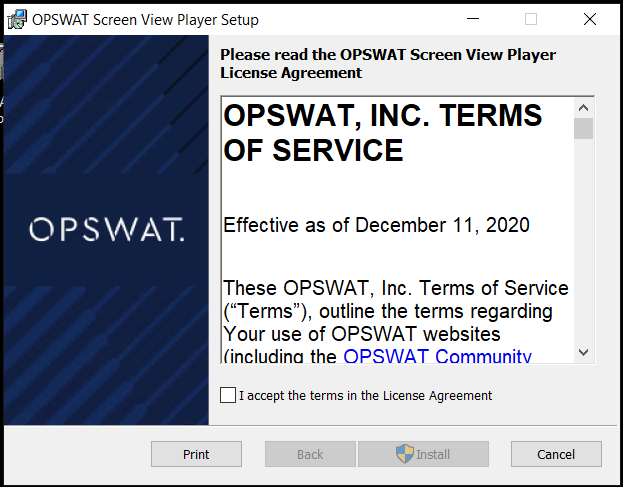
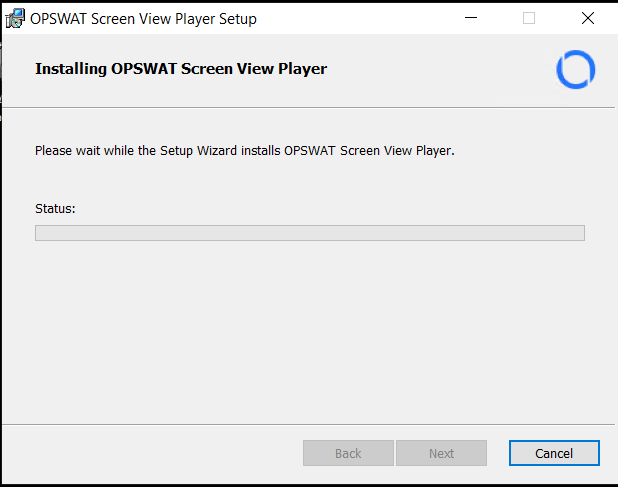
Install OPSWAT Screen View Player.msi file on any machine in the RED zone where you want to replicate the data coming from the BLUE side.
Double-click OPSWAT Screen View Player.msi and accept the defaults until the installation is complete.
Configure Screen View
This describes how to configure the OPSWAT Screen View to record the server screen placed in the BLUE zone and transmit that data across NetWall to a Windows system on the RED zone.
The general configuration process is:
Create a UDP stream in NetWall BLUE and NetWall RED.
Configure Screen View Recorder on the BLUE flanker.
Configure Screen View Player on the RED flanker.
Create the Stream
First, user need to create a new UDP stream between both, NetWall BLUE and RED. To do so:
Login in NetWall Web GUI.
Click on Streams in the left side menu.
Go to Action button and deploy the dropdown list. Select Add UDP.
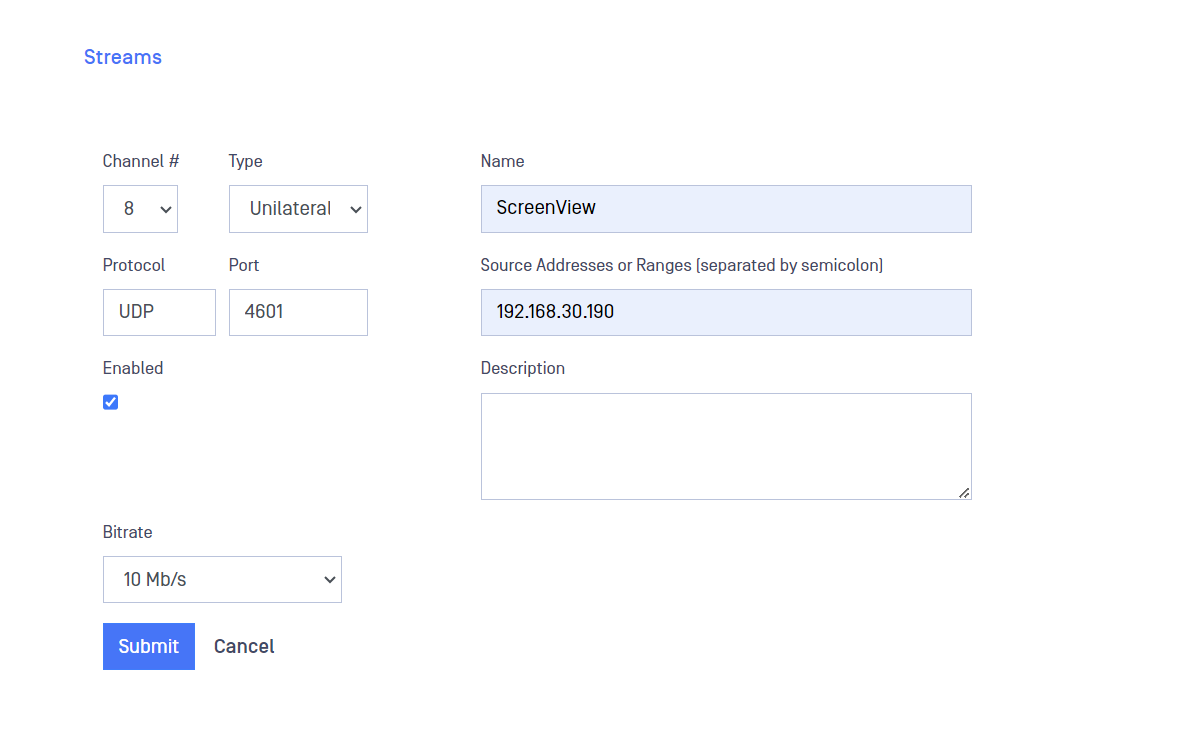
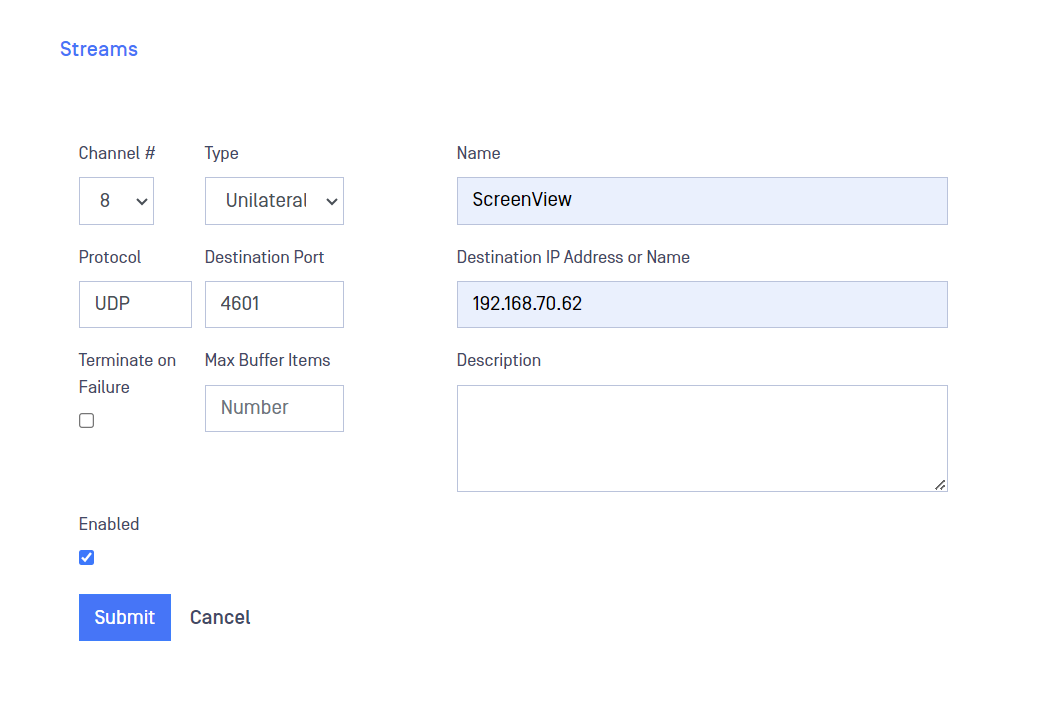
Complete the fields in the BLUE side and click on Submit:
Channel: You have to choose one channel number. Remember that this channel number needs to be the same in BLUE and RED NetWall.
Type: Unilateral.
Name: Name of the stream (ex. Scree View).
Protocol: UDP.
Source port: Select a port for the source IP.
Source addresses: IP address(es) in the BLUE zone where the stream will originate.
Enabled: Stream needs to be enabled.
Complete the fields in the RED side and click on Submit:
Channel: You have to choose one channel number. Remember that this channel number needs to be the same in BLUE and RED NetWall.
Type: Unilateral.
Name: Name of the stream (ex. StreamView).
Protocol: UDP.
Source port: Port number of the destination IP.
Destination address: IP address in the RED zone where the stream will terminate. You can enter only one address.
Enabled: Stream needs to be enabled.
Configure Screen View Recorder
To configure Screen View Recorder:
Destination IP: Include NetWall BLUE appliance IP address.
Destination UDP Port: Indicate the same port you have used in the BLUE side of the Stream created before.
Configuration Name: Give a name to the configuration in order to be able to save it.
Load Configuration: User can load previously saved configurations.
Frame Rate: User can define the Frame Rate of the recording.
Video Codec: Select one of the codecs supported (MPEG-1, MPEG-2, MPEG-4, H-264).
Caching [ms]: User can define the amount of time they want to buffer before start streaming.
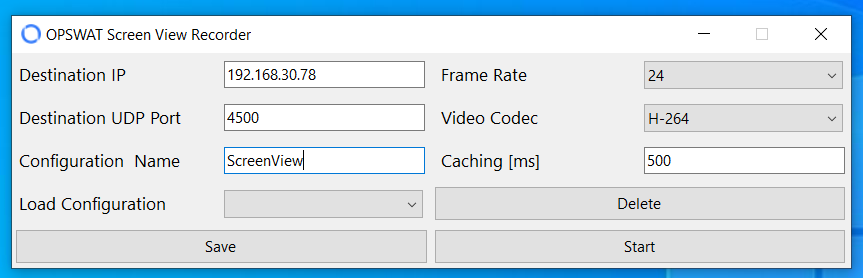
Once the configuration is finished, click on Start so Screen View recorder starts sending data to NetWall BLUE.
Configure Screen View Player
To configure Screen View Player:
Configuration Name: Give a name to the configuration in order to be able to save it.
Listen UDP Port: Screen View Player will listen for the UDP stream to be played in the indicated port.
Caching [ms]: User can define the amount of time they want to buffer before start reproducing.
Screen Name: Screen View Player, can display up to 4 different screens, Screen Name field is used to differentiate those screens.
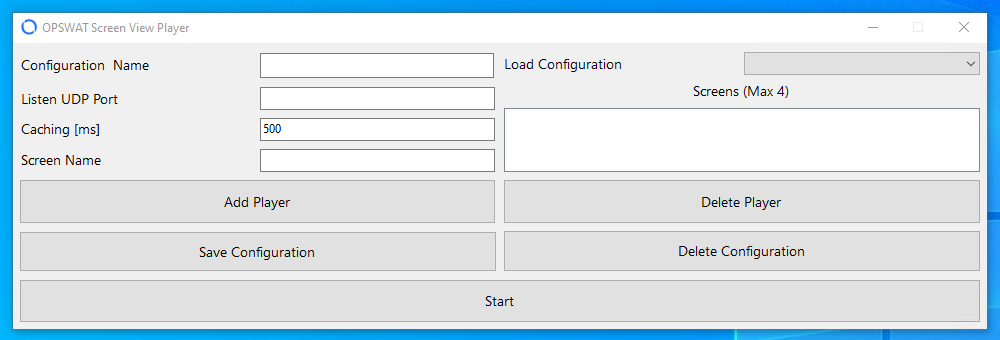
Once the configuration is finished, click on Start so Screen View player starts playing the stream coming from NetWall RED.
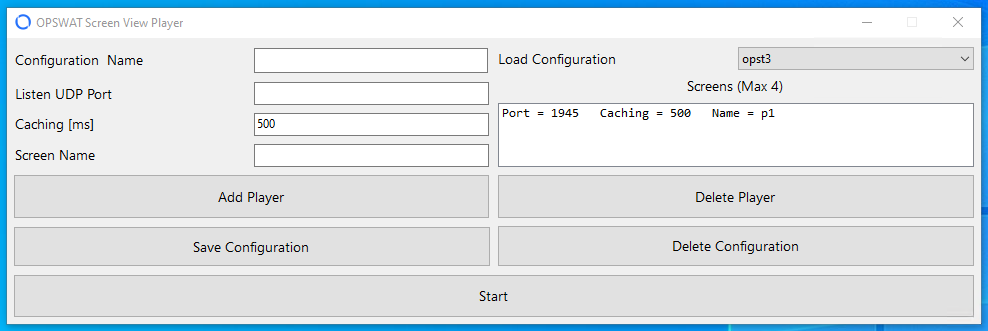
Adding Players
Screen View Player support up to 4 screens being displayed at the same time. To do that, user needs to add players:
Fill in the different configuration fields.
Click on Add Player button.
A new line will be included in the Screens field
Save Configuration
To save an specific configuration just fill in the fields and then click on Save (or Save Configuration in Screen View Player).
Load Configuration
To load a previously saved configuration user only needs to deploy the Load Configuration dropdown list and select the saved configuration that wants to be applied.