Preparation
Install the necessary applications to encrypt the USB.
I. SQL Server and SQL Server Management Studio
Installing Trellix ePolicy Orchestrator requires a supported Microsoft SQL Server database. SQL Server Management Studio is recommended for database administration and troubleshooting. The following instructions will install SQL Server as prerequisites.
Install SQL Server
Download SQL here: https://go.microsoft.com/fwlink/p/?linkid=2215158&clcid=0x409&culture=en-us&country=us
Once the download is completed, run the installer and choose Basic, then click Next to start the process.

SQL Server is now installed to your PC, click Close or Install SSMS to install SQL Server Management Studio.
Install SQL Server Management Studio
You can either choose Install SSMS or download here: Install SQL Server Management Studio
Once the download is completed, run the installer and click Next to start the process.
SQL server preset
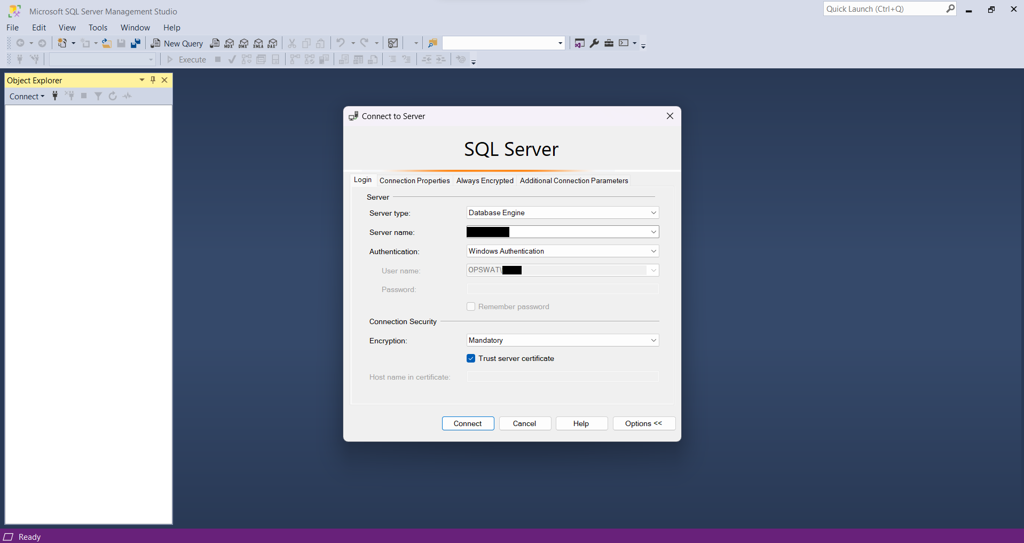
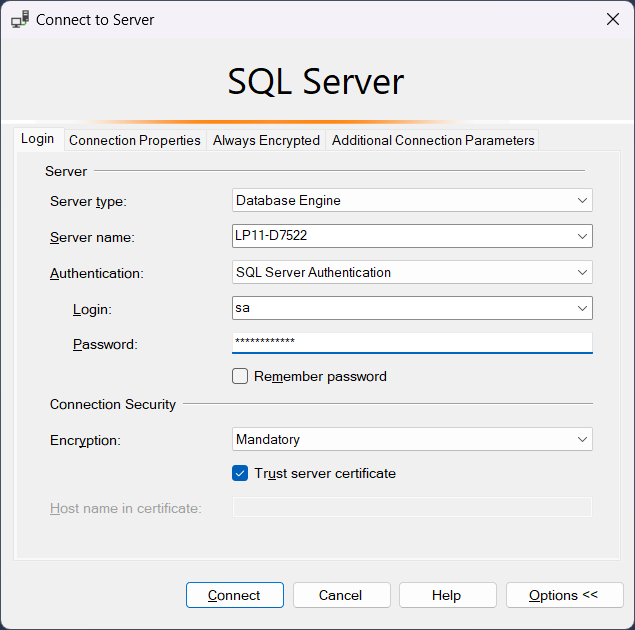
Go to SSMS, the default login credential is Windows user. Check the Trust server certificate to connect to SQL server.
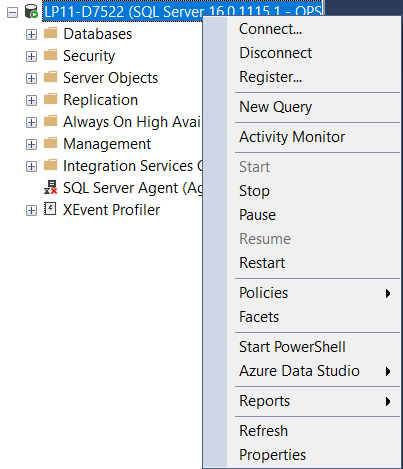
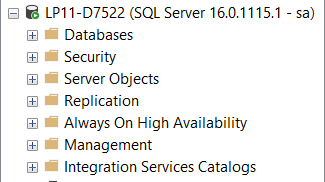
Right-clicked the server name, choose Properties.
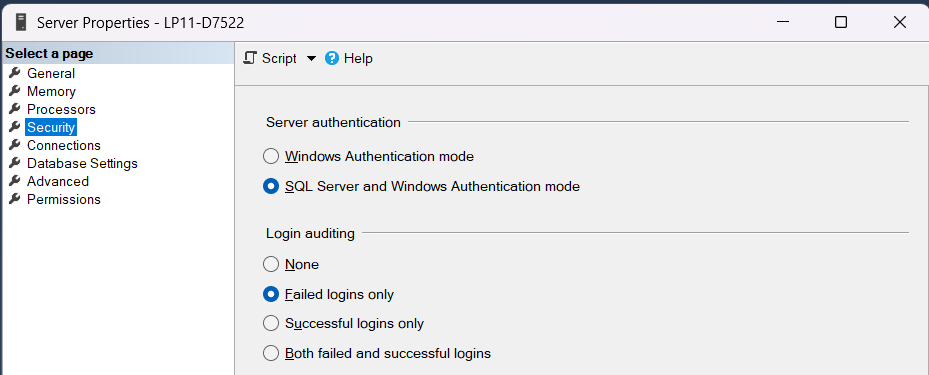
Go to Security → Check SQL Server and Windows Authentication mode
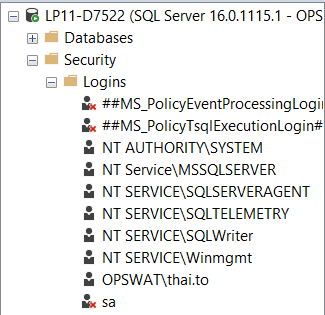
Go back to Server Instance, go to Security → Logins. Right-click sa user and choose Properties.
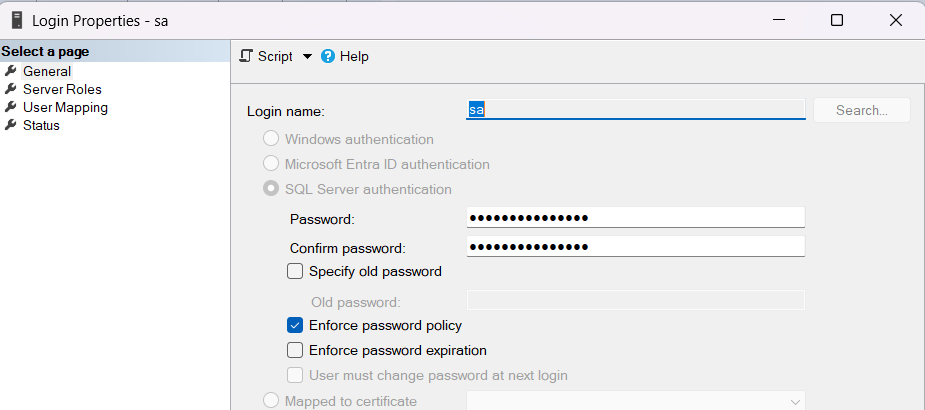
Create a new password for sa in General.
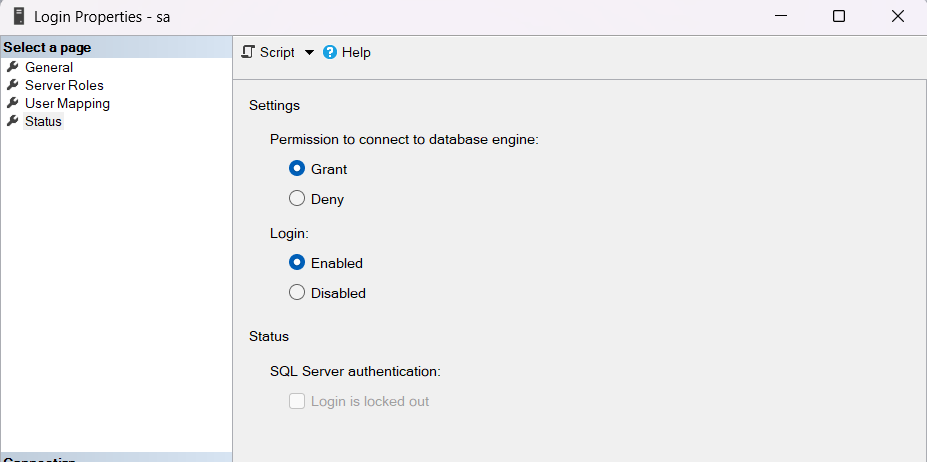
Check Grant and Enabled respectively.
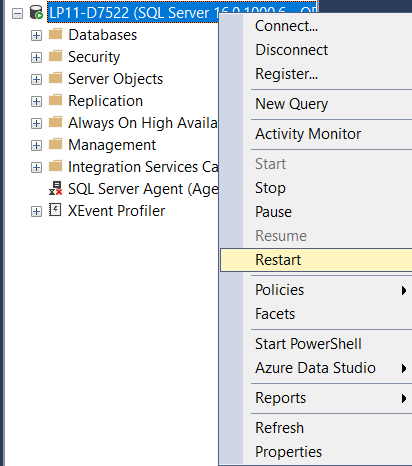
Restart the server.
Disconnect the server and login again to verify, rememeber to check Trust server certificate.
Go to Start → SQL Server Configuration Manager:
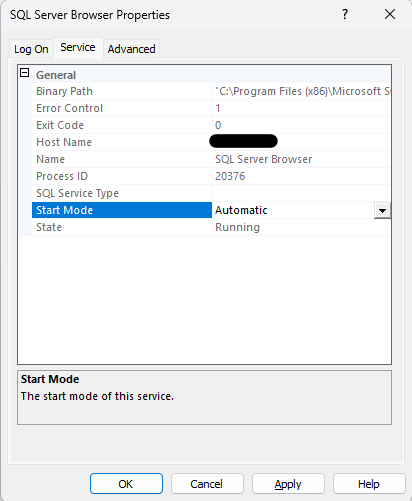
Go SQL Server Services → SQL Server Browser → Properties. In Services, change Start Mode to Automatic. Restart the SQL Server Browser.

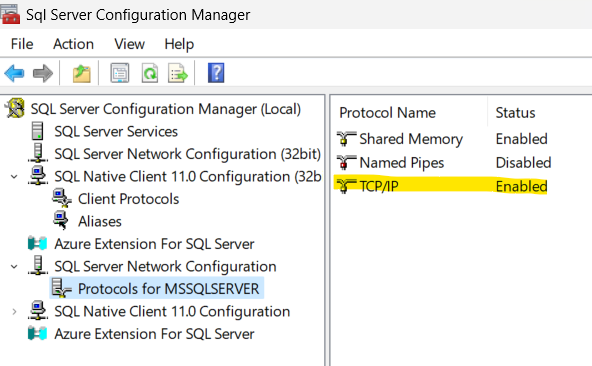
Go to SQL Server Network Configuration → Protocols for MSSQLSERVER. Enable TCP/IP protocol.
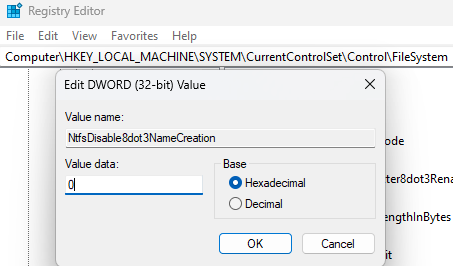
Go to Start → Registry Editor → Computer\HKEY_LOCAL_MACHINE\SYSTEM\CurrentControlSet\Control\FileSystem. Edit the value of NtfsDisable8dot3NameCreation to 0. Restart the PC.
II. Install Trellix ePolicy Orchestrator Server
Download Trellix ePolicy Orchestrator on Trellix website.
Prepare the information below:
Grant number & Registration email to access the Trellix Product page
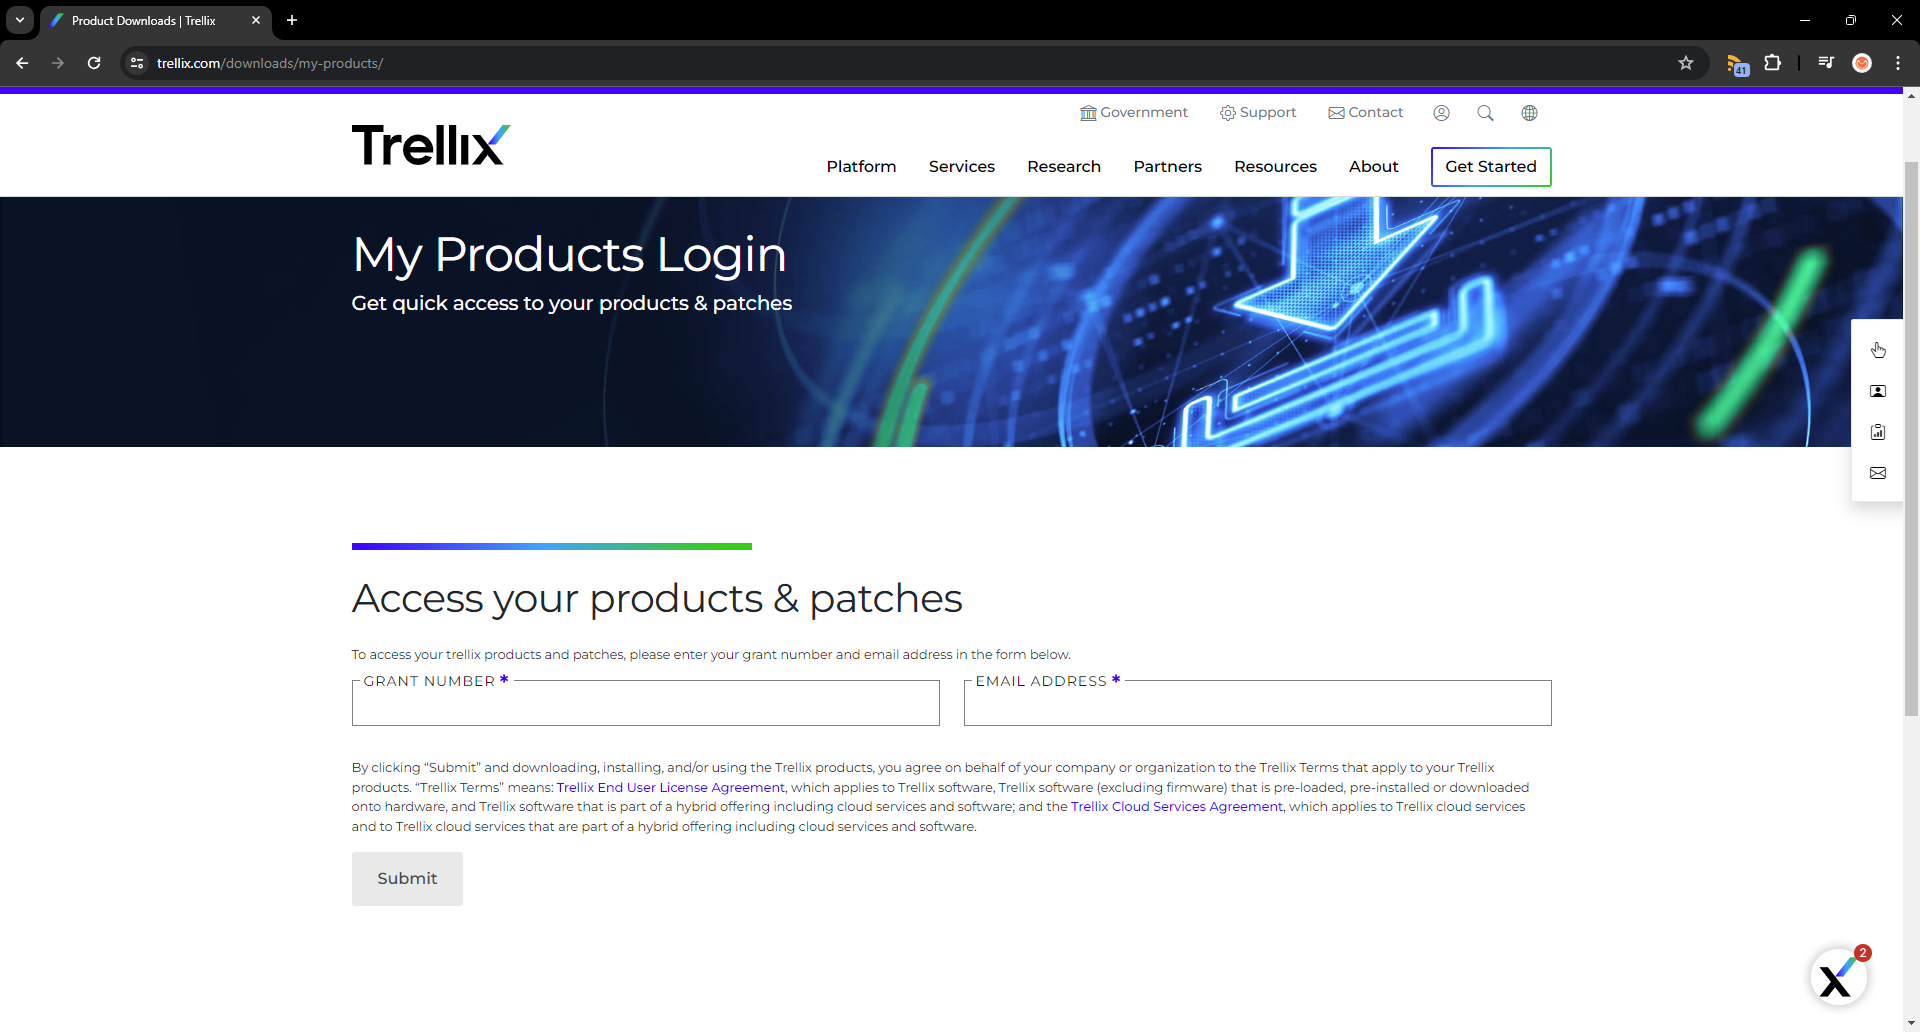
The license key will be used later to activate the product
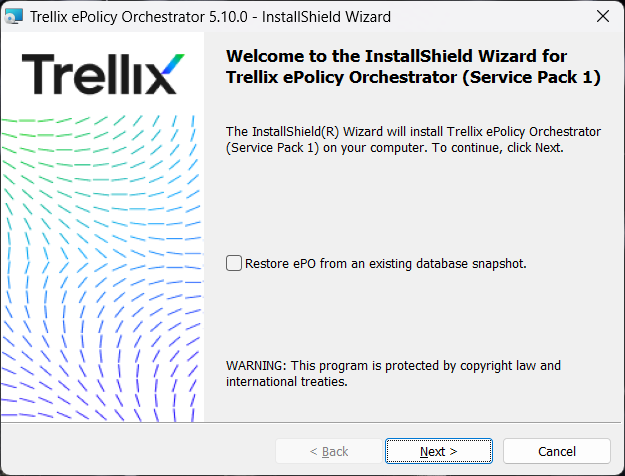
Open Trellix ePolicy Orchestrator installation. Click Next until later setups.
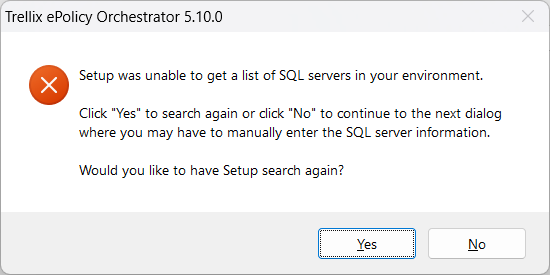
The installer may or may not get the list of SQL servers in your environment. Click No to manually enter SQL Server information.
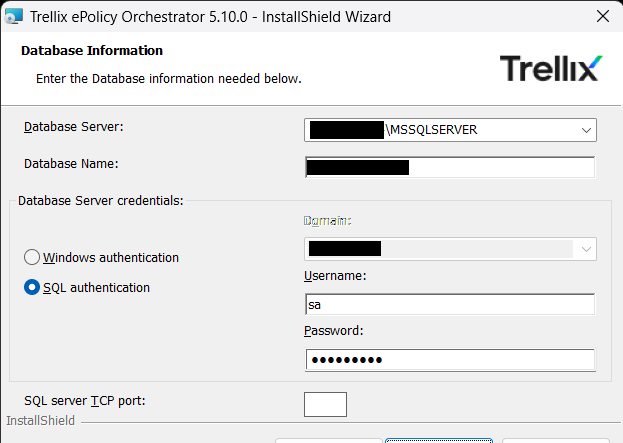
Enter database details :
Database Server:
IP address\Database Server NameDatabase Name: Set a new name or leave it as default
Credentials: Enter pre-configured login credentials
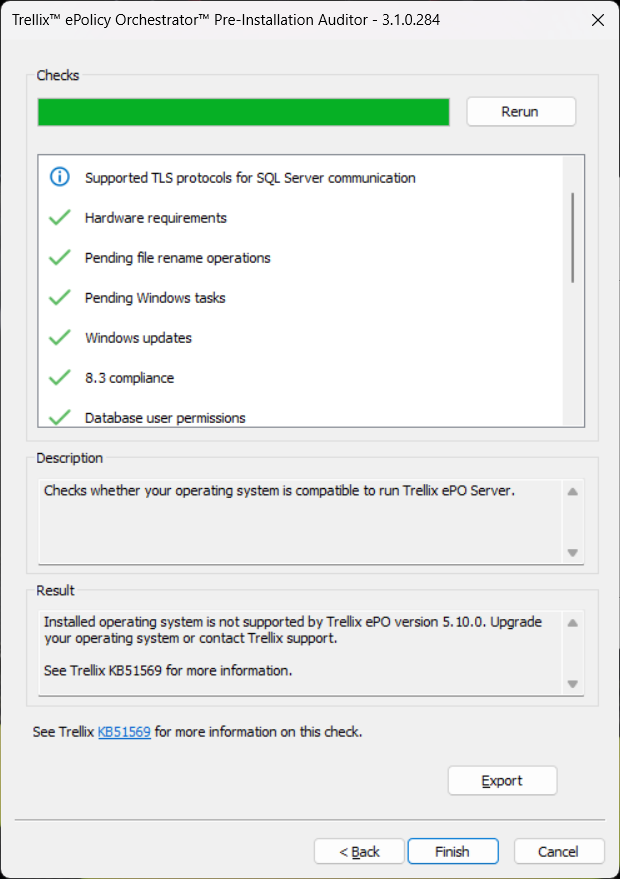
Wait for the installer to check if the current PC is compatible to run ePO Server.
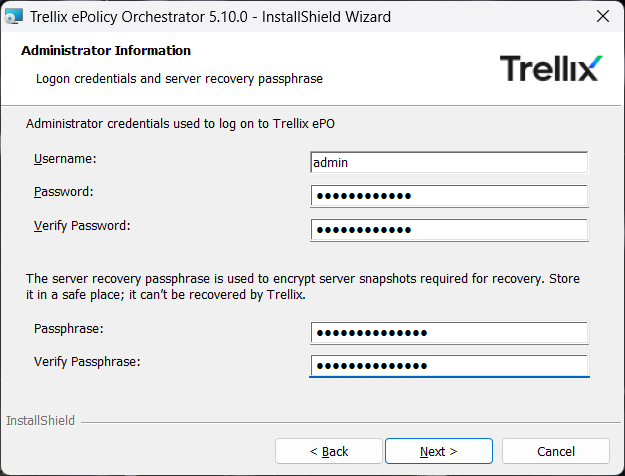
Input administrator credentials to log on to ePO, and also provide a 14-character passphrase for server recovery.
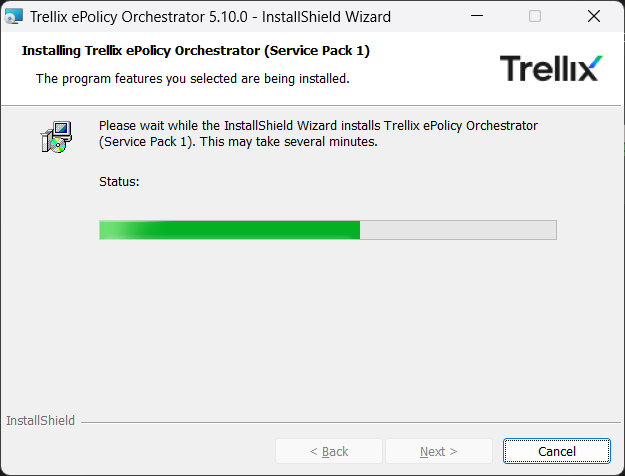
Wait for the installer to finish the process.
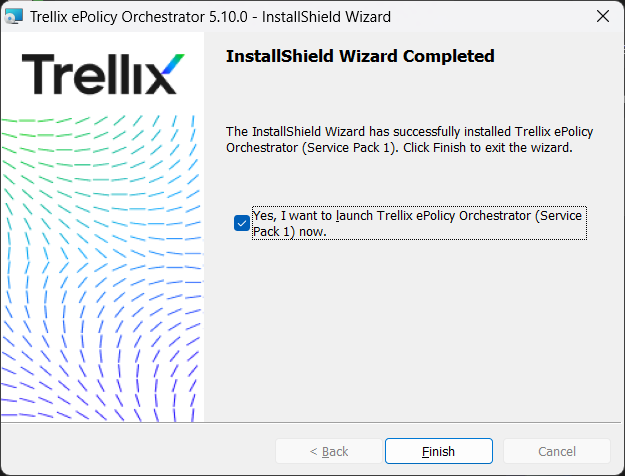
The ePO installation is completed. Launch the ePO to configure the USB encryption.
III. Install Trellix Agent
Go to C:\Program Files (x86)\Trellix\ePolicy Orchestrator\DB\Software\Current\EPOAGENT3000\Install\0409.
Run FramePkg to install Trellix Agent.
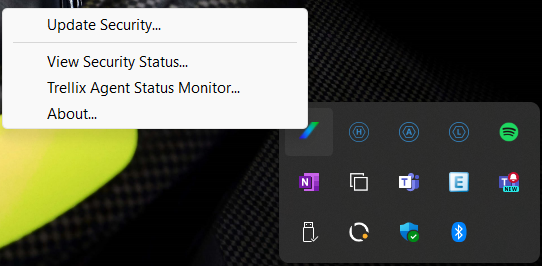
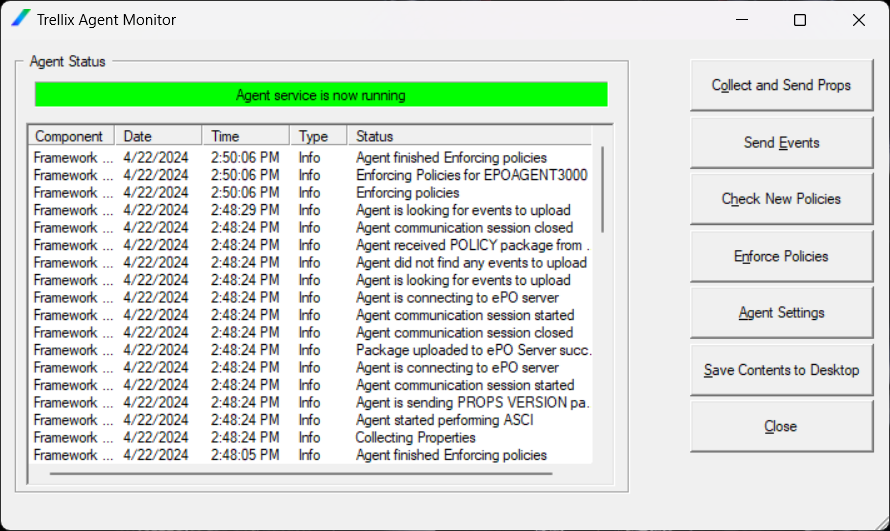
Go to the system tray → Trellix icon → Trellix Agent Status Monitor to update new policies for further actions.
Log on with the created credentials
Configuration
I. Install Trellix Files and Removable Media Protection (FRP) extension and client
Download Trellix Files and Removable Media Protection (FRP) package from Trellix website
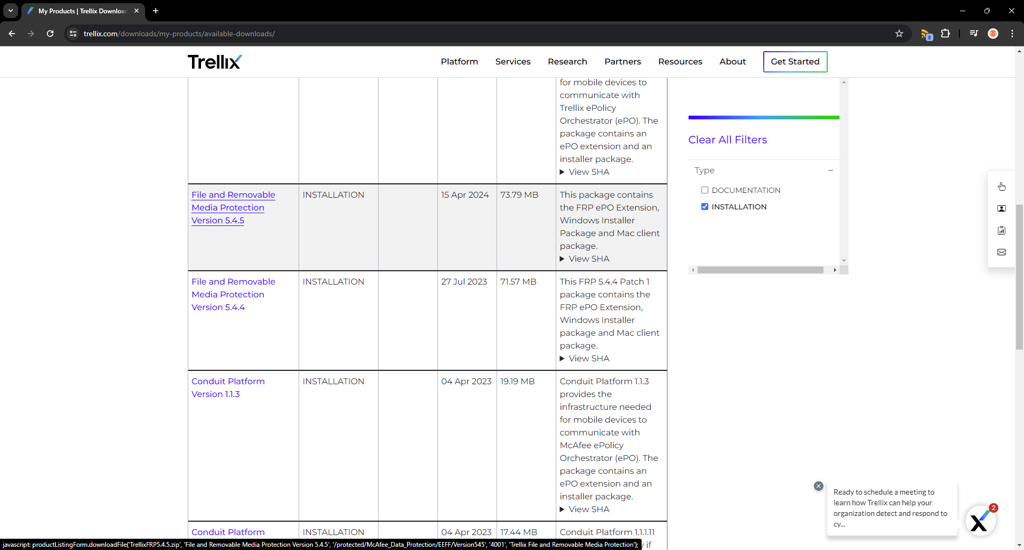
FRP package consists of 2 parts: Extension & Client
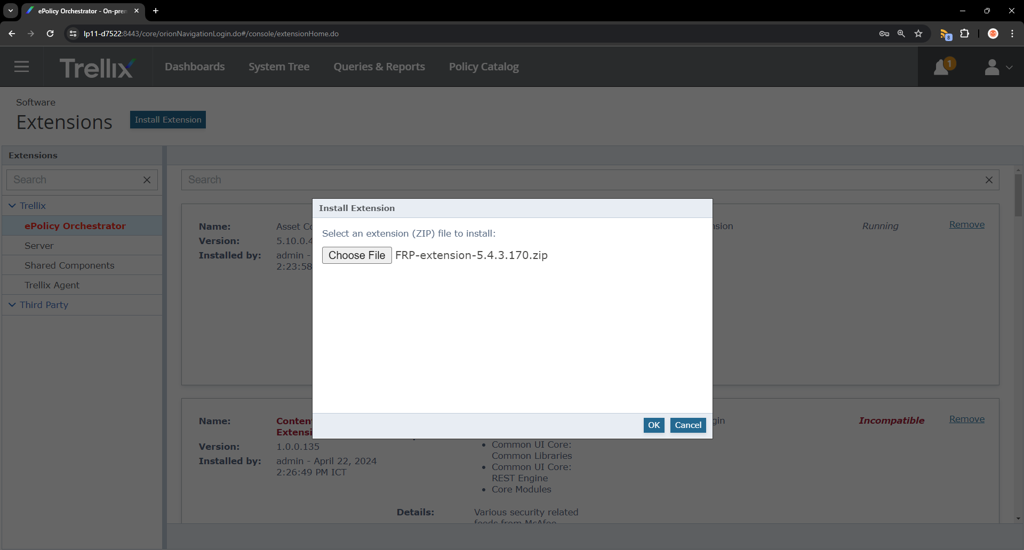
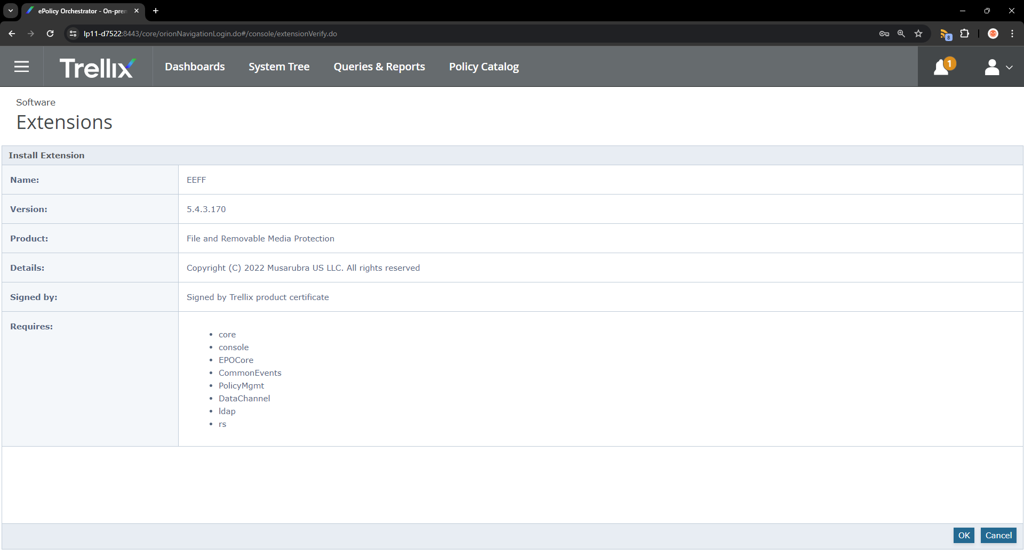
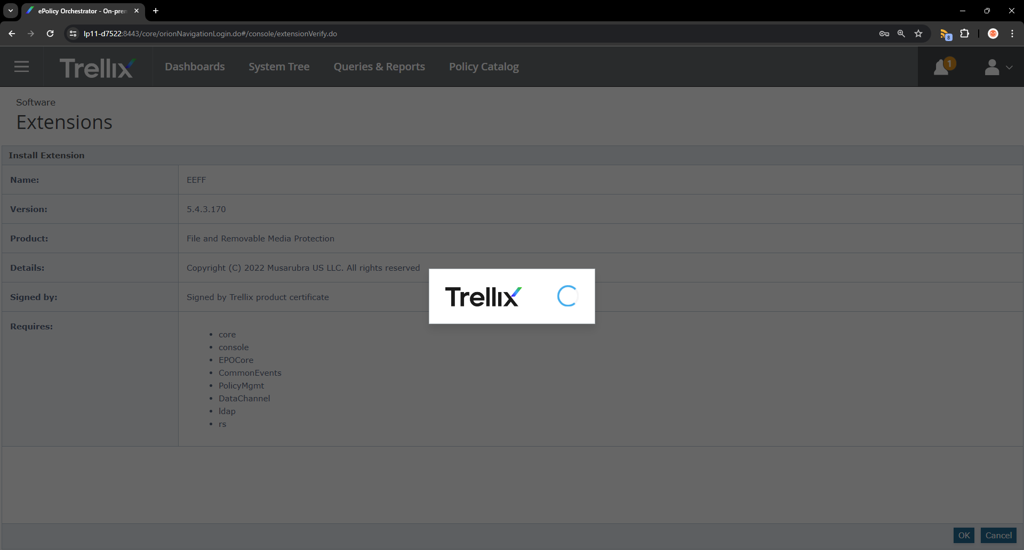
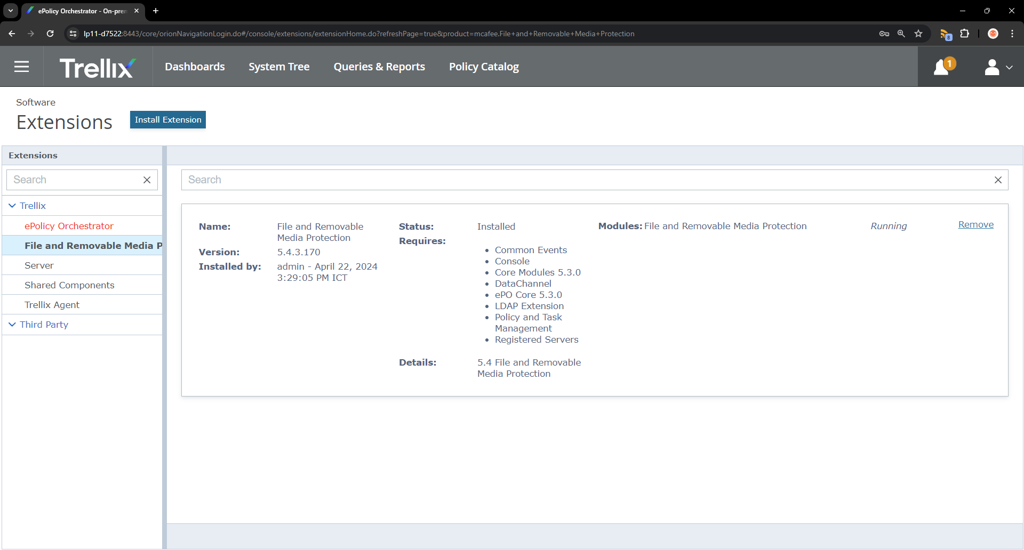
Install FRP Extension to ePO
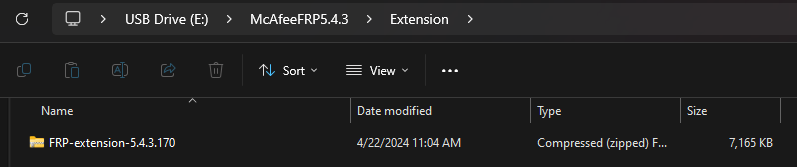
Go to ☰ → Software → Extensions → Install Extension. Choose the downloaded Extension package → OK
Install Trellix File and Removable Media Protection Client
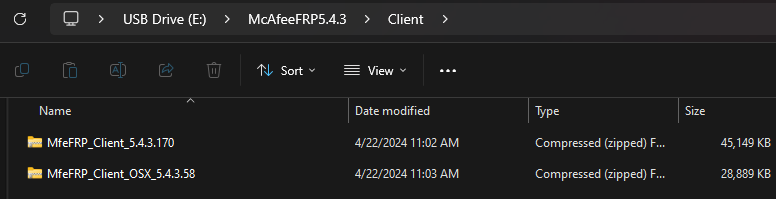
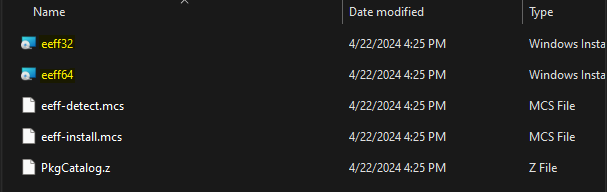
Extract the Client zip package (Not the OSX one) and run the installer (eeff32 for 32-bit, eeff64 for 64-bit).
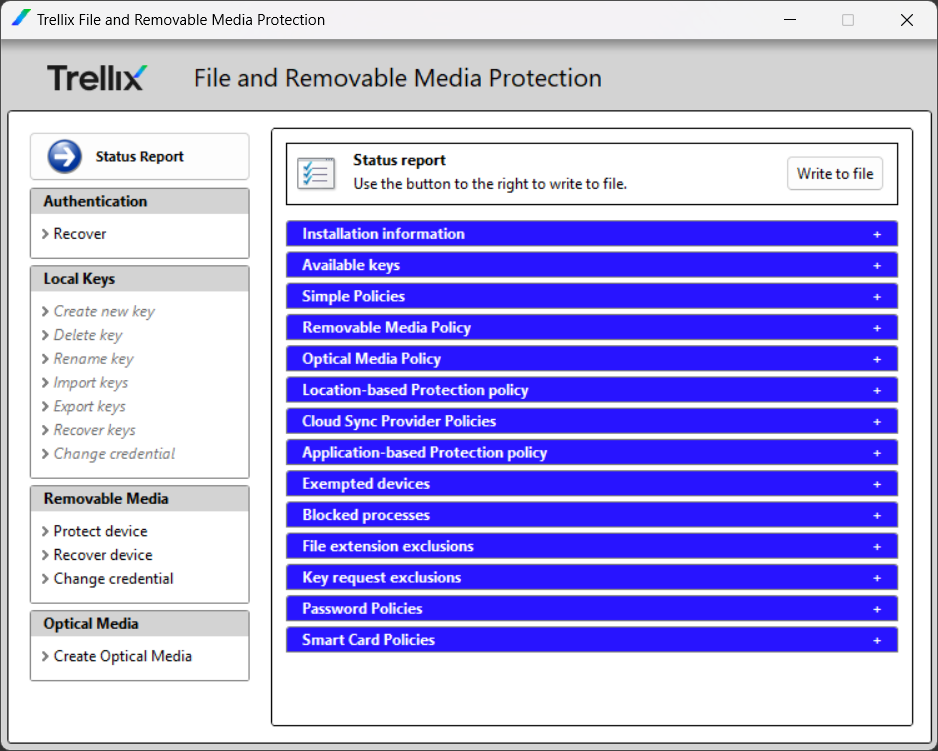
FRP Client would look like the image below.
II. Create USB encryption policy
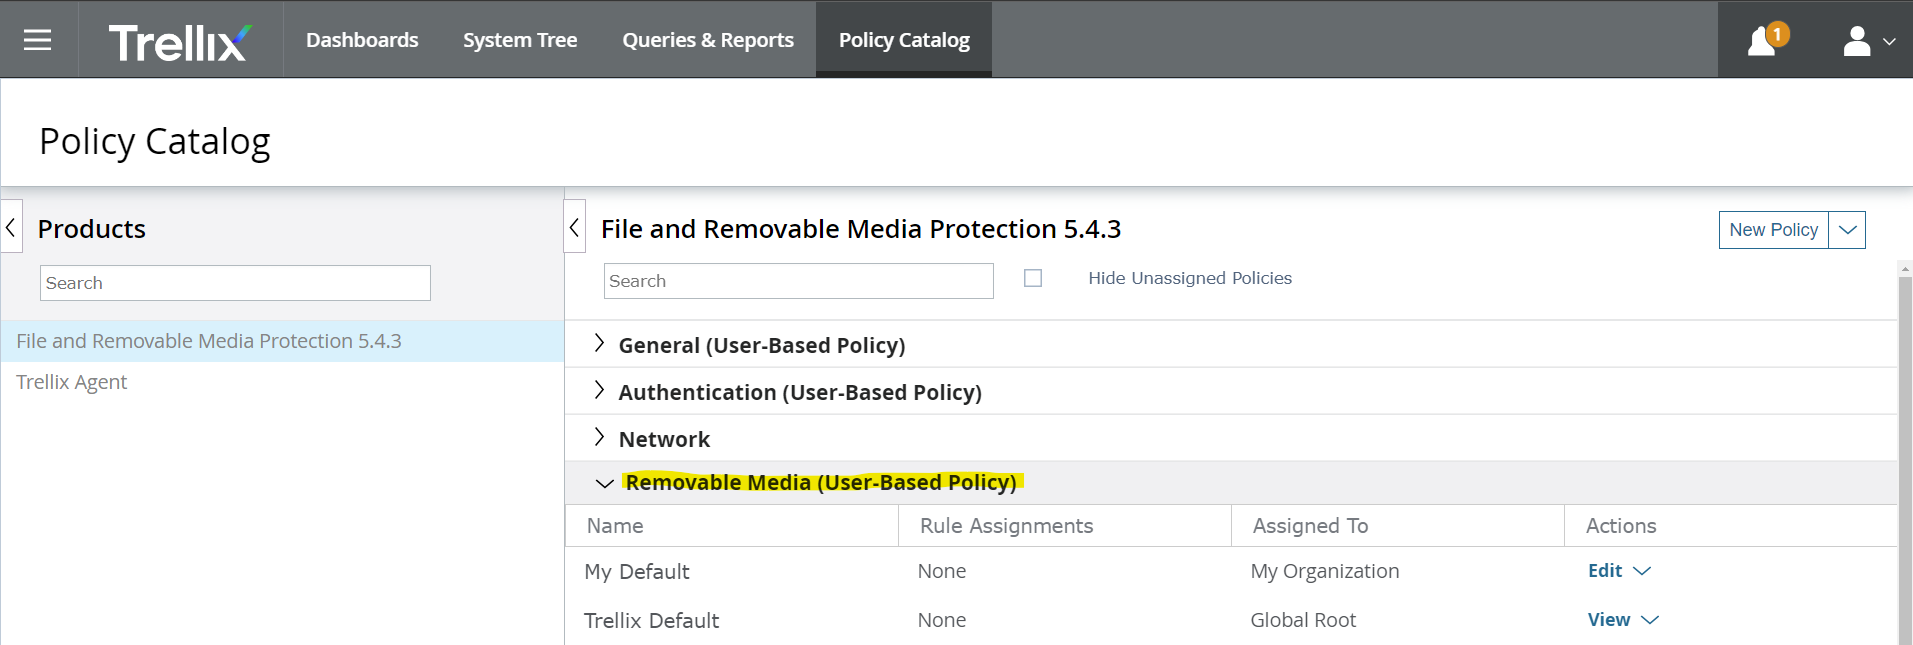
Go to Policy Catalog → Files and Removable Media Protection x.x.x → Removable Media (User-Based Policy). Click on Edit button.
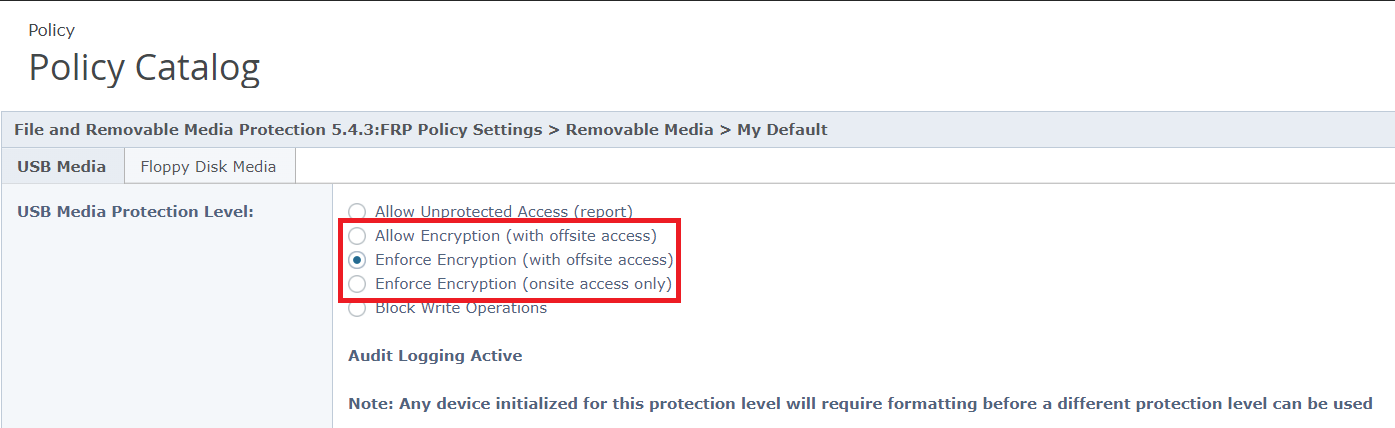
USB Media Protection Level:
Allow Unprotected Access (report): Allow removable media.
Allow Encryption (with offsite access): Either allow or encrypt removable media.
Enforce Encryption (with offsite access): Force encrypting removable media and be able to access removable media without Trellix FRP on PC.
Enforce Encryption (onsite access only): Force encrypting removable media and be able to access removable media only with Trellix FRP on PC.
Block Write Operations: Prevents the copying or writing of data onto a USB device.
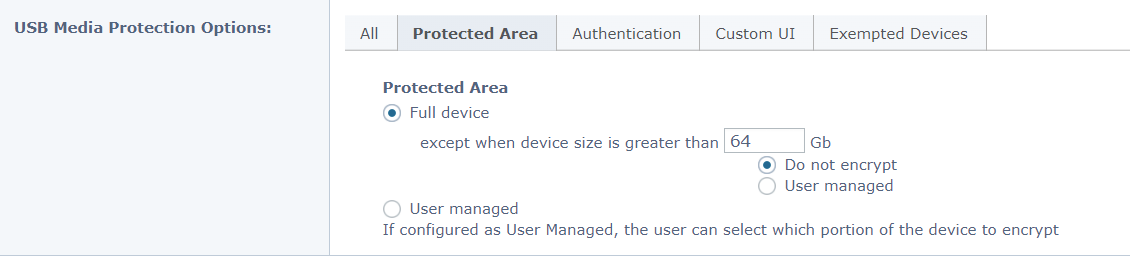
USB Media Protection Options - Protected Area: Leave as default
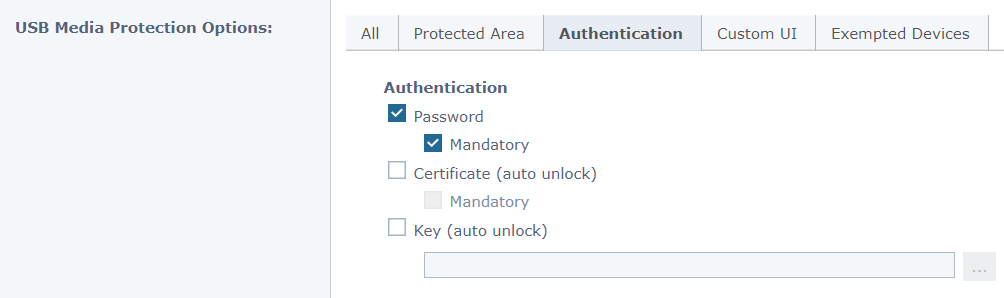
USB Media Protection Options - Authentication: Choose any authentication method or leave as default
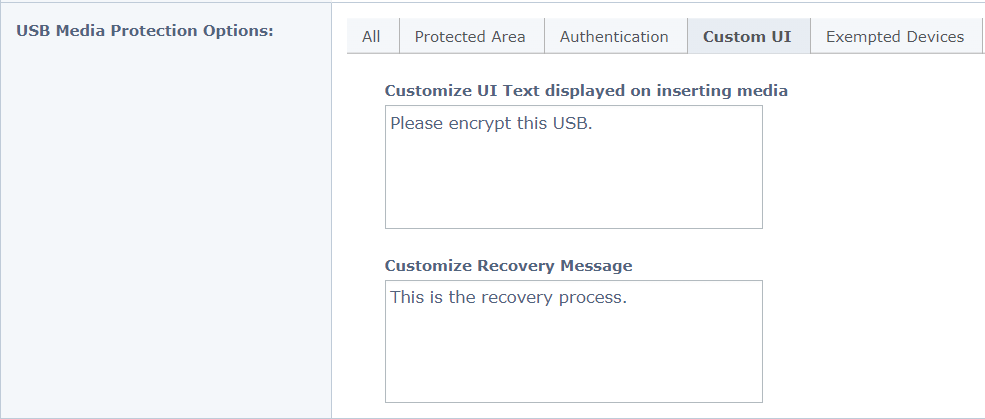
USB Media Protection Options - Protected Area: Customize as you want or leave as default
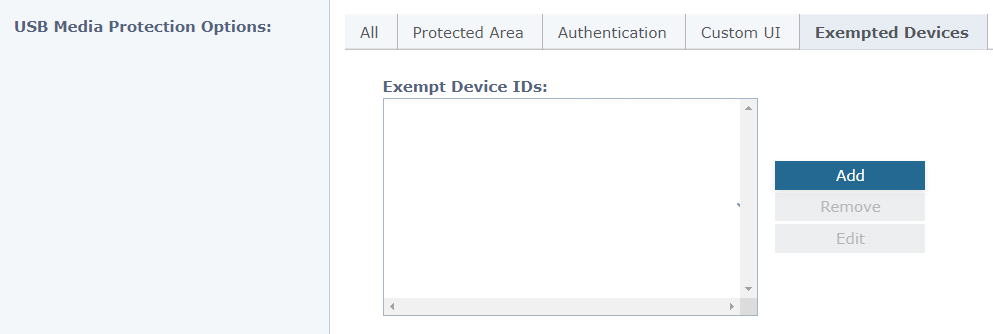
USB Media Protection Options - Exempted Devices: Leave as default
USB Creation
Plug in the unprotected USB → Warning notification shows up.
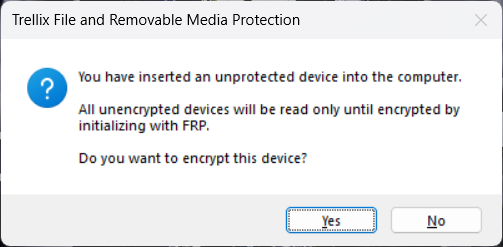
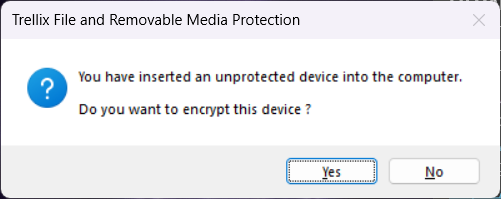
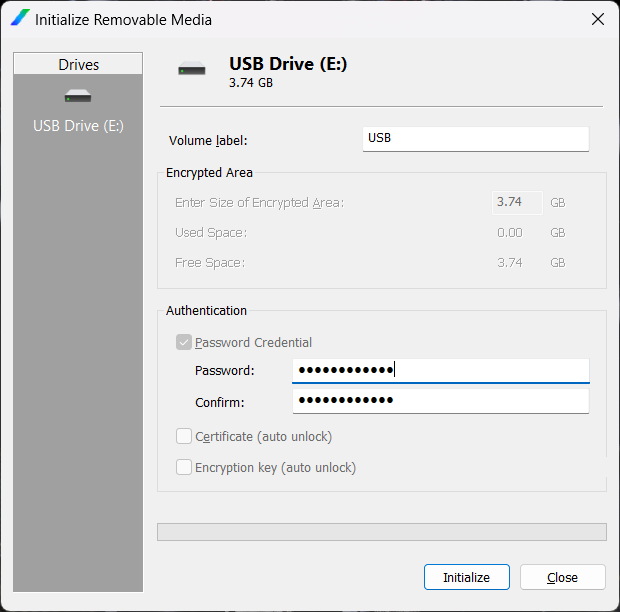
Choose YES: Input Volume label and fulfill the authentication requirement, then click Initialize
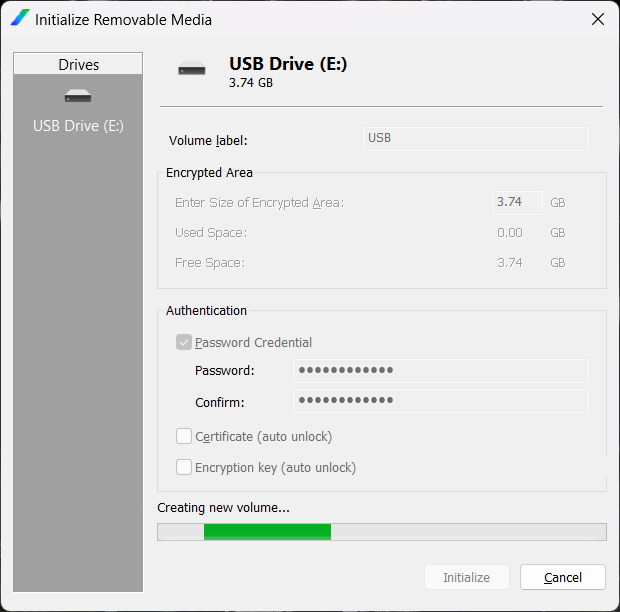
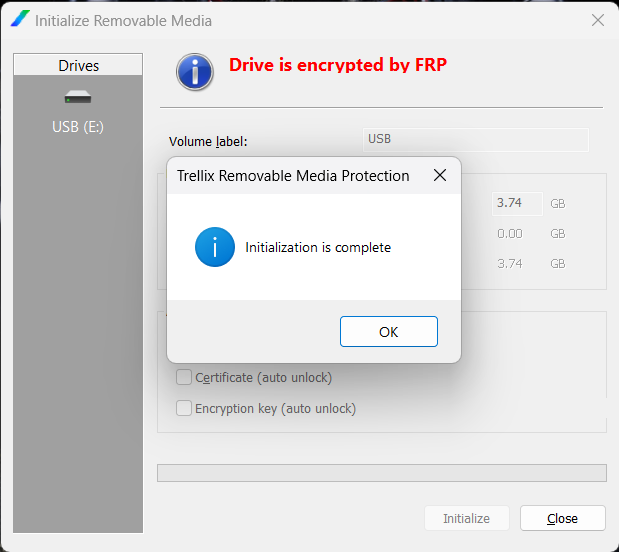
After a few time, USB is successfully encrypted.
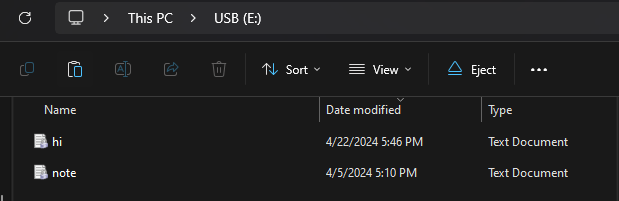
In the USB directory, each file icon is added with a lock
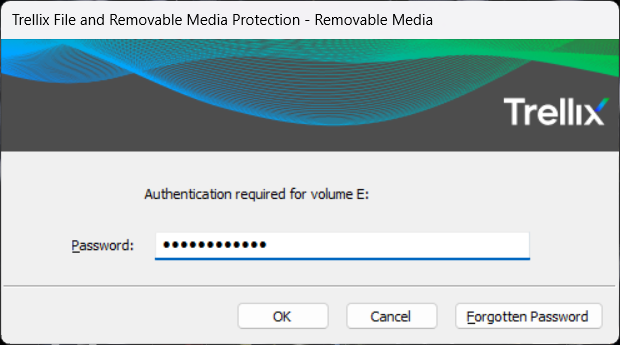
Plug in the USB again; a password is required to unlock the USB

Unlocking and scanning with Kiosk
To unlock and scan data from a Trellix password-protected USB, the Trellix File and Removable Media Protection client must be installed on the Kiosk machine. Please follow the steps in I. Install Trellix Files and Removable Media Protection (FRP) extension and client (eeff64.msi file)
Note:
Kiosk does not support wiping this type of encrypted device. This limitation is also mentioned in the product documentation for McAfee devices.
Users should not modify any Trellix management files in the Unprotected Files area, as doing so may cause unexpected behavior on the USB device.
Formatting the USB will return it to an unprotected state.