Prerequisites
Activation key
1TB Kanguru or Display
Windows workstation or laptop with internet connected
Download and install the latest VC-Redist (do it only once)
1. Wipe Drive
Warning — this erases all data on the Drive
Wiping removes all data on the MetaDefender Drive. Make sure you select the MetaDefender Drive and not another disk — selecting the wrong disk will erase that disk.
Quit MetaDefender Drive Toolkit (DTK) if running.
Remove the Drive from the computer.
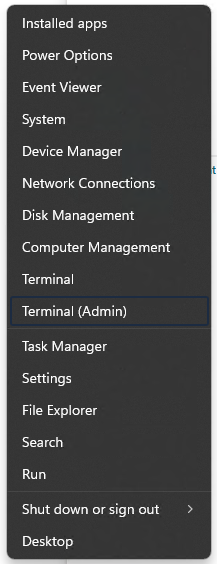
Open Windows command as Admin using Windows + X key combination, then select Terminal (Admin).
Run:
Get-Disk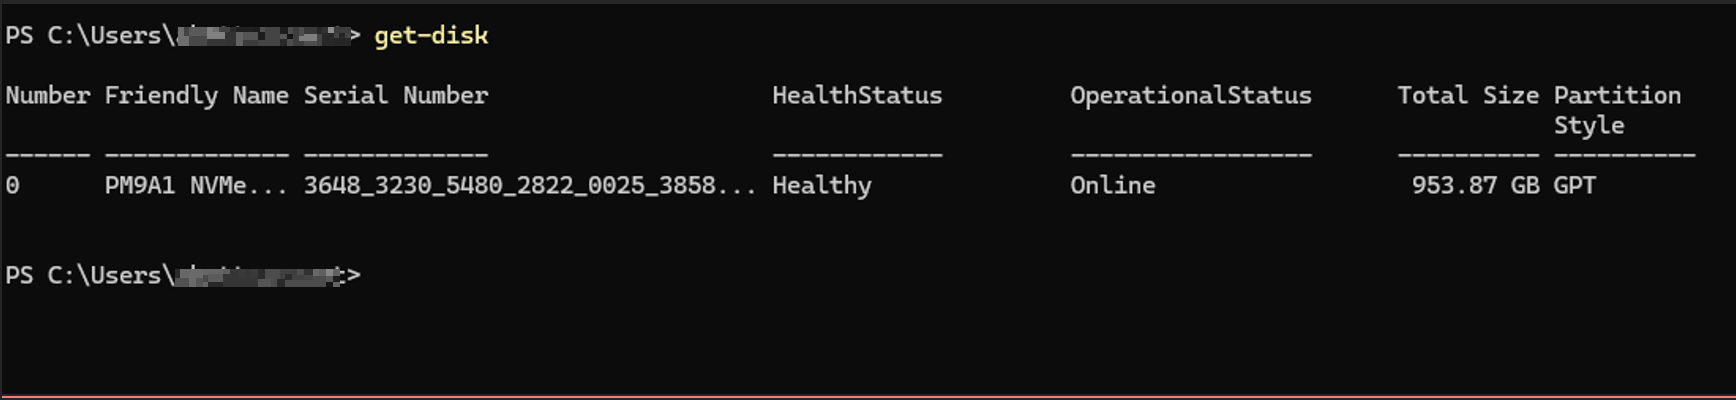
Insert the MetaDefender Drive.
Run again:
Get-Disk
Identify the new disk that appears when running the 2nd
Get-Disk. Note its disk number (in this case it is 1).Start
diskpartprogramUsing the number found above using
Get-Disk, select new disk MetaDefender Drive:select disk X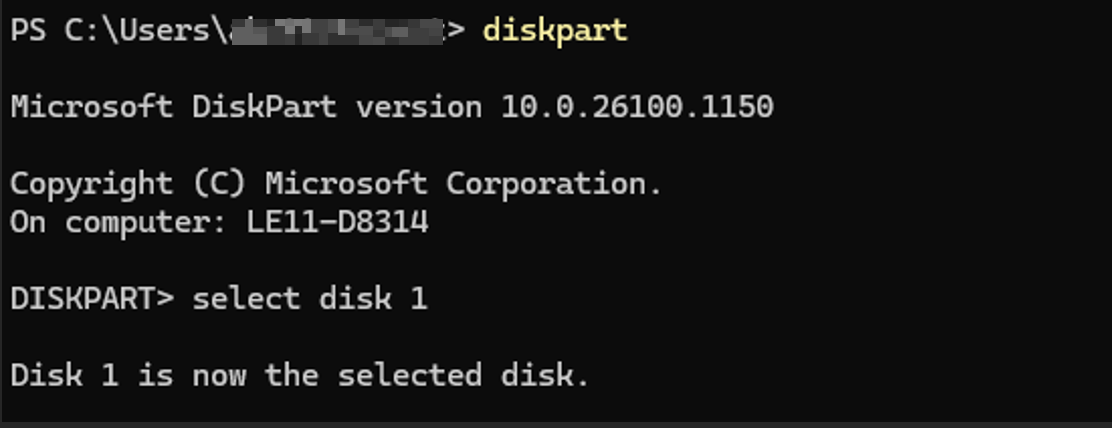
Run
detail diskand carefully verify the selected disk is MetaDefender Drive. Could be like below or similar: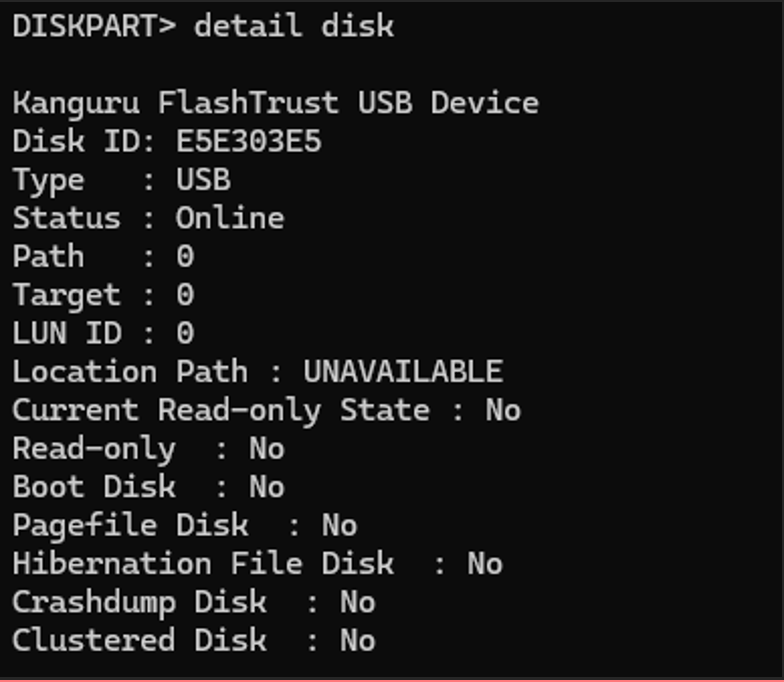
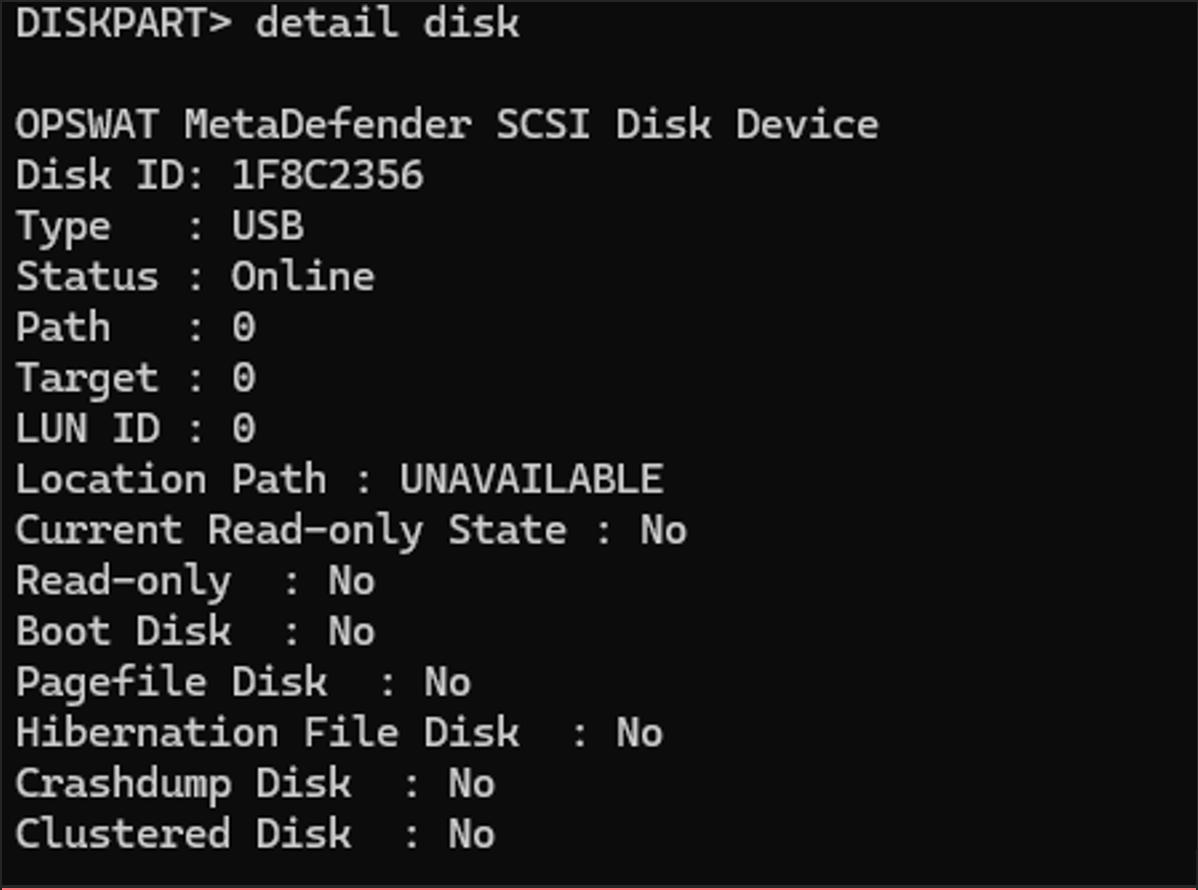
Then run the clean which will wipe the device:

2. Download and run MetaDefender Drive Toolkit
To download and initiate the MetaDefender Drive Toolkit, follow these steps:
Navigate to the My OPSWAT portal and download the MetaDefender Drive Toolkit.
Unzip the downloaded package.
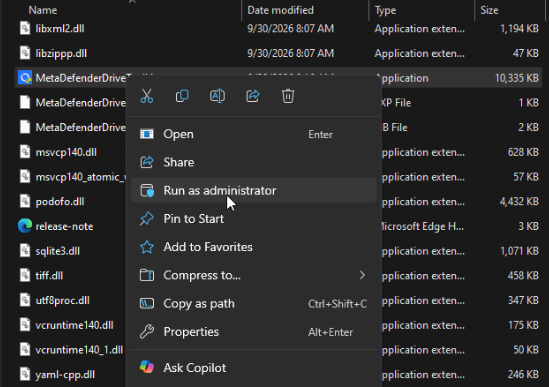
Locate the MetaDefenderDriveToolkit executable file on your device, right-click it, and select Run as administrator.
From Drive Toolkit, go to Advanced Options and download the latest version of MetaDefender Drive.
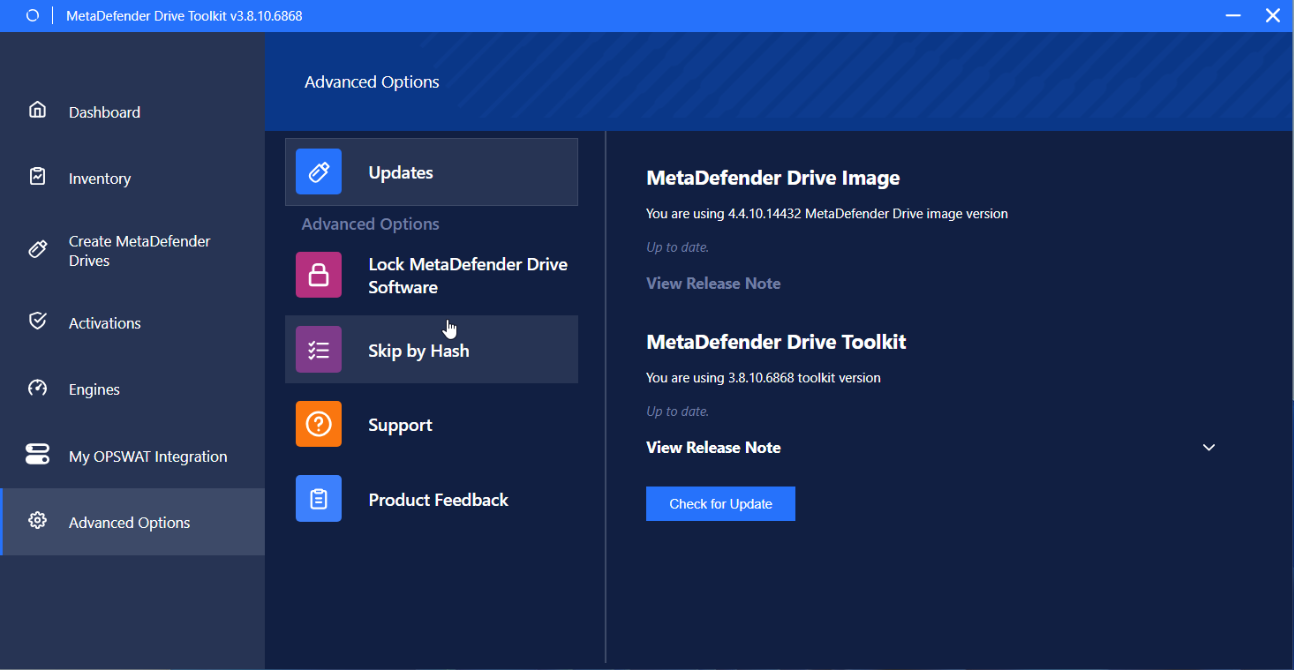
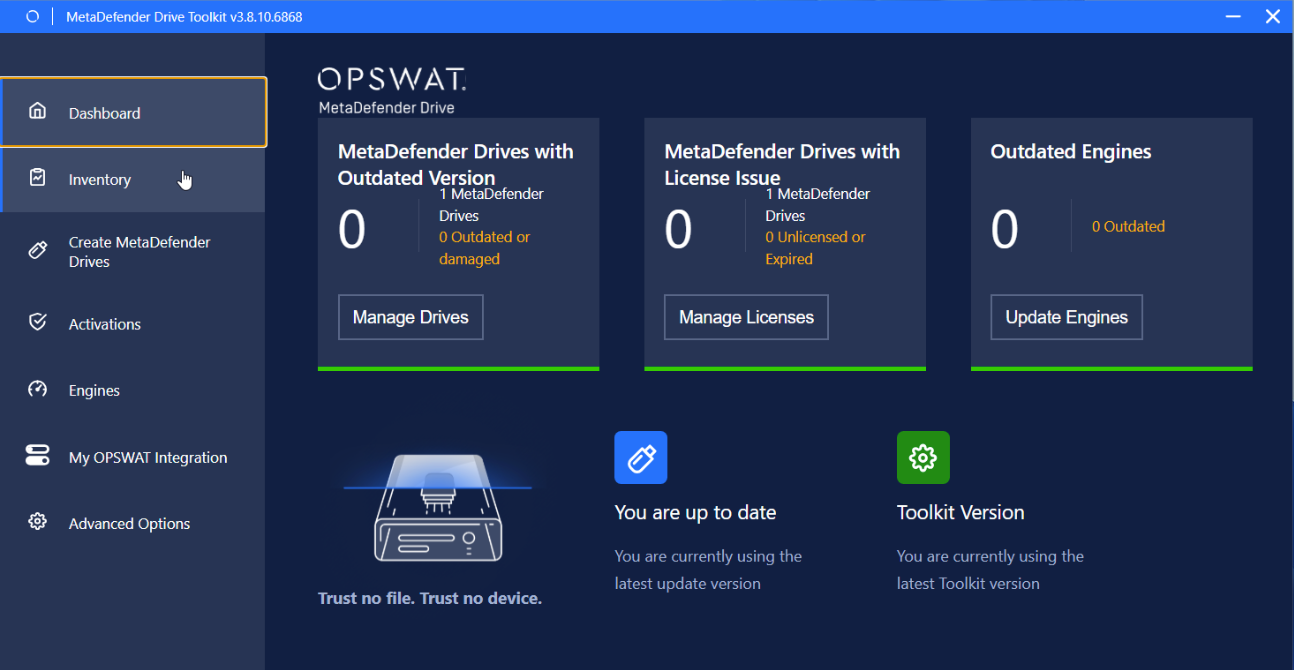
Plug the USB into the Windows machine. Ensure the drive appears and is detected; you should see a dashboard like this.
3. Install MetaDefender Drive using Drive Toolkit
When the new version downloads, go to Create MD Drives.
The list displays the storage capacity and the current version installed on each drive.
The MetaDefender Drive column indicates the status of each drive as Not installed, Flashed, or Flashed and activated.
Check the boxes next to the drives you want to flash or reflash with the latest software image, then click Confirm and Proceed.
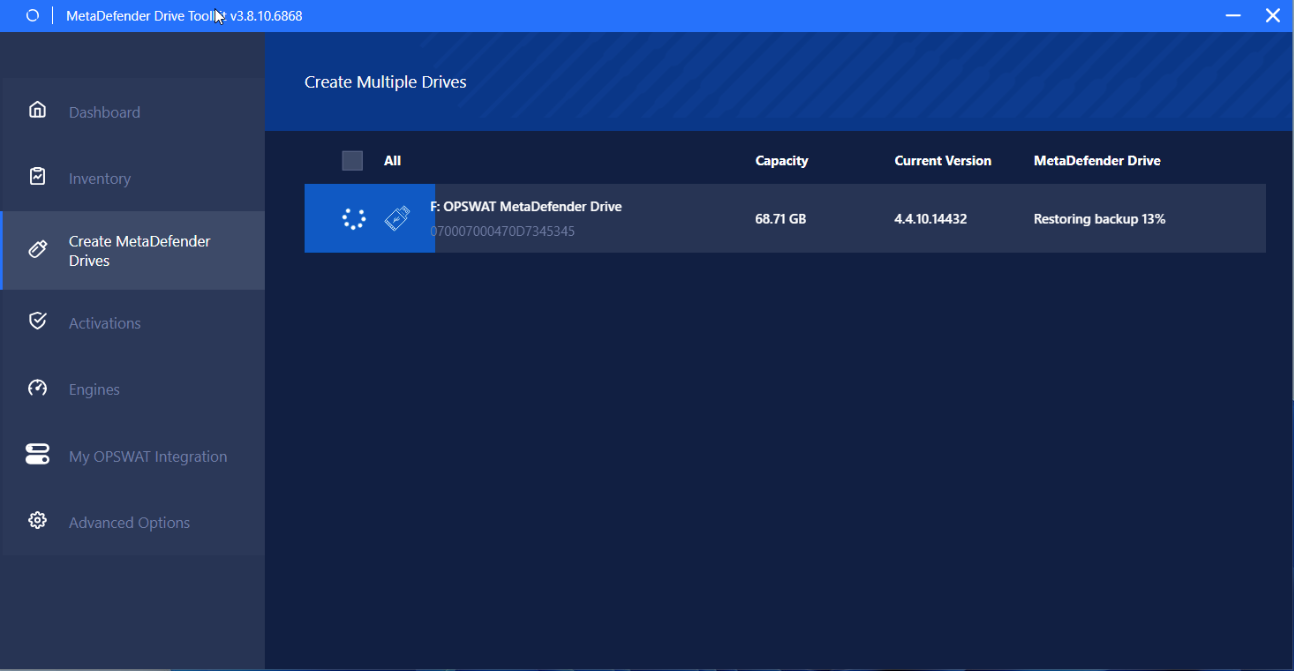
On the same page, track the progress of MetaDefender Drive Toolkit as it flashes the latest software image on your drives.
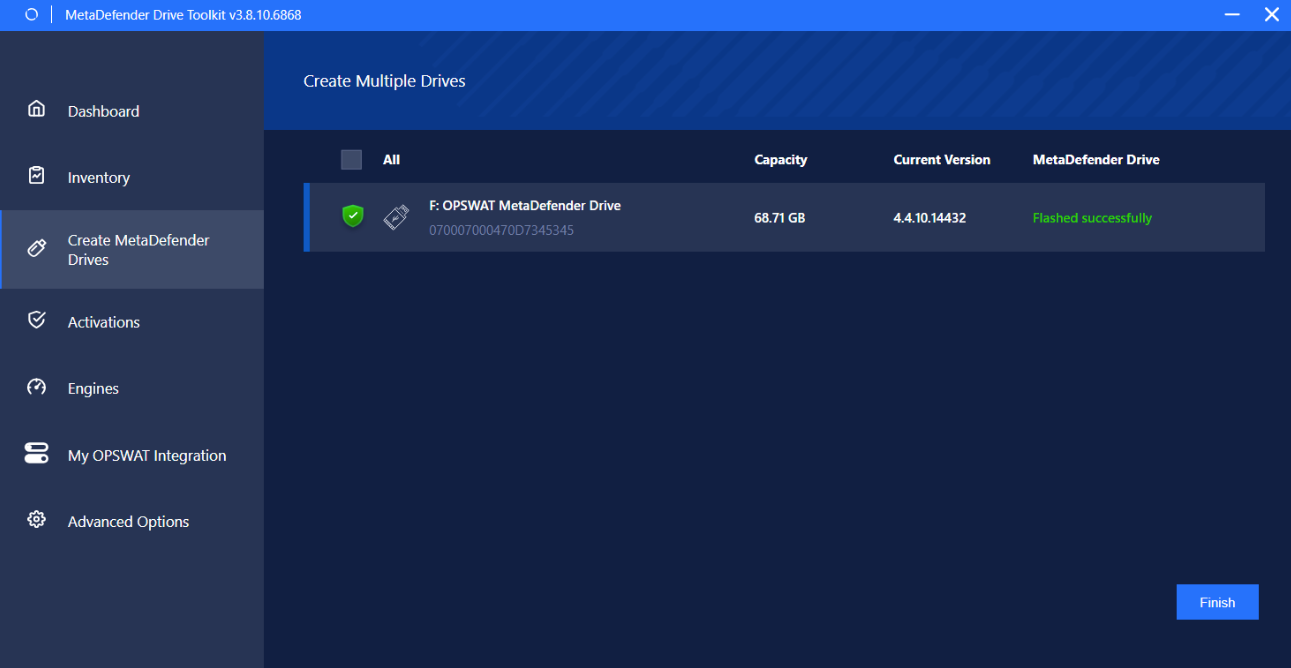
Once the flashing progress completes and the Flashed Successfully status appears, your drive will be ready to move to the next steps with Activation and Update Engines.