Run MetaDefender Drive In-Session
While your device OS is running, insert your OPSWAT MetaDefender Drive into the device's USB Type-A port.
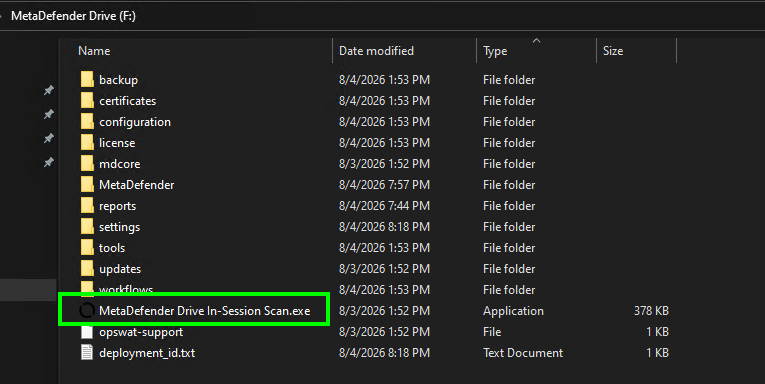
Navigate to the root folder inside the MetaDefender Drive partition and locate the MetaDefender Drive In-Sesion Scan.exe file
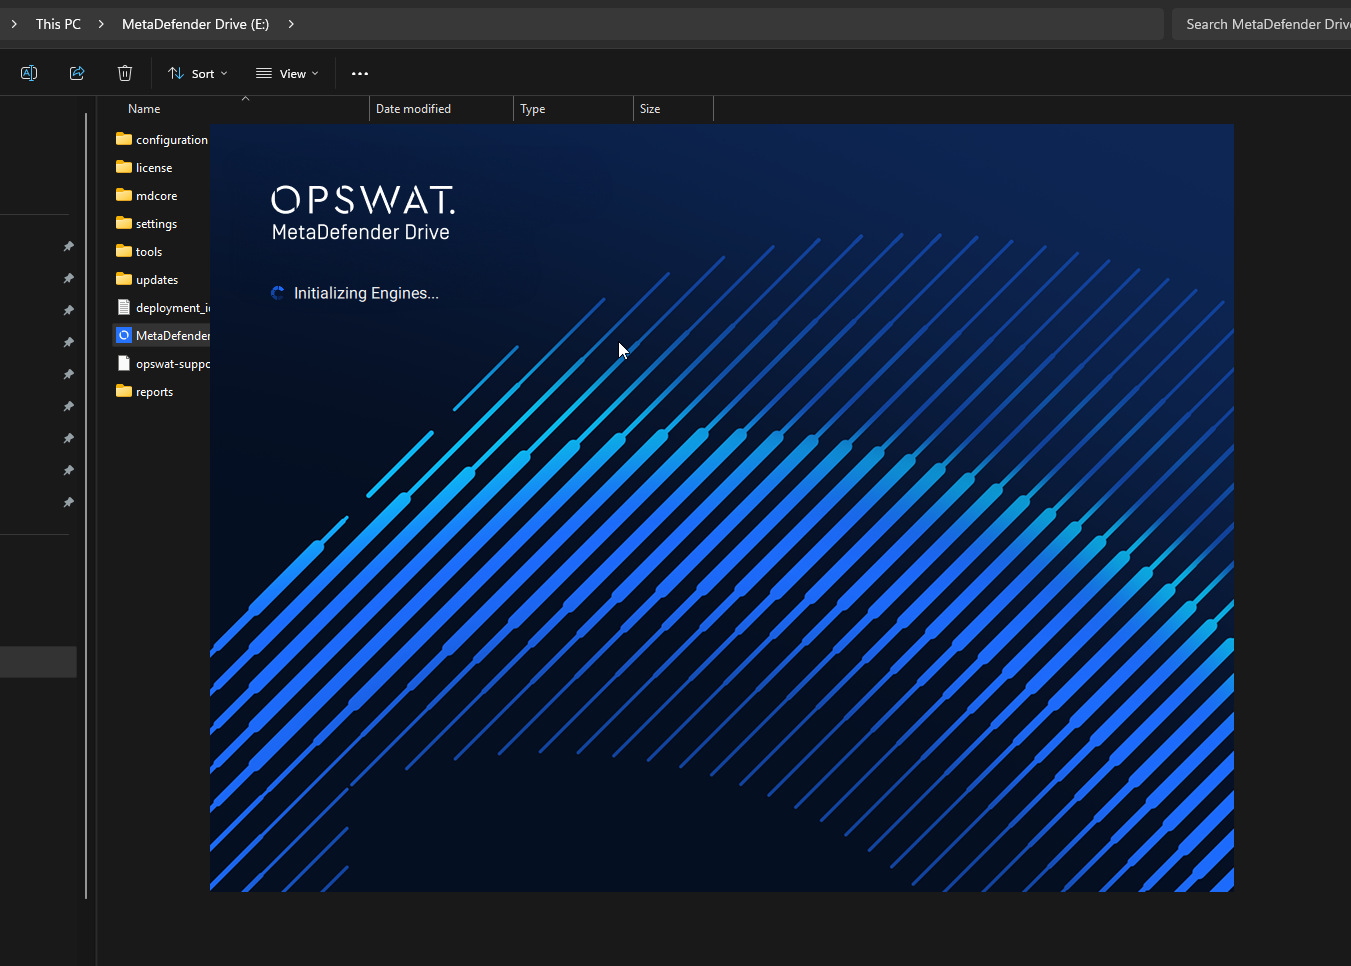
When click it, In-Session will initialize with a splashing screen
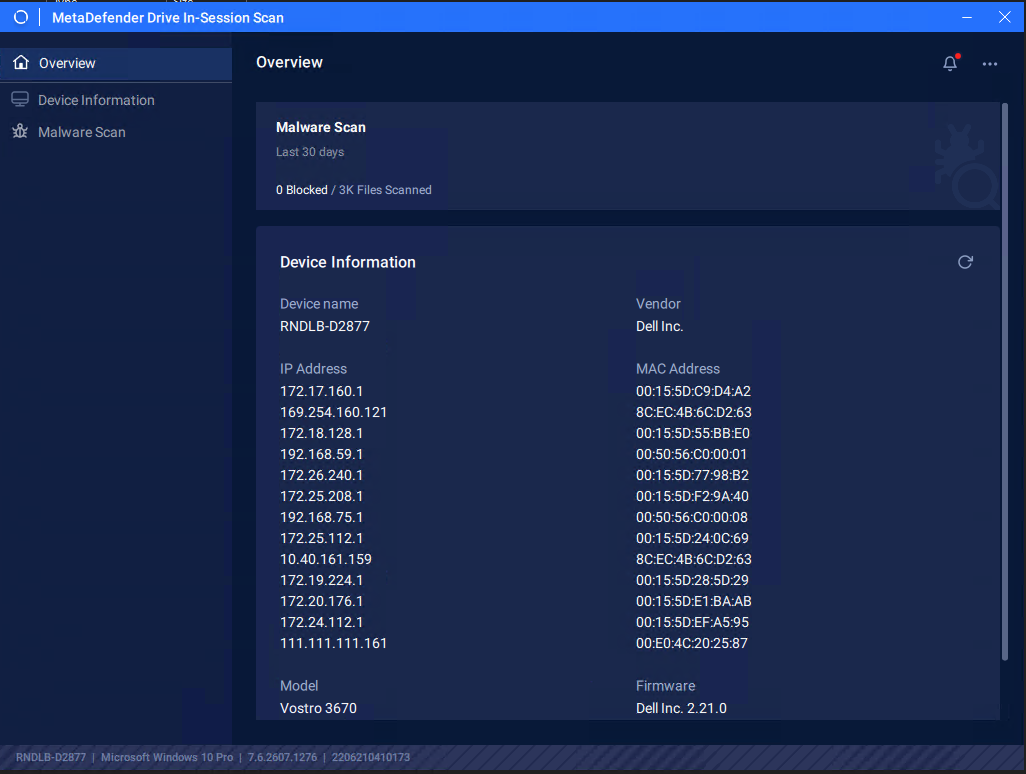
Then the application starts into Overview tab, showing the quick view of history in the last 30 days and the Device information. More details about the device will be reported in Device Information tab as well.
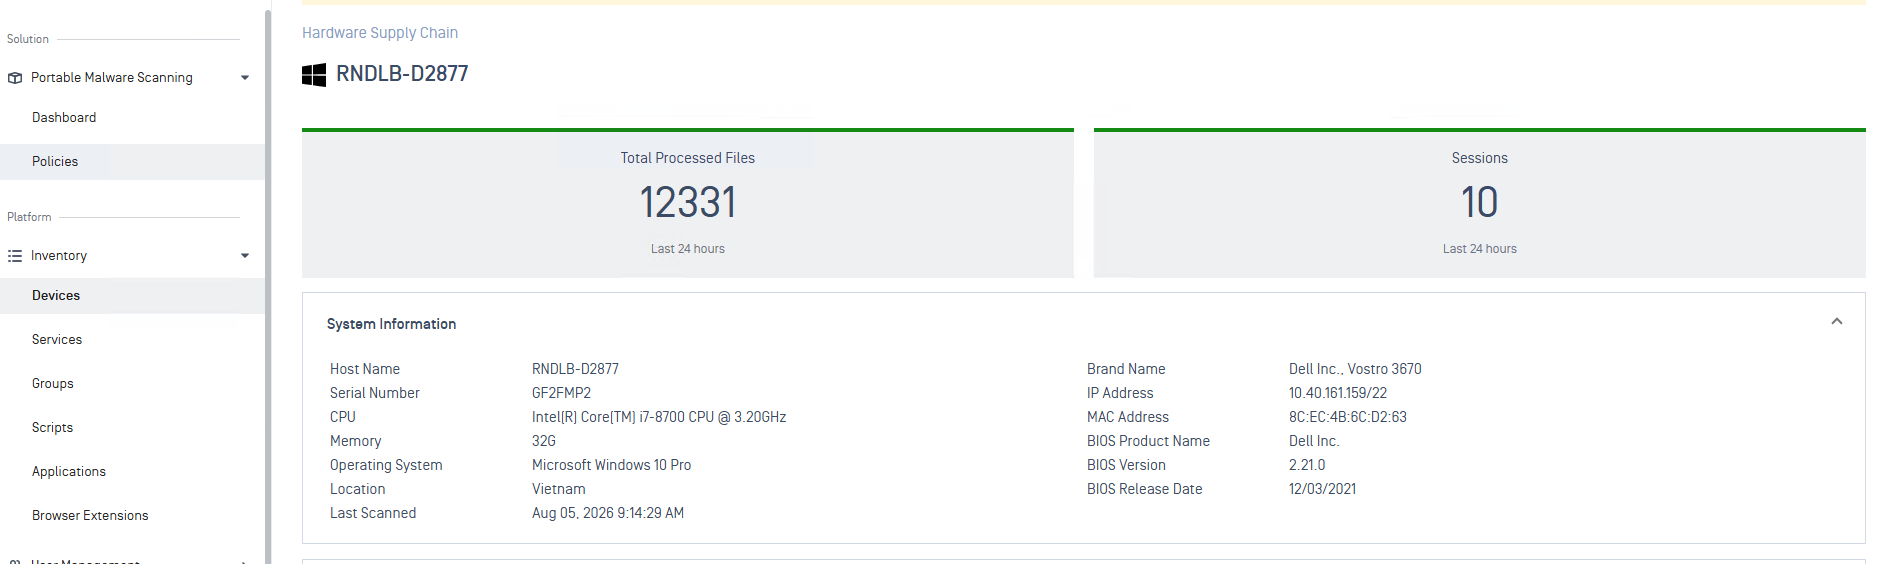
View collected information of the scanned devices from Central Management
If MetaDefender Drive is enrolled and managed by Central Management, after reports are synced, from Central Management, navigate to Solution → Portable Malware Scanning → Dashboard → Scanned Host. Click a scanned host, the collected information will be shown under System Information.
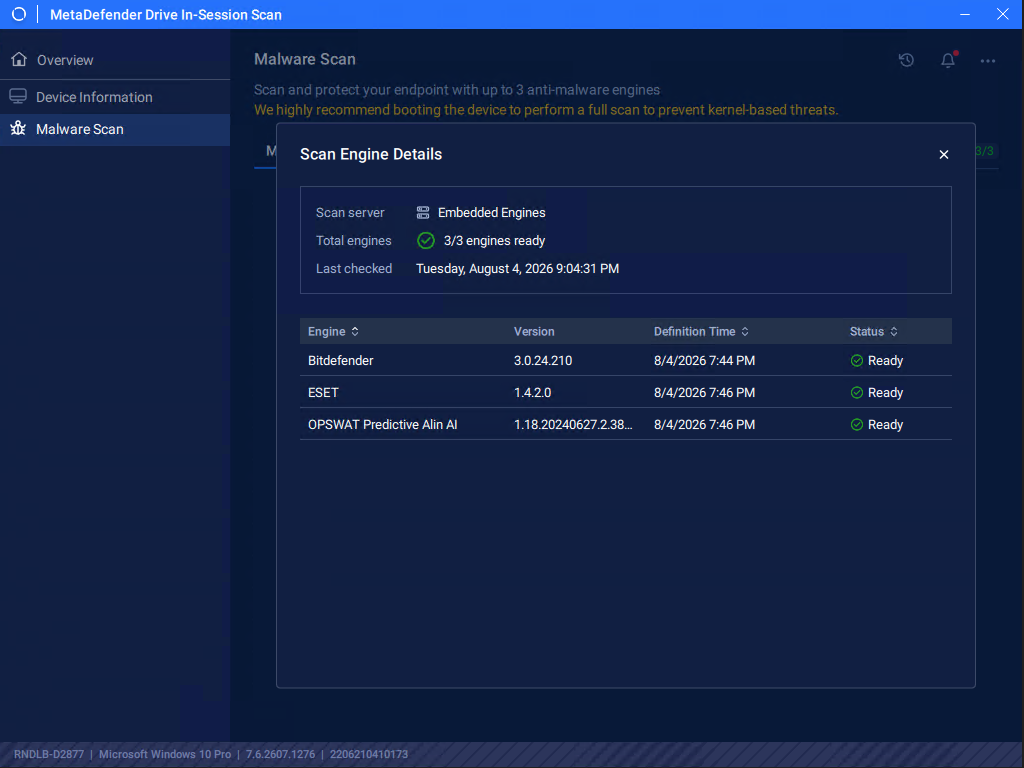
Click Malware Scan tab, you will see all of scan modes available for MetaDefender Drive In-Session
Wait until all of the embedded engines display the Ready status. Click the (i) icon to see the embedded engines provided with the version. Those engines are only available after Drive has been updated either by Drive Toolkit or by Update from Drive's UI.
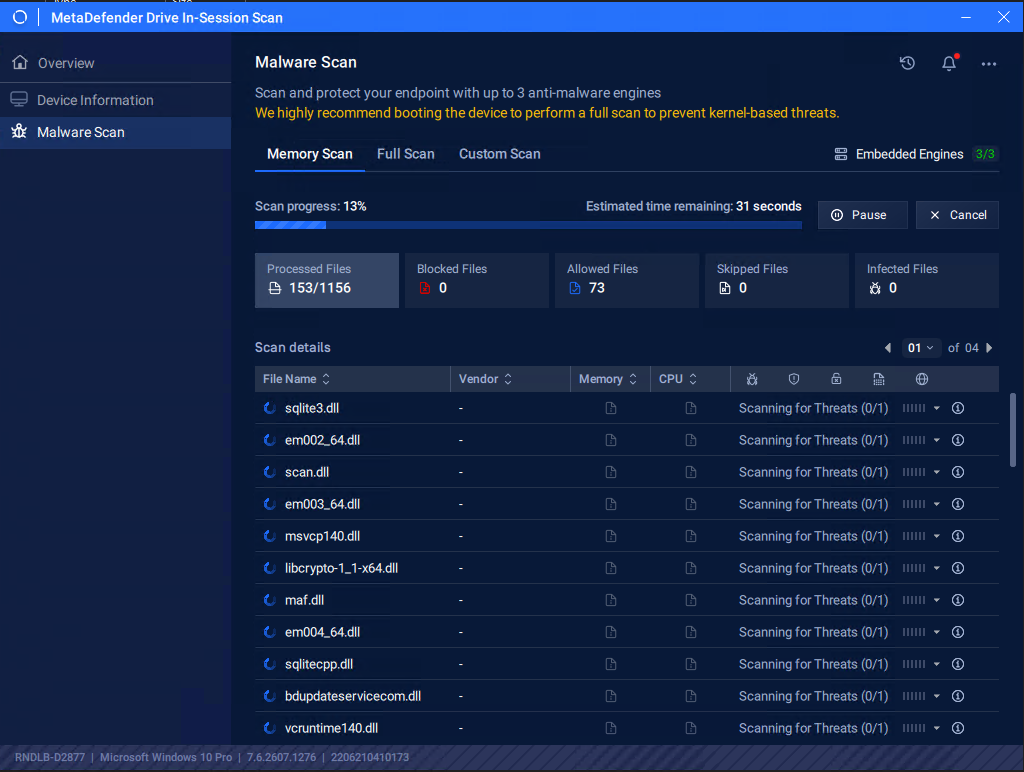
Memory Scan
To scan all the libraries loaded into the memory:
Click the Memory Scan tab, then click Start
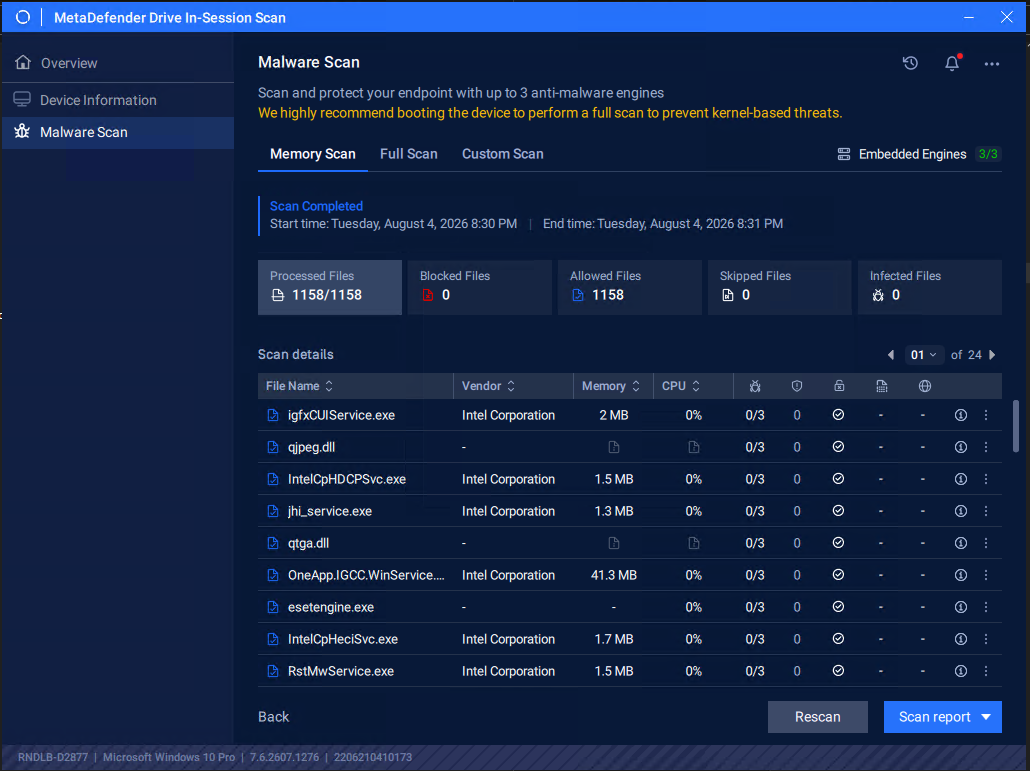
Once the scan is completed, the results of scanning all the libraries loaded into the memory will be displayed.
Full Scan
To run a full system scan:
Click the Full Scan tab, then click Start
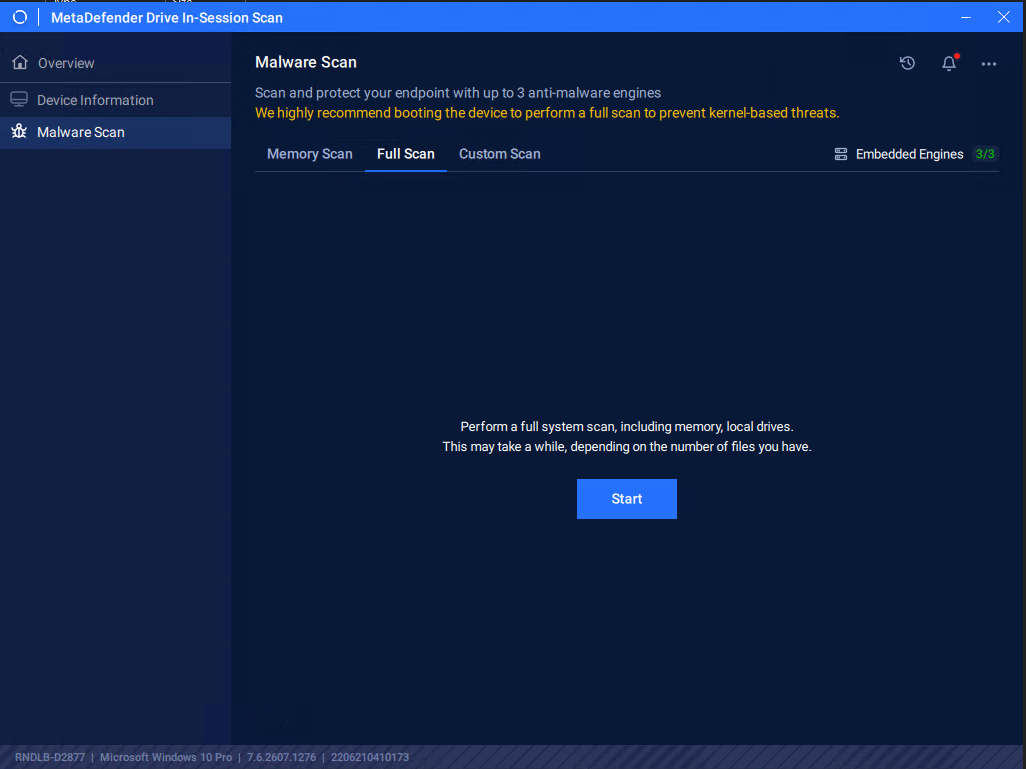
After scan completes, the full scan report will show:
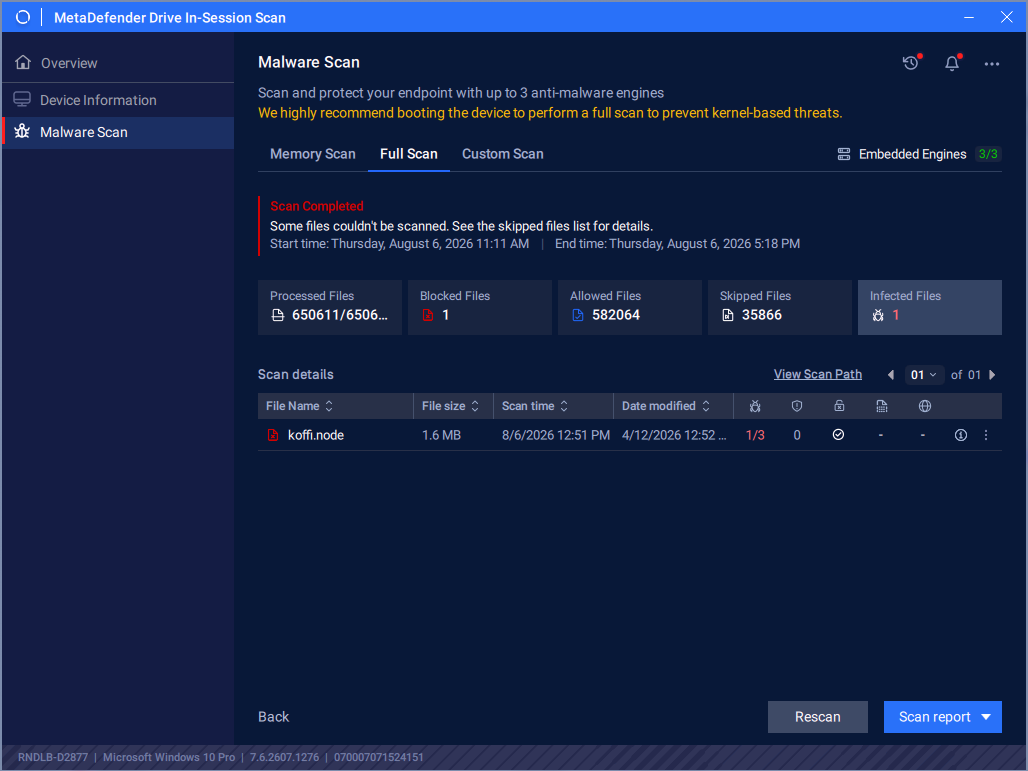
Custom Scan
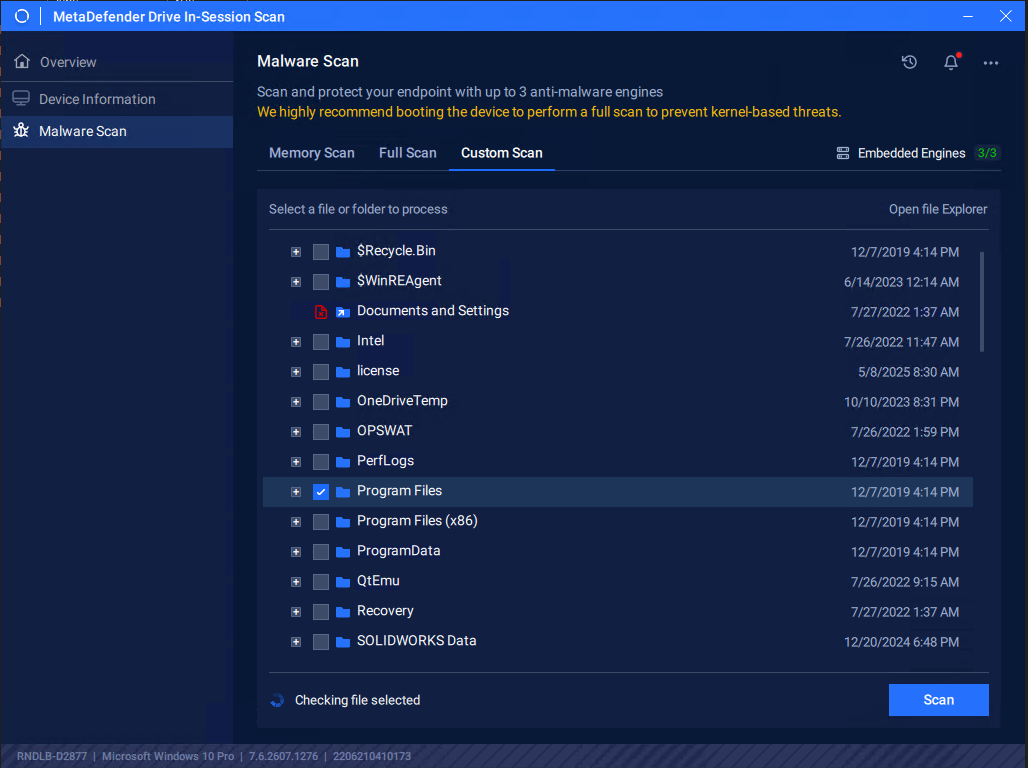
To select specific partitions, folders, or files to scan:
Click the Custom Scan tab, select the paths you want to include in the custom scan, then click Start.
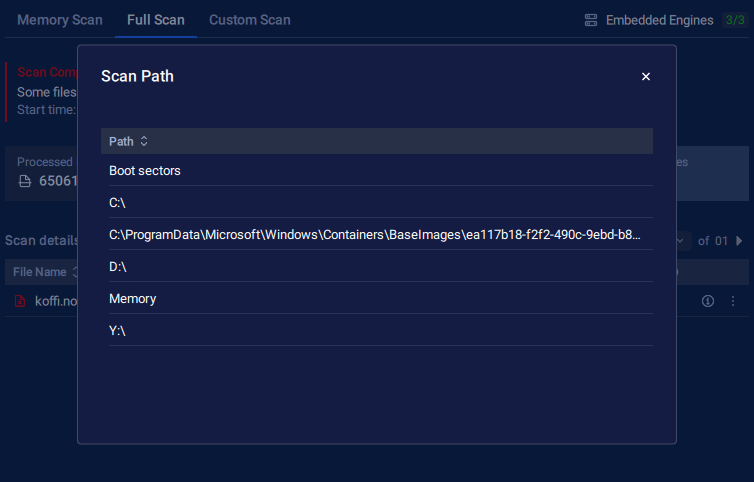
When a Scan is in progress, you can click View Scan Path.
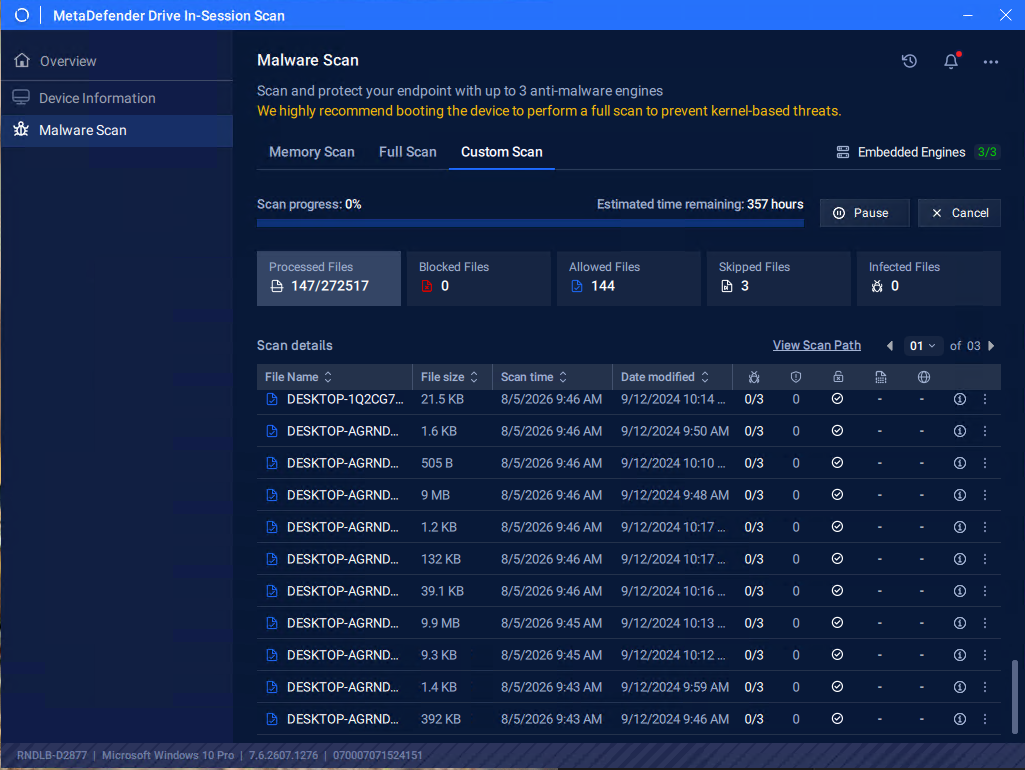
It will open a popup to view what directories are under scan session
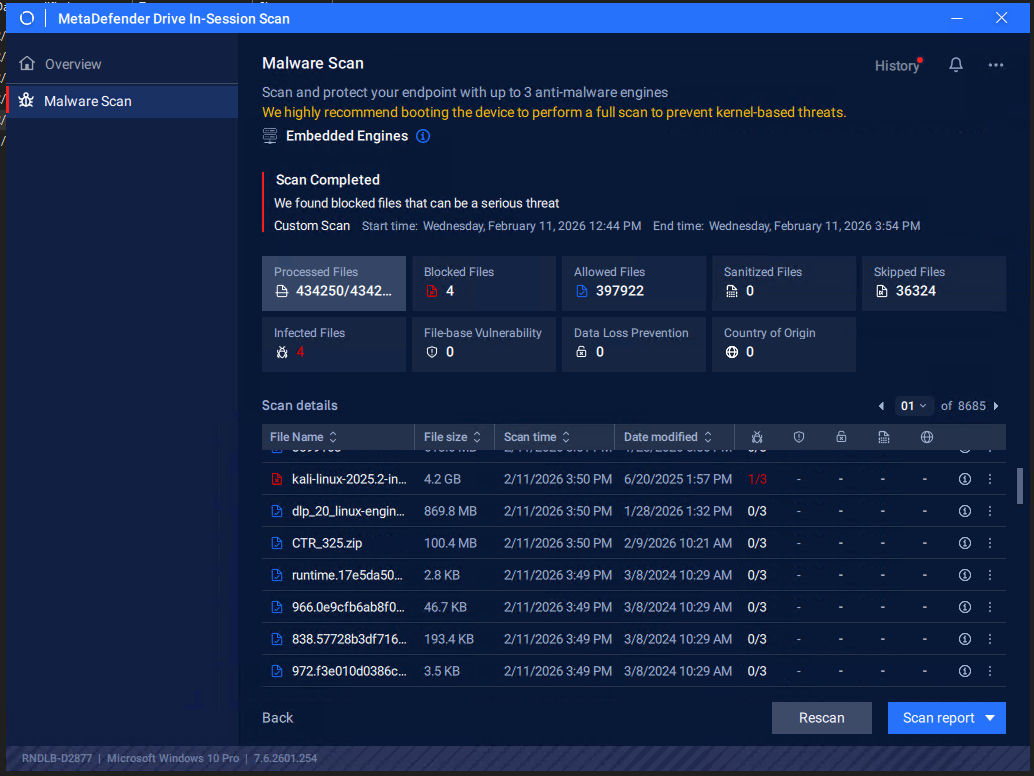
Once the scan is completed, the detailed results of the selected paths will be displayed, as in the following screenshot displaying scan results of C: and D: partitions on Windows 10