This section shows you steps to integrate with GSuite for SDP end-users authentication into MetaDefender Endpoint.
These instructions assume that the MetaDefender Endpoint is installed, and that your device is part of a MetaDefender IT-OT Access group with SDP enabled.
Please note: Google estimates that any changes made via the Admin Console can take up to 24 hours to propagate. If your changes do not take effect after 24 hours, please contact Google Support.
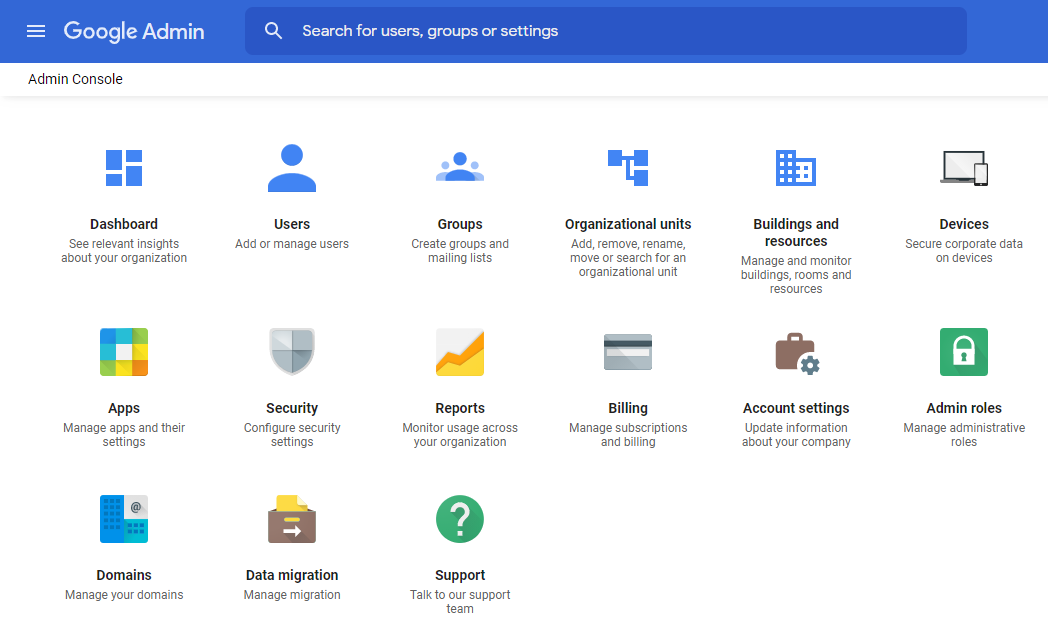
Log in to your Google admin console and click on “Security” > “Context-Aware Access”.
Click Access Levels, then “CREATE ACCESS LEVEL”.

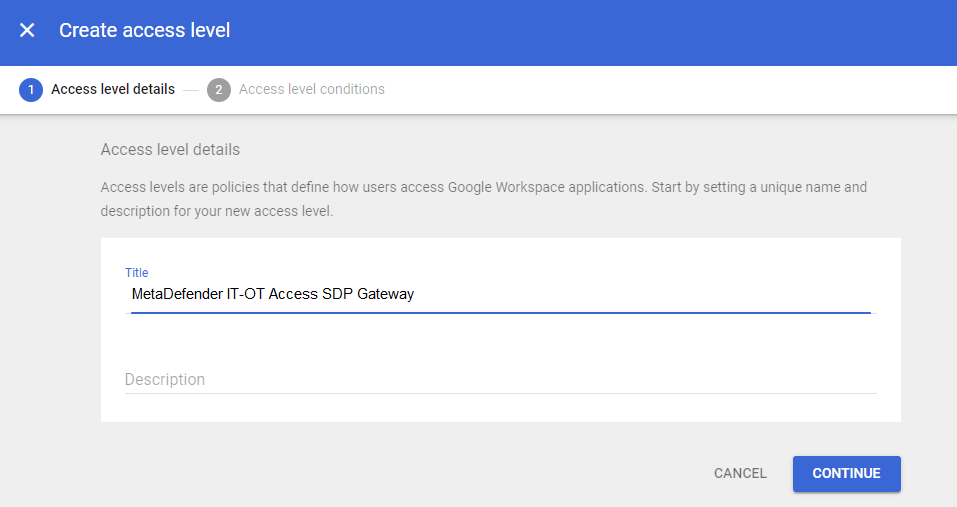
Give the new rule a name, like “MetaDefender IT-OT Access SDP Gateway” and click “Continue”.
Ensure the “Meets these conditions” radio button is selected, and click “Add attribute”.
From the left side pick menu, choose “IP Subnet”. On the right, enter the outside IPs of your MetaDefender IT-OT Access SDP Gateways, comma-delimited.
If you are using the OPSWAT Hosted Gateway, enter the single IP, 52.14.220.48 instead.
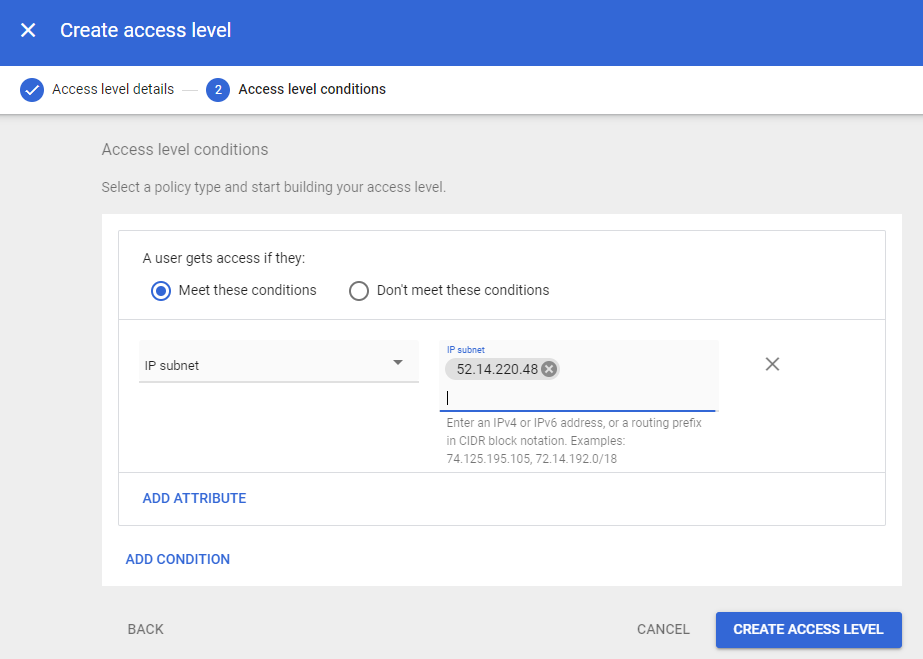
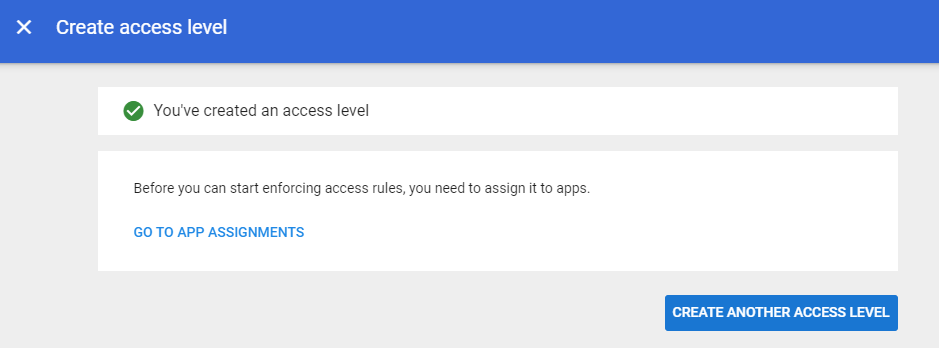
Click “Create Access Level”. You should see a green check next to “You've created an access level“.
Go back to the main Admin interface and click on “Security” > “Context-Aware Access” > “Assign Access Levels”.
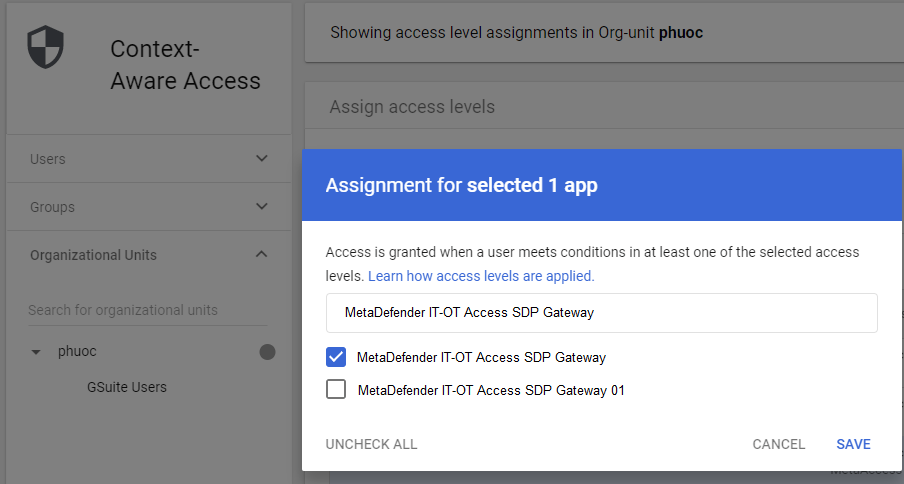
Check the selection box to the left of the apps you want to control.
Important: For initial testing we recommend selecting a single app that’s not critical to your operations. Once we verify connectivity to that app, you can come back to this interface and add the Access Level to other apps at your convenience.
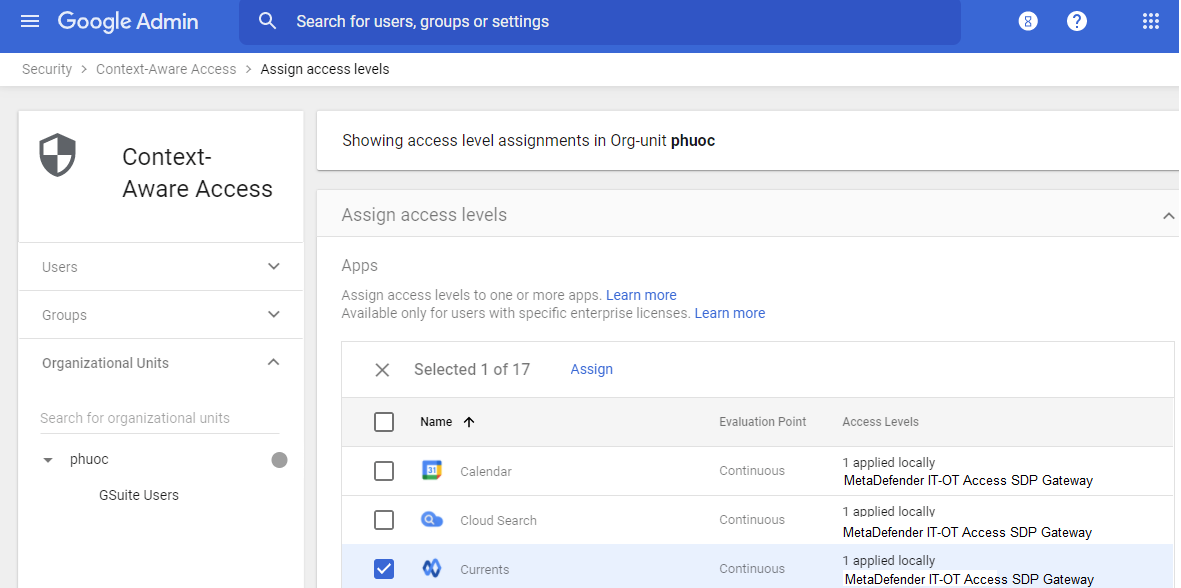
Click “Assign” at the top of the app list, then choose the Access Level you want to apply and click “Save”.
In the “Access Levels” column, you should now see your new Access Level applied to the app(s) of your choice.
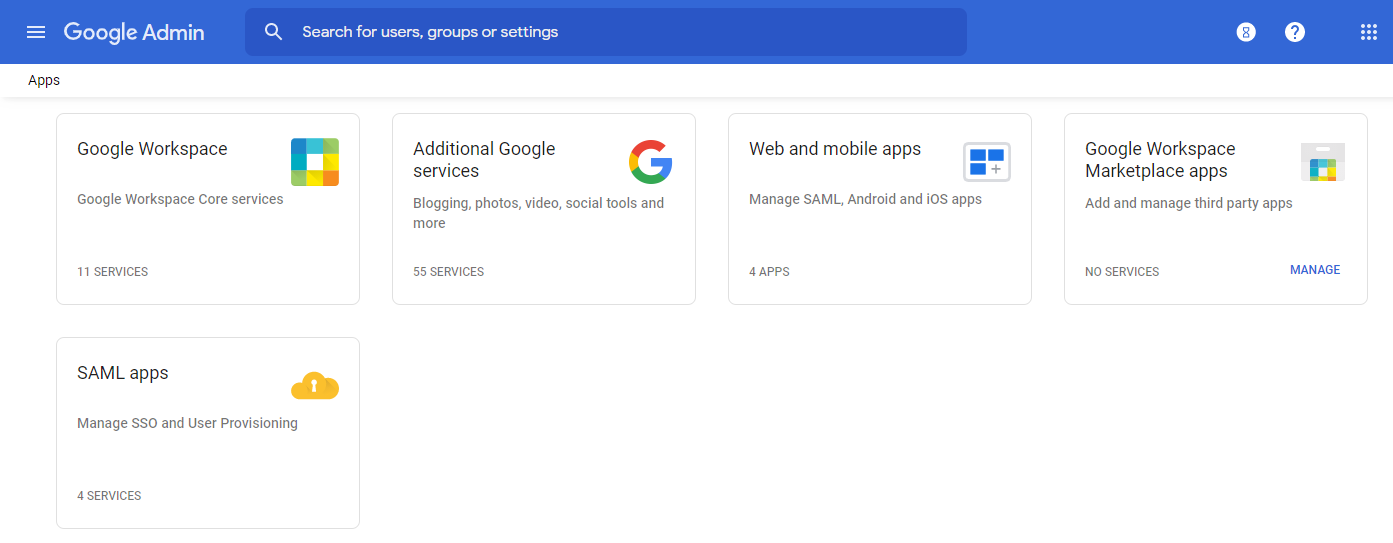
Go back to the main Admin interface and click on Apps, then SAML Apps.
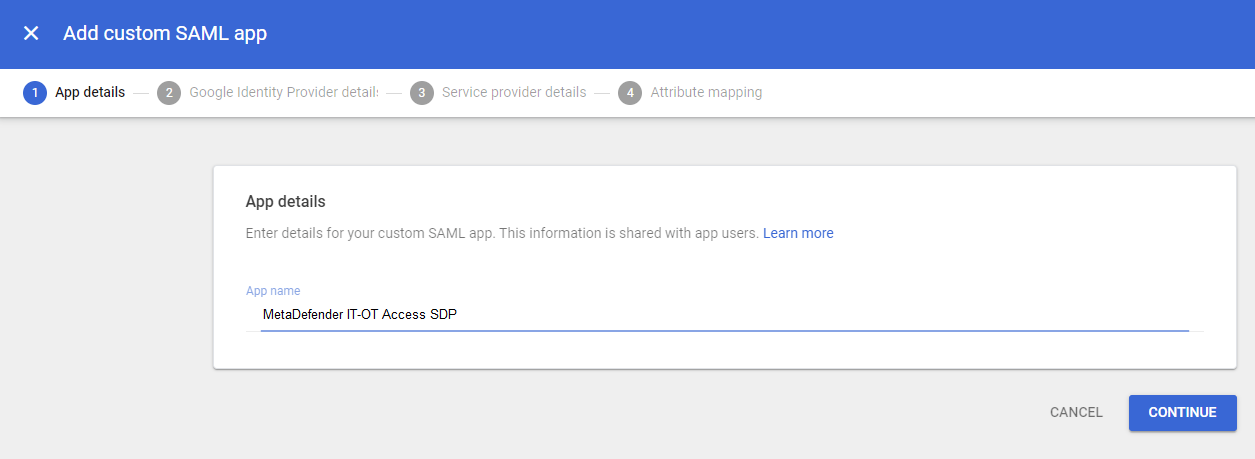
Choose “Add App”, then “Add custom SAML app”.
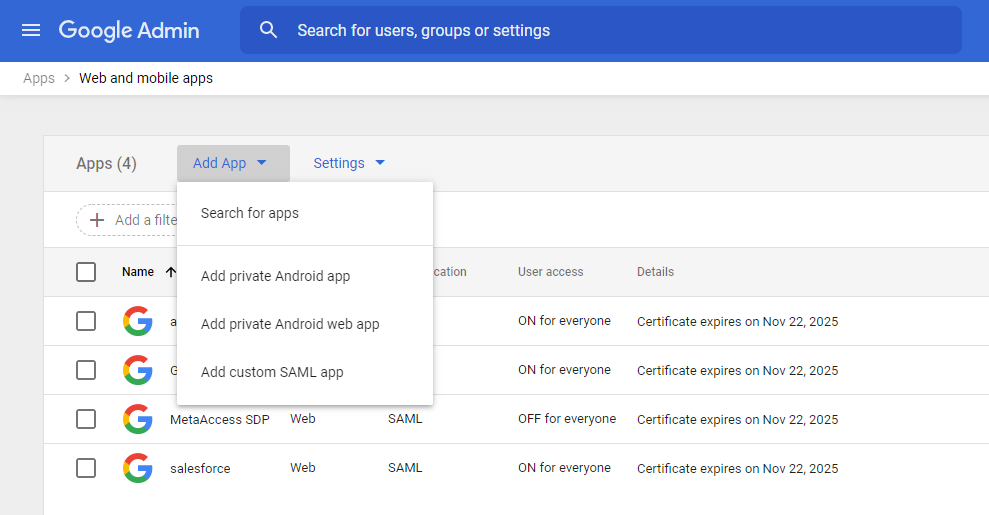
Name your app, e.g. “MetaDefender IT-OT Access SDP” and click Continue.
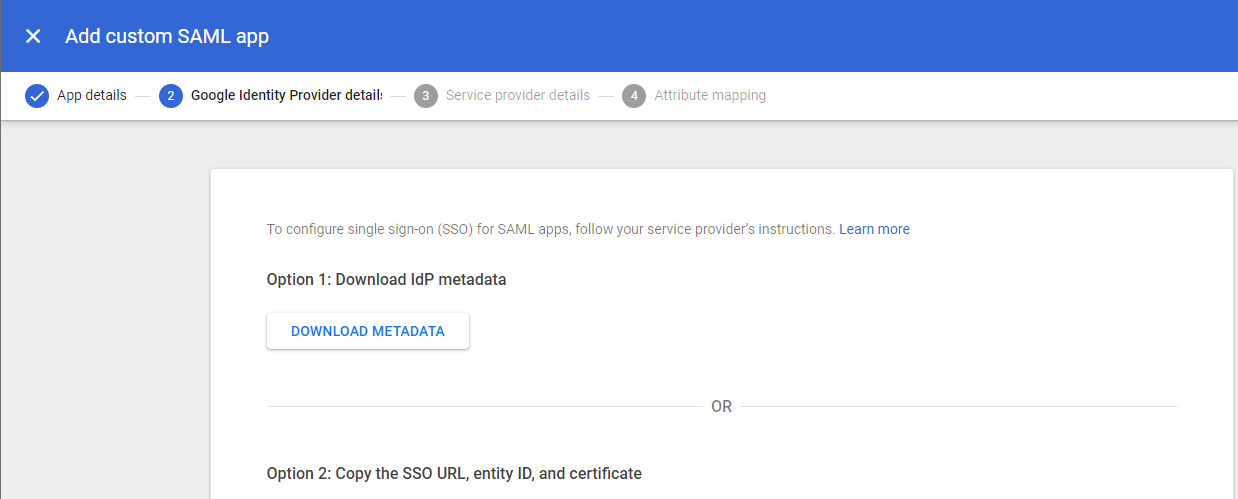
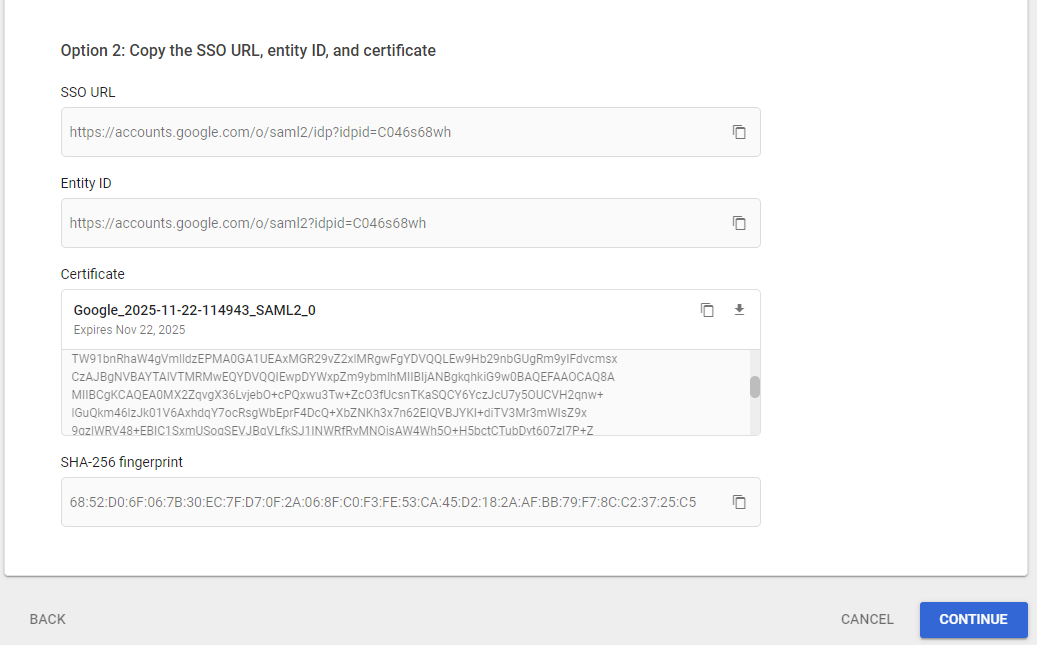
Click “Download Metadata”, then Continue.
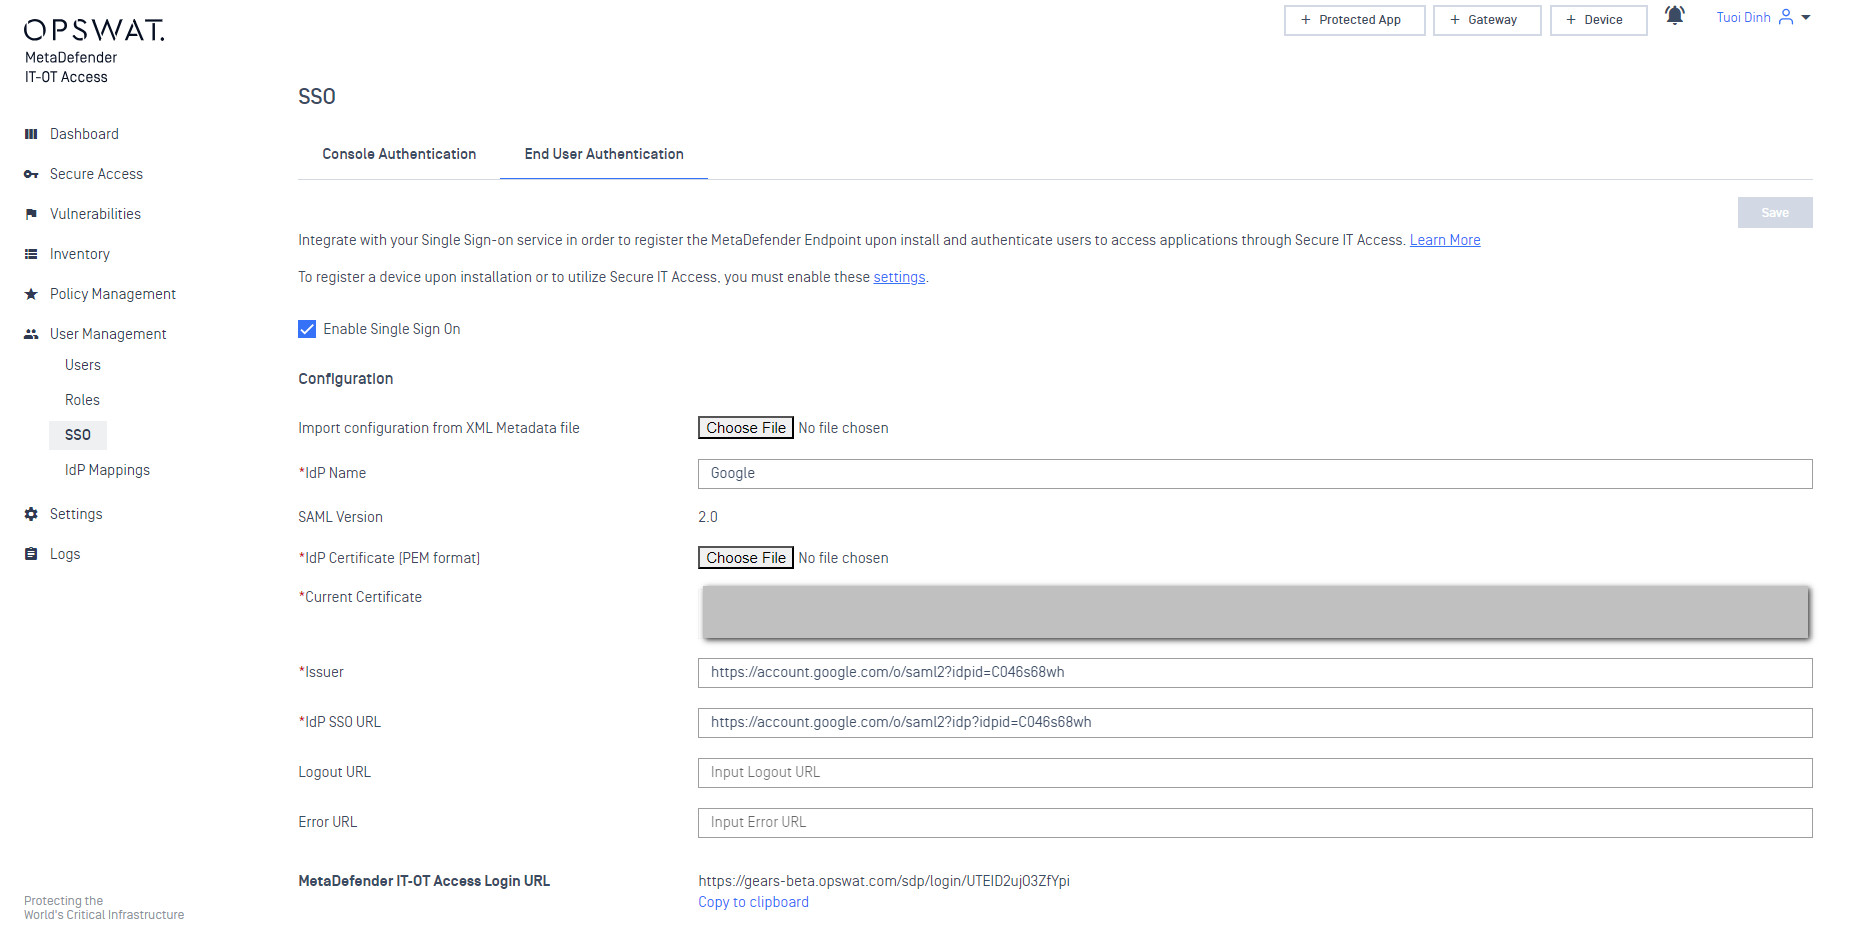
Open your MetaDefender IT-OT Access console and click on “User Management” > “SSO” > “SDP “.
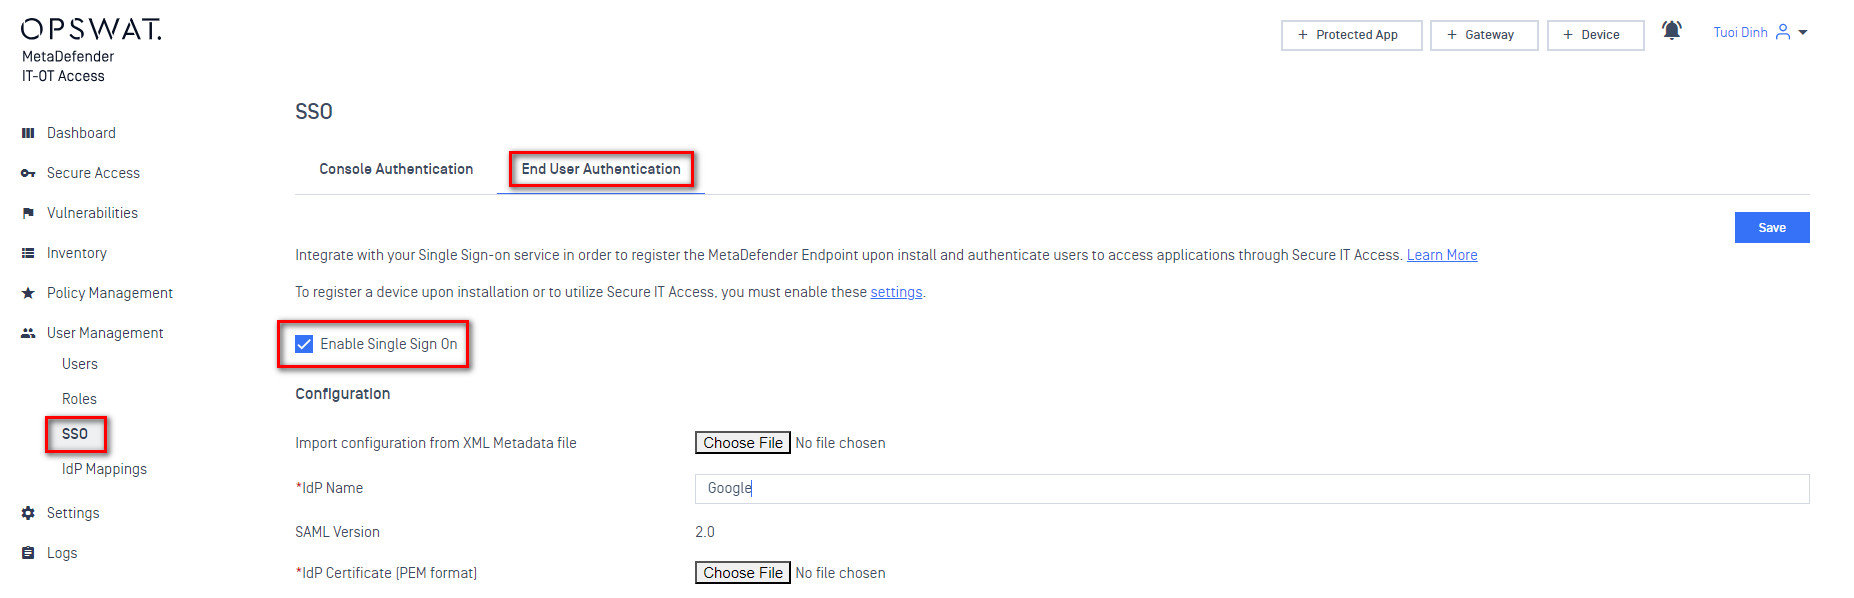
Next to “Import configuration from XML Metadata file“, click “Choose File” and upload the Google metadata.
Copy the URL next to “MetaDefender IT-OT Access Login URL“, enter “group” in the “Group Attributes” box, and click Save a the top right.
Go back to the SAML app in Google and paste this URL as the “ACS URL”, then enter “metaaccess-sdp“ as the “Entity ID”. All other values can remain default.
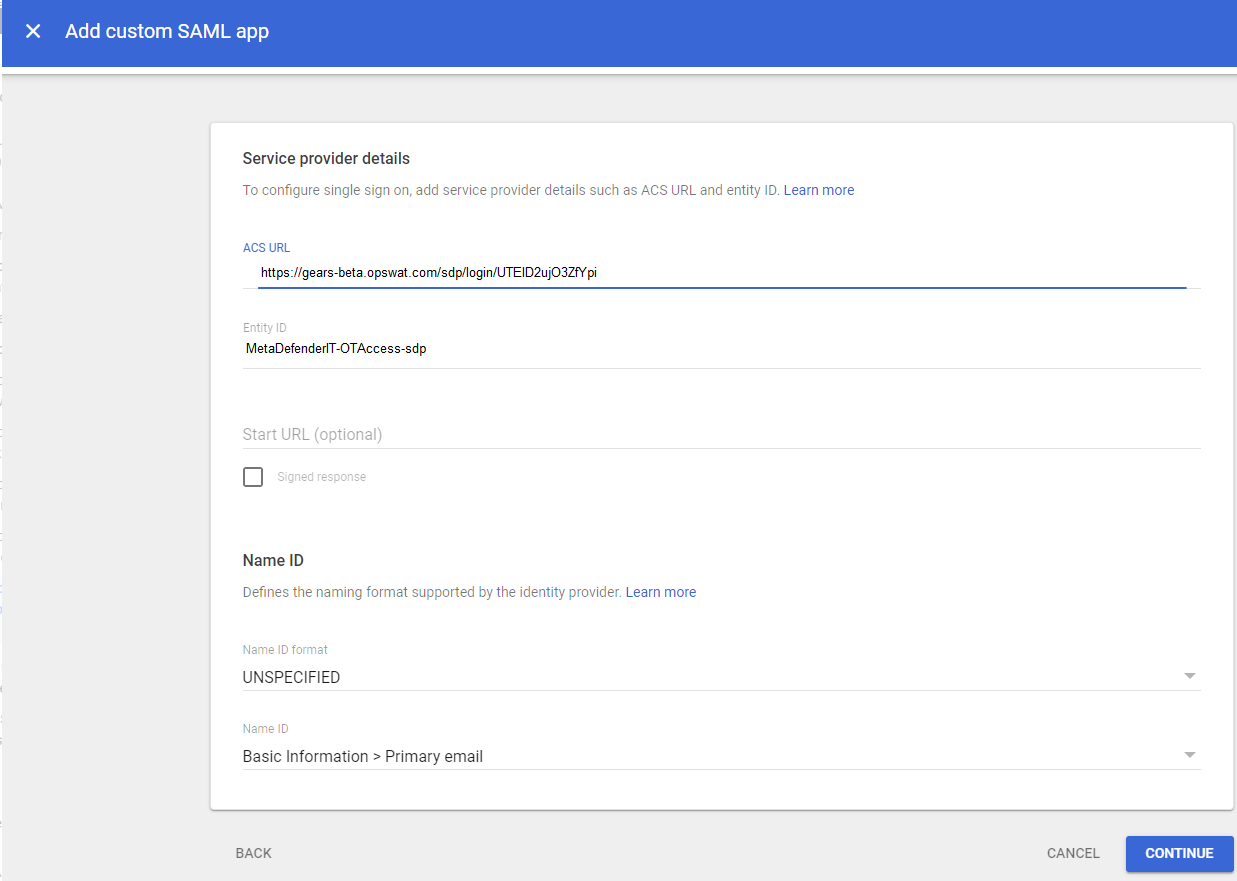
Click Continue.
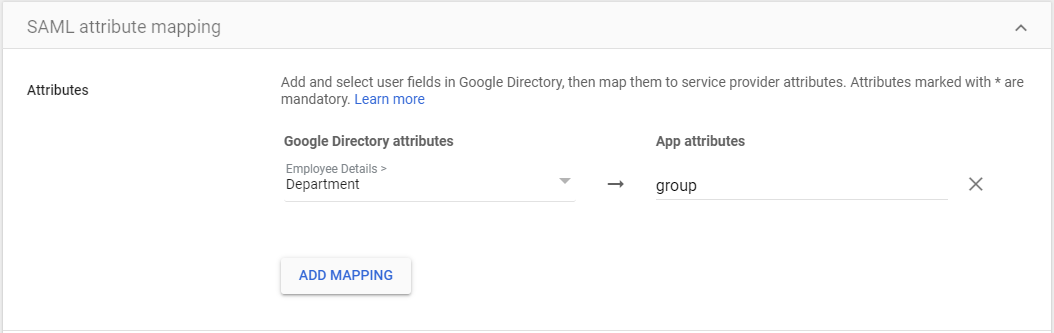
Click “Add Mapping”.
Under “Google Directory attributes“, click “Select Field”, and choose “Employee Details” > “Department”.
Under “App attributes“, enter “group”, and click “Finish”.
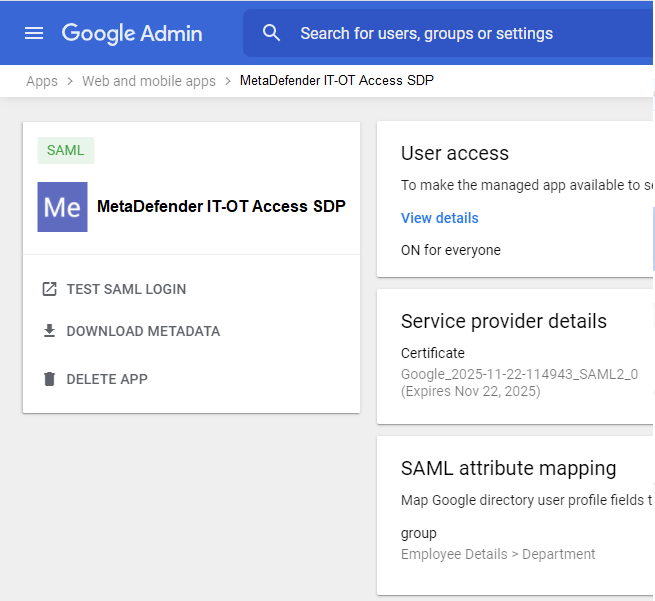
This will bring you to the App details. In the “User Access” card, click “OFF for everyone”
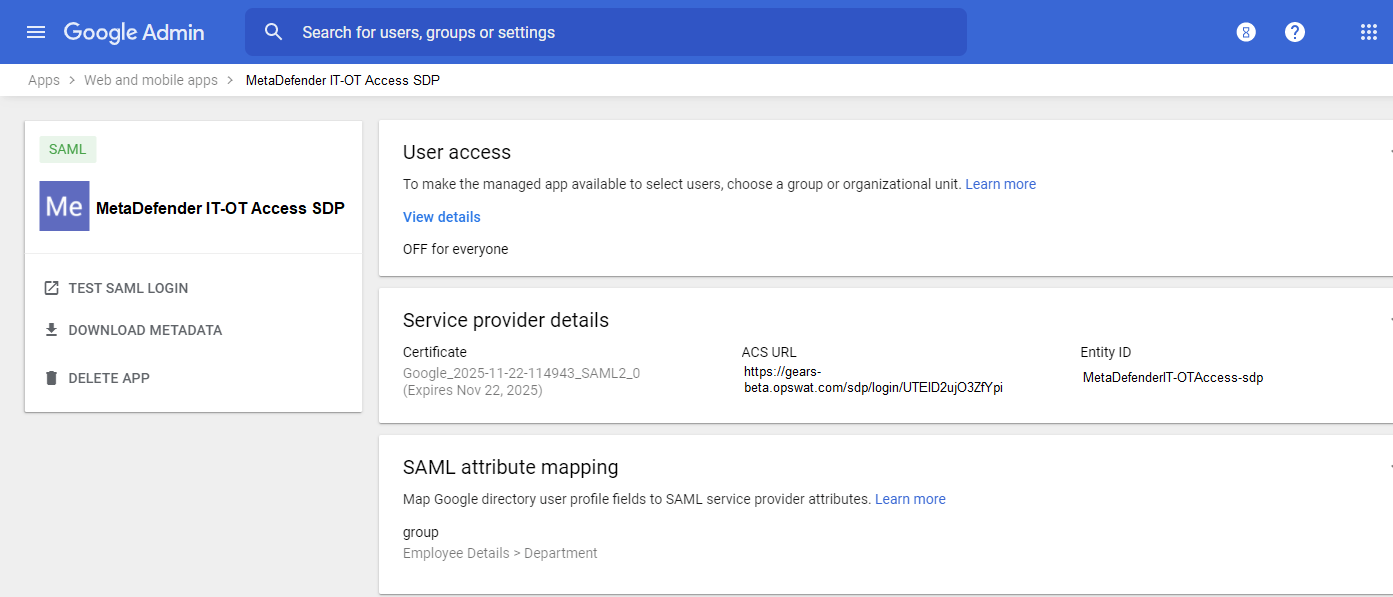
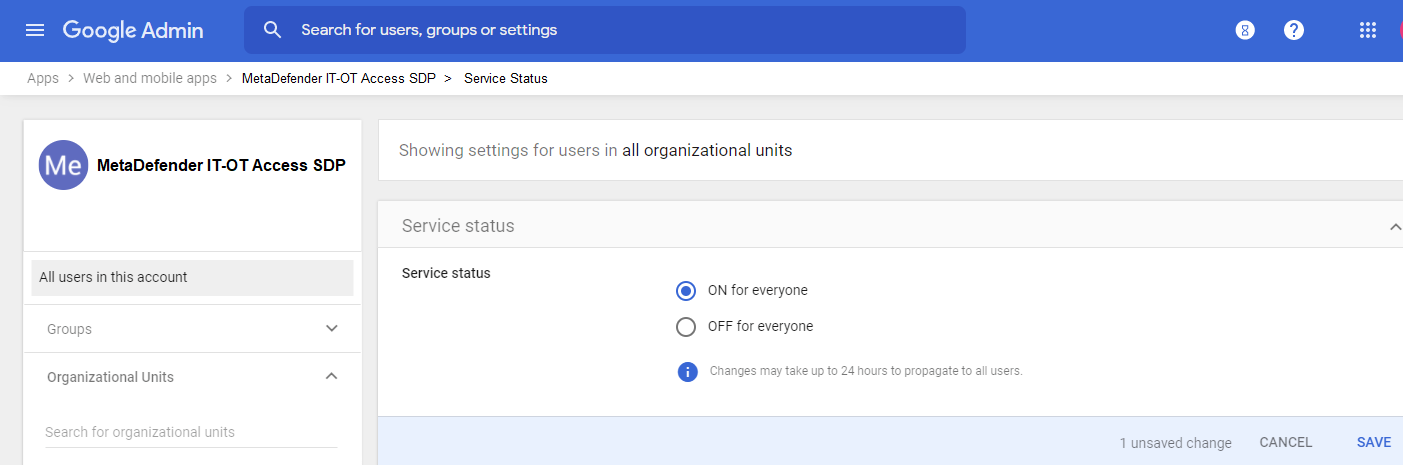
On the Service Status page, click “On for everyone”, then click “Save”.
Navigate back to your new app and click “TEST SAML LOGIN”.
This will open a web browser and prompt to allow launching the MetaDefender Endpoint.