Add Relying Party Trust for ADFS
In the top right corner of Server Manager, click Tools and select AD FS Management from the drop-down list.

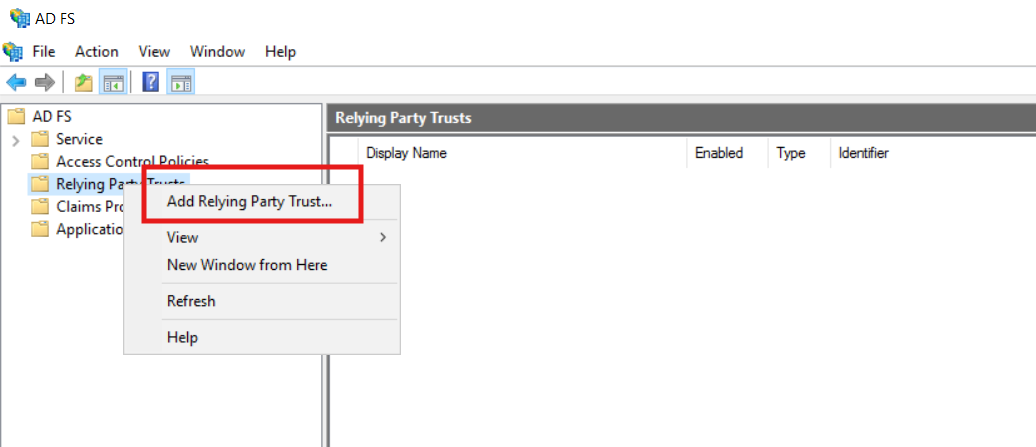
In the AD FS window, right click on Relying Party Trusts and select Add Relying Party Trust from the drop-down menu.
In the Add Relying Party Trust Wizard, there is Steps Column on the left side, on the Welcome page, select Claims aware and click Start.
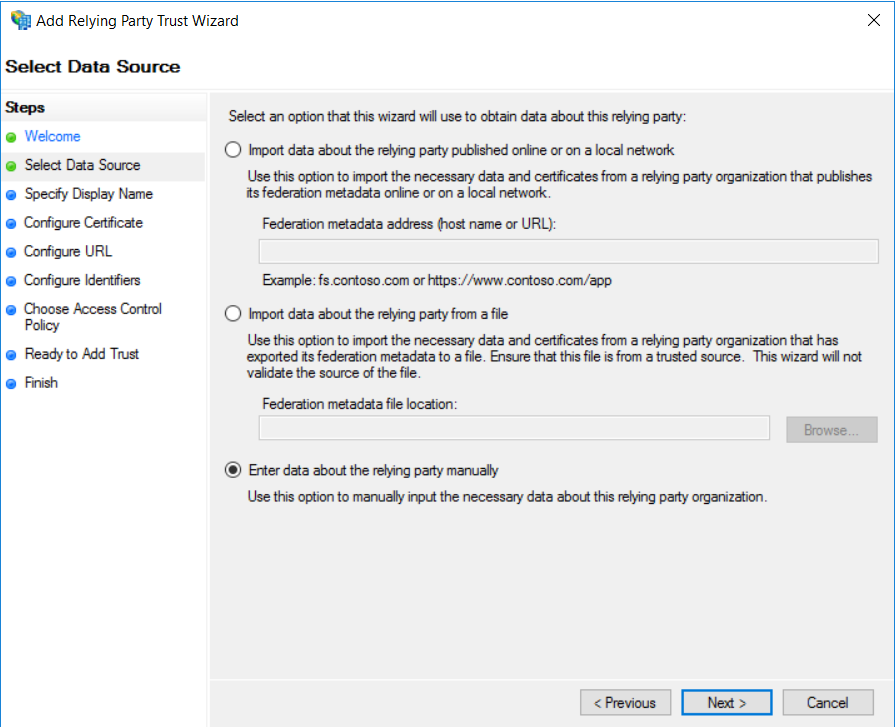
Then, On the Select Data Source page, choose Enter data about the relying party manually and click Next.
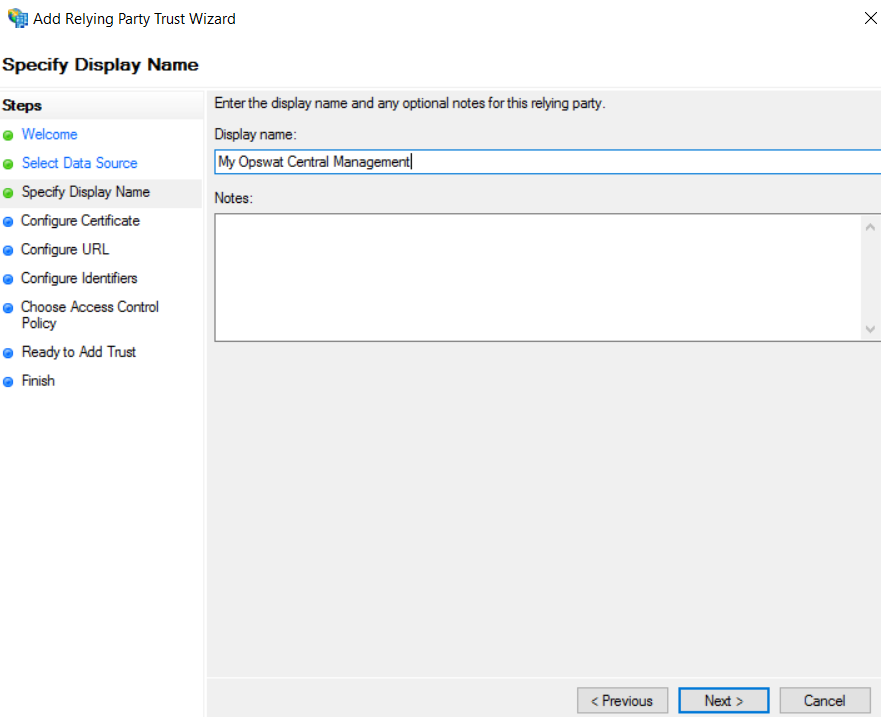
Then, next on the Specify Display Name page, provide a descriptive name for your relying party, and click Next.
Then, on the Configure Certificate page, Click Next.
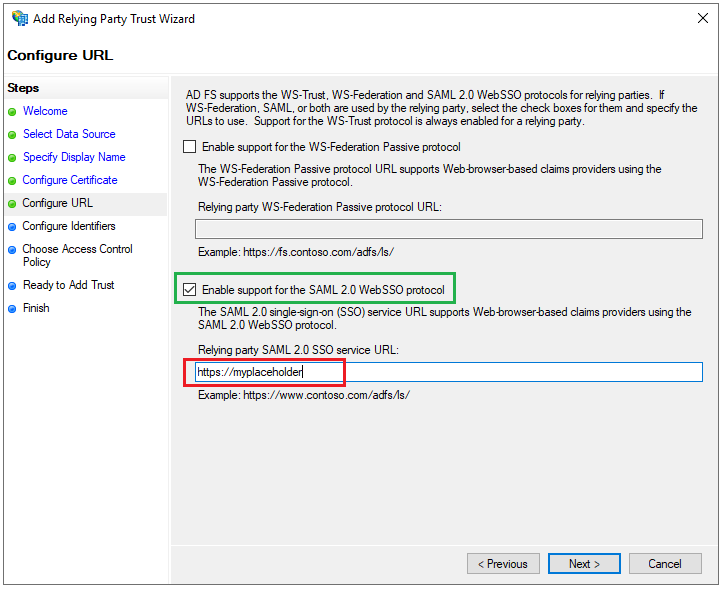
Next, on the Configure URL page, check the box for Enable support for the SAML 2.0 WebSSO protocol and set a placeholder, using https://myplaceholder as an example, for Relying party SAML 2.0 SSO service URL.
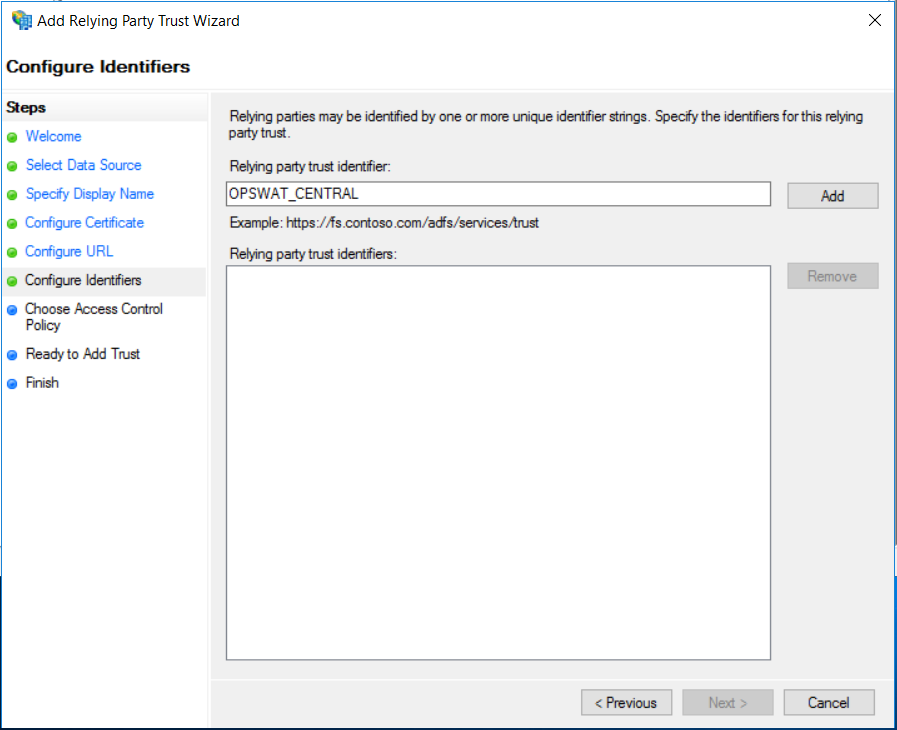
Next, on the Configure Identifiers page, set OPSWAT_CENTRAL as Relying party trust identifier, then click Add and Next.
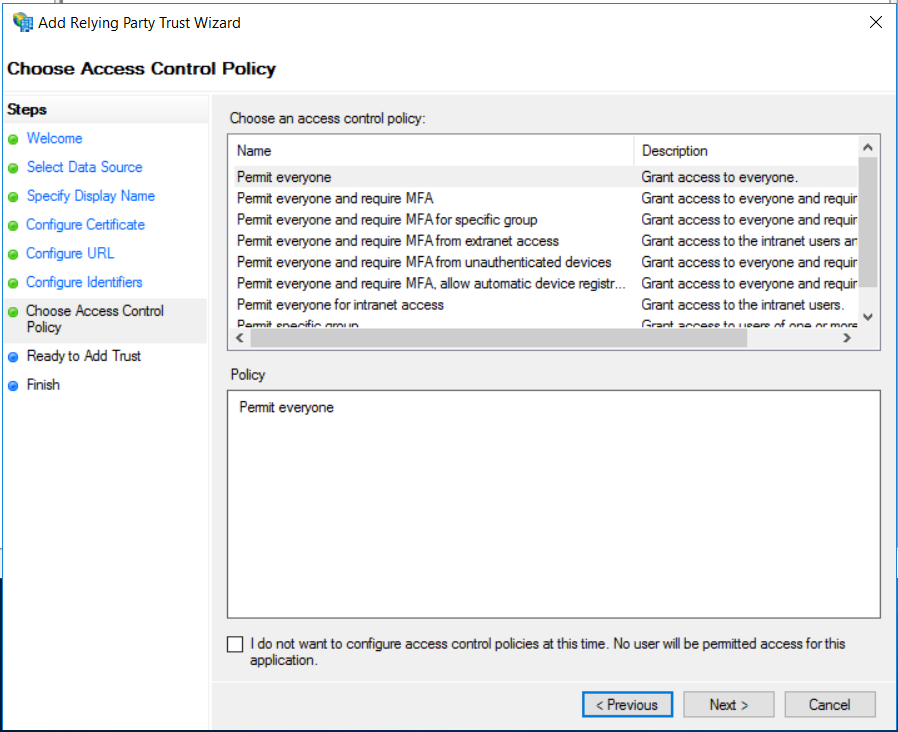
Then, on the Choose Access Control Policy page, select Permit everyone and click Next.
Then, on the Ready to Add Trust page, Click Next to save your information.
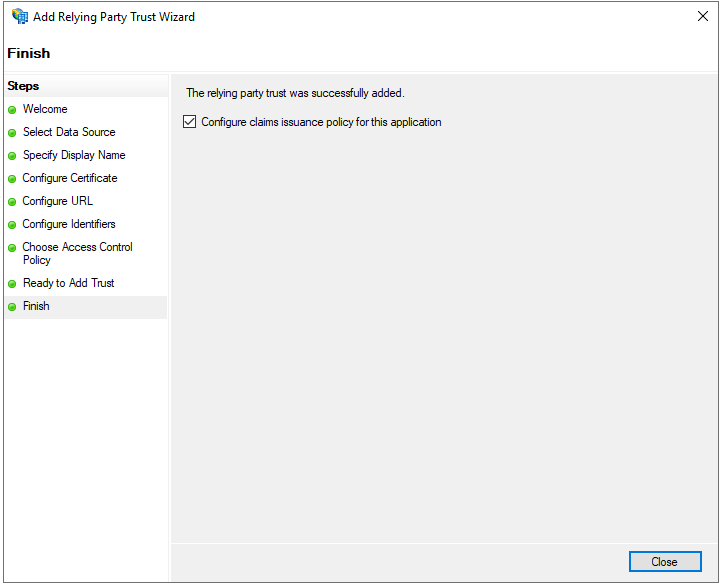
If everything goes well, Finish page will be displayed for you to click Close.
Configure claims Issuance Policy for ADFS
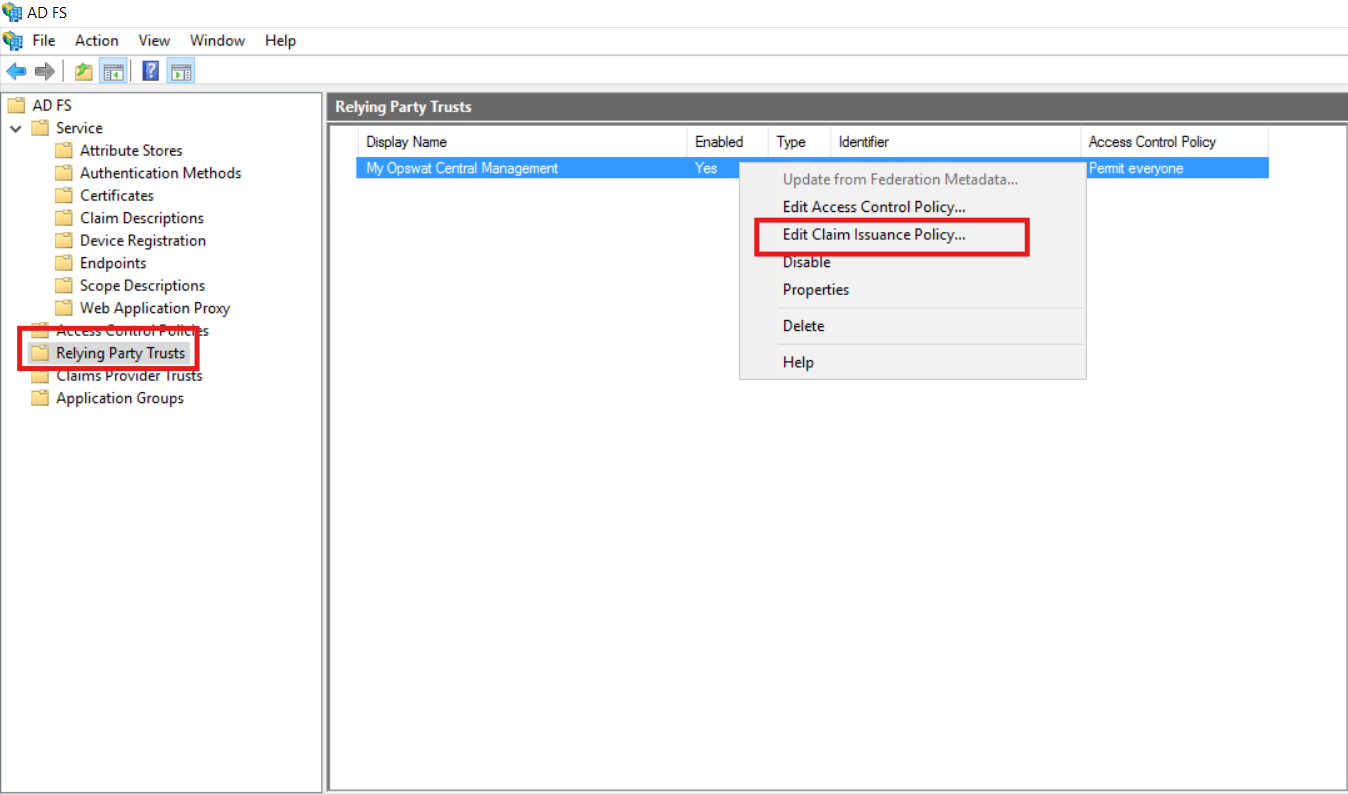
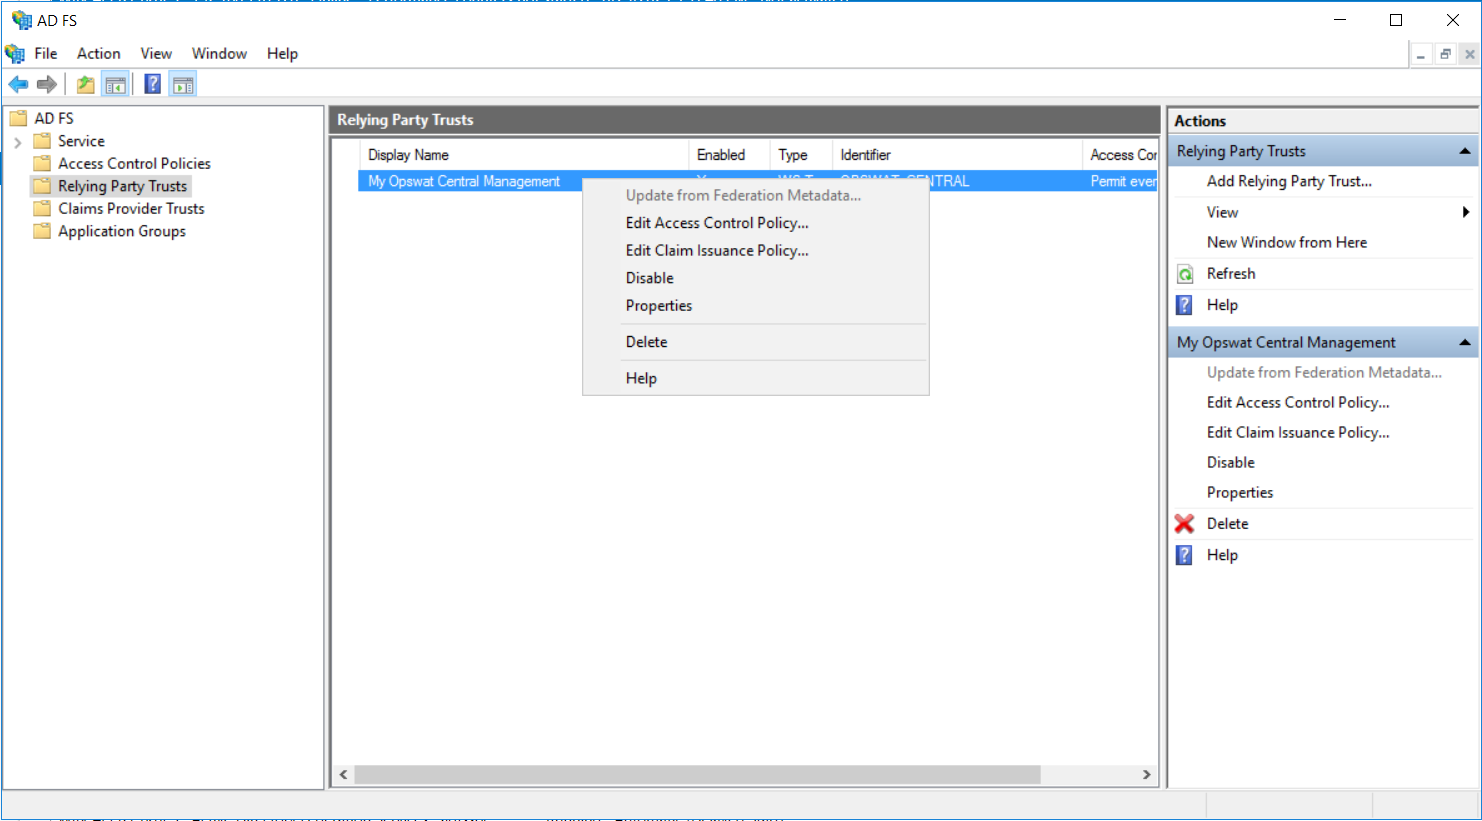
In the Relying Party Trusts pane of AD FS window, navigate to the relying party that was added in the previous step, right-click on it, and select Edit Claim Issuance Policy... from the drop-down menu.
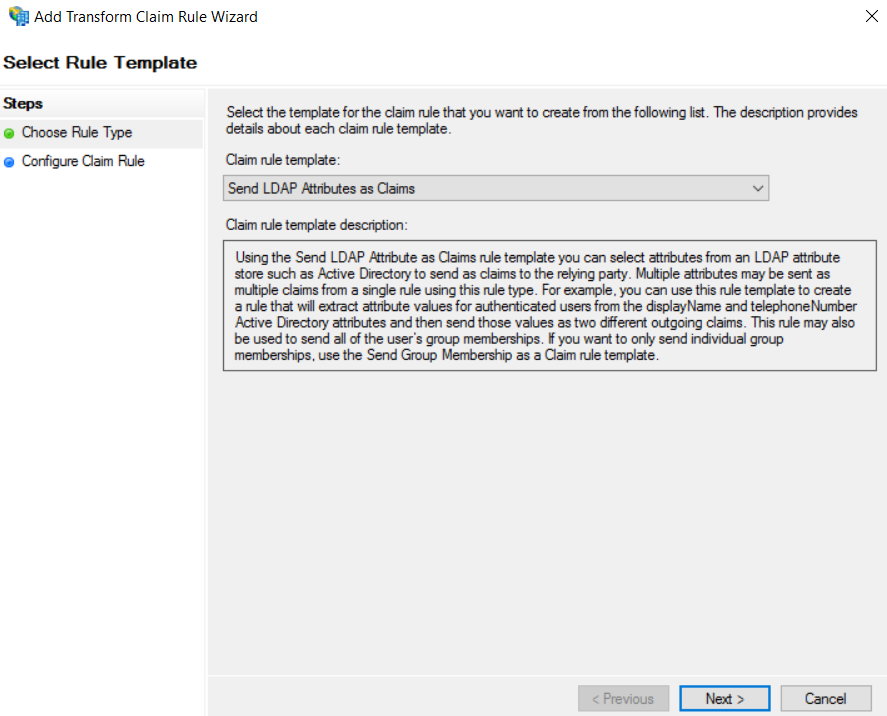
Click Add Rule, and in the Select Rule Template window, under the Steps column, select "choose Rule type".
Select Send LDAP Attributes as Claims for Claim rule template and click Next.
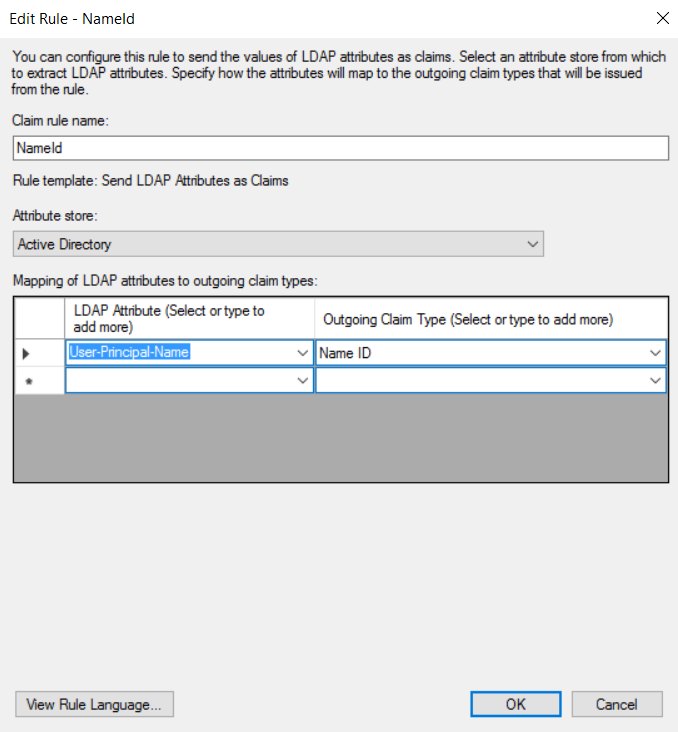
Enter a name for Claim rule name, for instance, NameId. Select Active Directory for Attribute Store. Under LDAP Attribute column, choose User-Principal-Name (make sure the value of this field is an email address) from the drop-down list, type Name ID for the Outgoing Claim Type column, and click Finish.
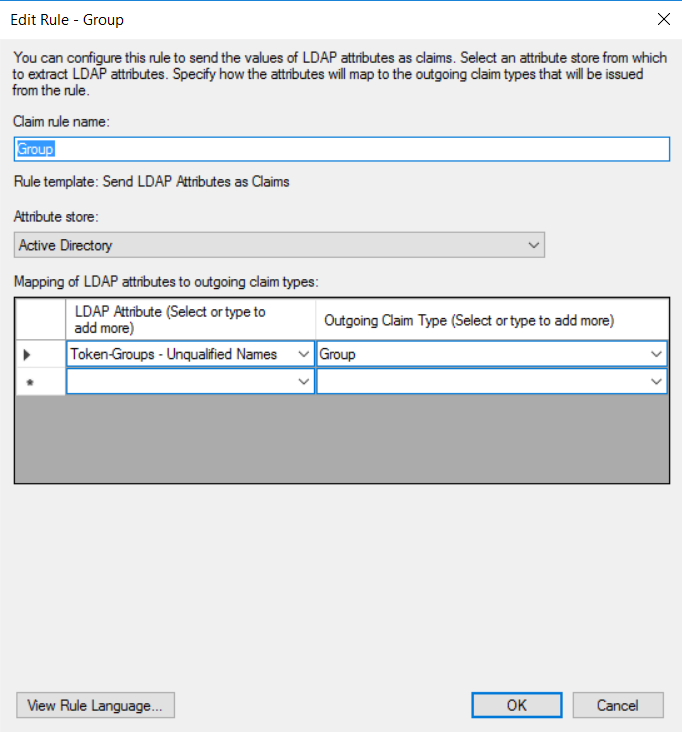
Add another Claim rule like this one:
The SAML response should be like this after adding claim rules
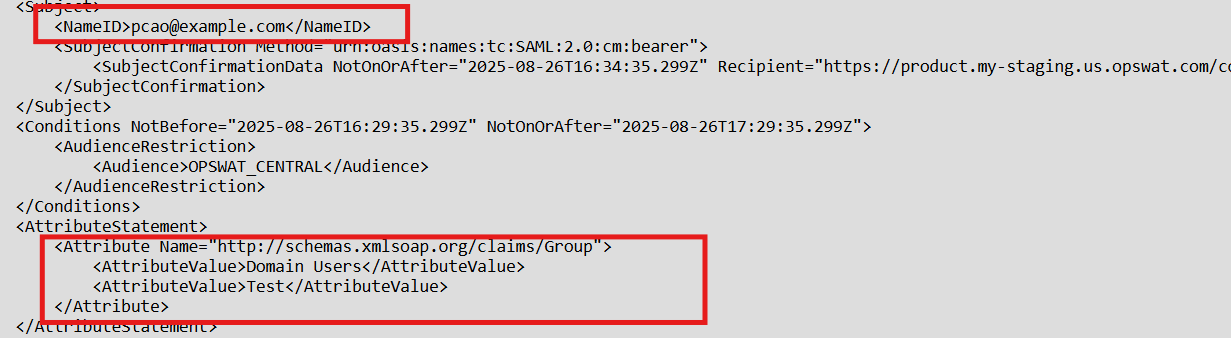
Configure SSO in My OPSWAT Central Management
Access the AD FS Management tool from Server Manager, expand AD FS --> Service --> Endpoints. In the Endpoints panel, navigate to Metadata section and copy the URL path of type "Federation Metadata".
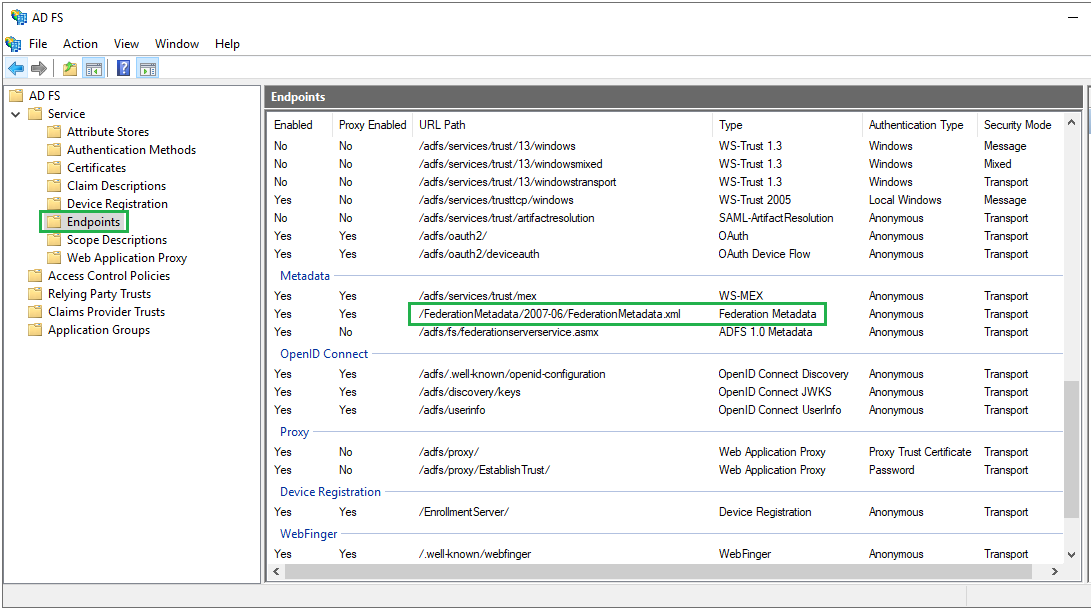
Download metadata file with this link:
Then, login to My OPSWAT Central Management console.
Navigate to User Management > SSO > Console Authentication
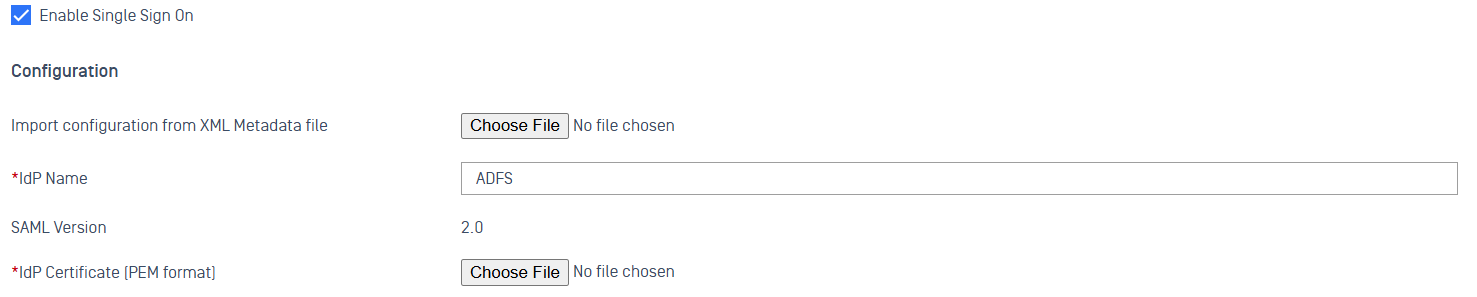
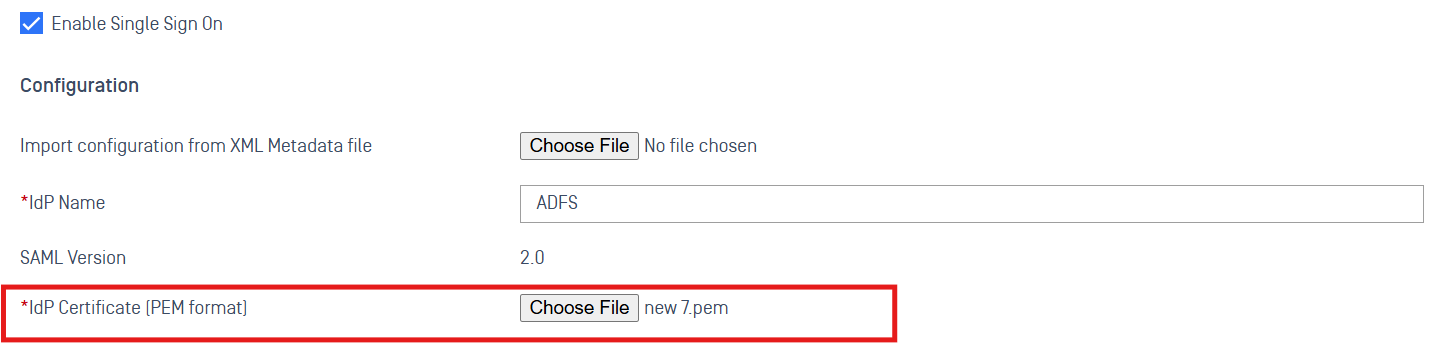
Check Enable Single Sign On
Upload the metadata file, enter the field http://schemas.xmlsoap.org/claims/Group in the Group Attributes box, and click the Save button.

Scroll down to the My OPSWAT Central Management Login URL and copy the URL

Go back to the AD FS --> Relying Party Trusts and right click on your relying party trust name then, select Properties
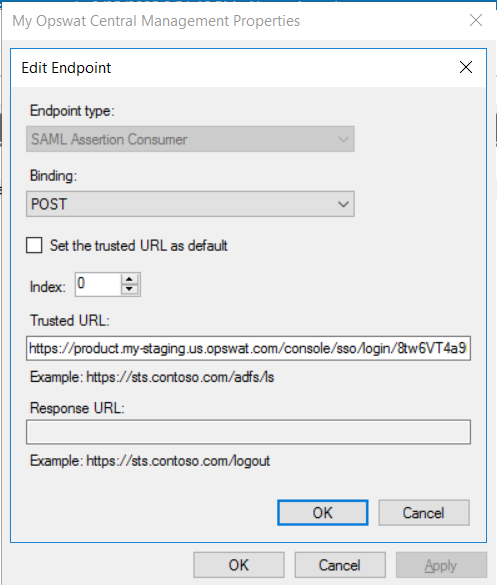
Then go to Endpoints tab, select the placeholder URL and click Edit
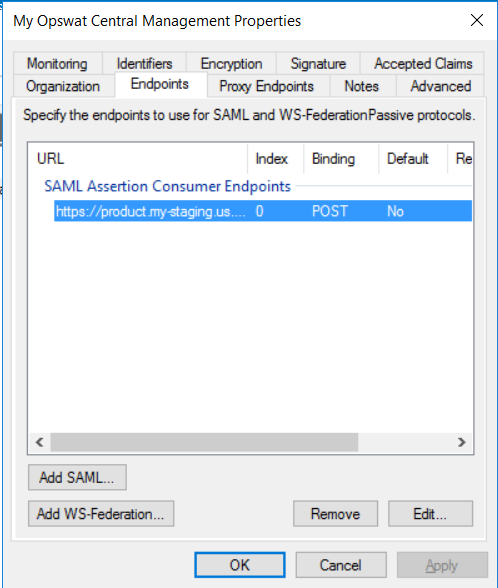
Replace the Trusted URL with the My OPSWAT Central Management Login URL
Update Singing Certificate
Note: This step is optional if you use an incorrect signing certificate from the metadata file.
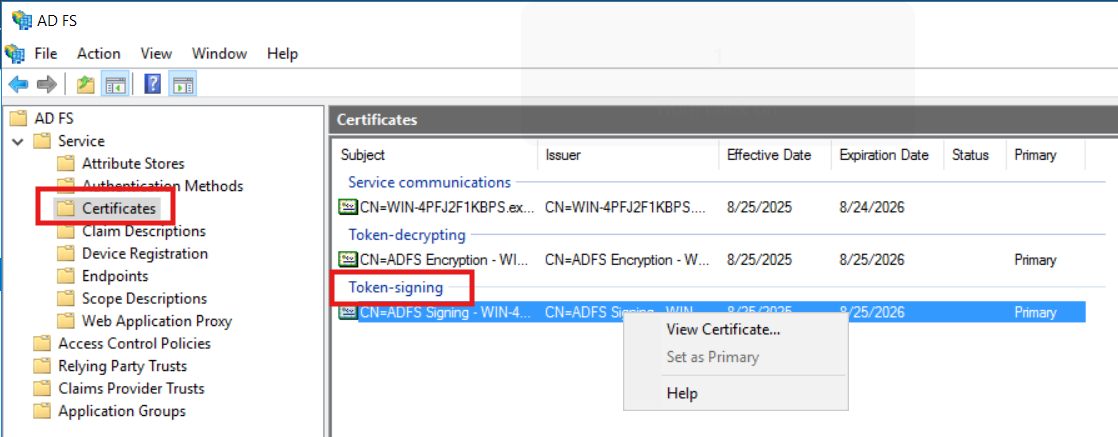
Go to the AD FS --> Service --> Certificates and right click on the Token-signing certificate then export the certificate
Then go to User Management > SSO > Console Authentication to upload the certificate and click Save
Enable IdP-initiated SSO login for ADFS server
By default, in ADFS 2016+, IdP-initiated sign-on is disabled. You need to enable it with PowerShell:
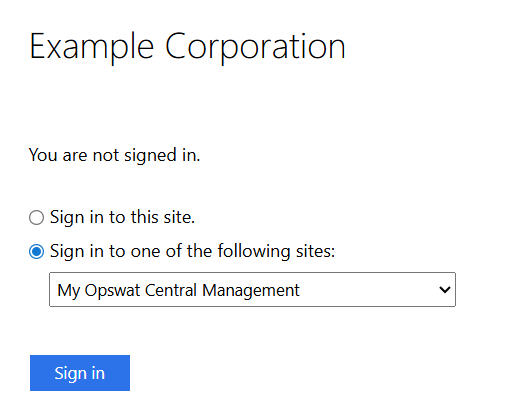
Navigate to the IdP-Initiated Sign-on page with link like this:
ADFS will show a list of Relying Party Trusts (apps configured in ADFS). Then pick the app you want to log into.